100% Disk Usage Problem in Windows 10 and 11? Here Are the Fixes!

June 9, 2022

If you have just started your computer without running a lot of software and the disk usage is already close to or at 100%. First of all, the computer needs to read and write to the disk frequently when it starts up, so it is normal for the disk usage to be high at this time, and the disk usage will gradually decrease after a few moments. If it does not decrease, it is mainly because of system settings: pre-reading programs, home groups, Windows Defender, etc. will frequently read and write to the hard disk, you can disable some unwanted settings to reduce the disk usage. This post will guide you on the most effective fixes to solve 100% of disk usage problems in Windows 10 and 11.
Fix 1: Disable SysMain (Superfetch) service
Step 1: Use the keyboard shortcut "Windows + R" to open the Run dialog box. Type services.msc and press Enter.

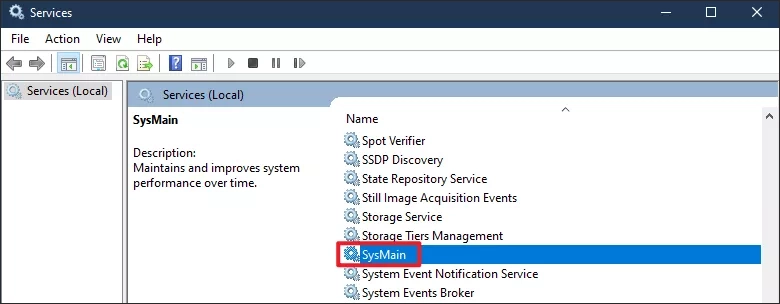
Step 2: Scroll down and look for "SysMain" or "Superfetch". Double click to open its "properties" window.
Step 3: Change the startup type to "Disabled" and click "Stop" to end the service immediately. Finally, click "Apply" and "OK".
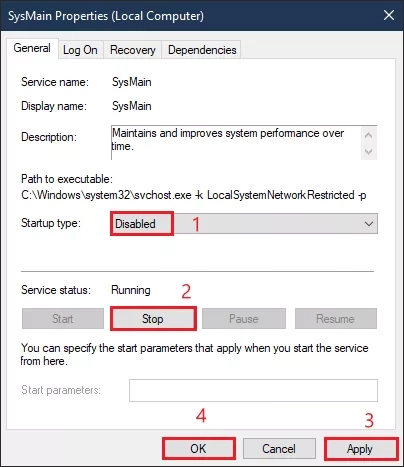
Step 4: You will immediately notice a reduction in disk usage to 10-15% in Windows 10/11. You can restart your PC and check if the disk usage is still spiking.
Fix 2: Disable connected user experiences and telemetry
Step 1: Repeat Way 1 step 1 above.
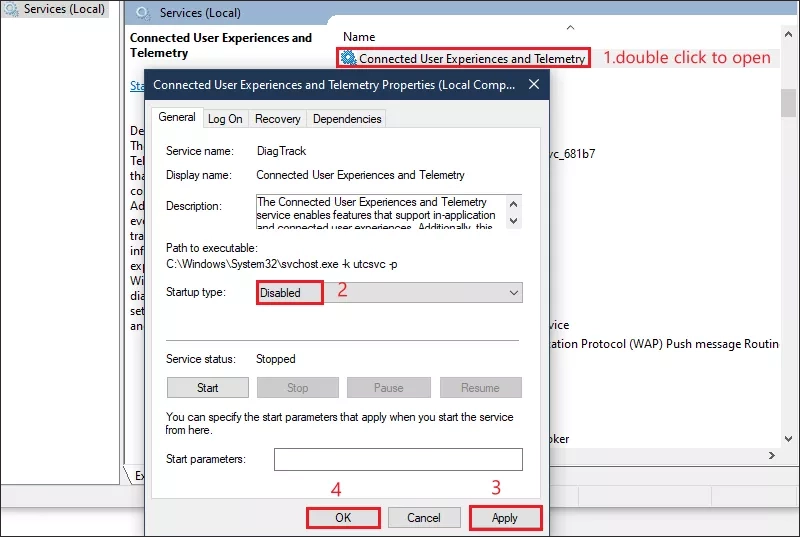
Step 2: Under the Services window, find "Connected User Experiences and Telemetry" and double-click it to open it. Then, set the startup type to "Disabled" to stop the service immediately. Click "Apply" and "OK" to save the changes.
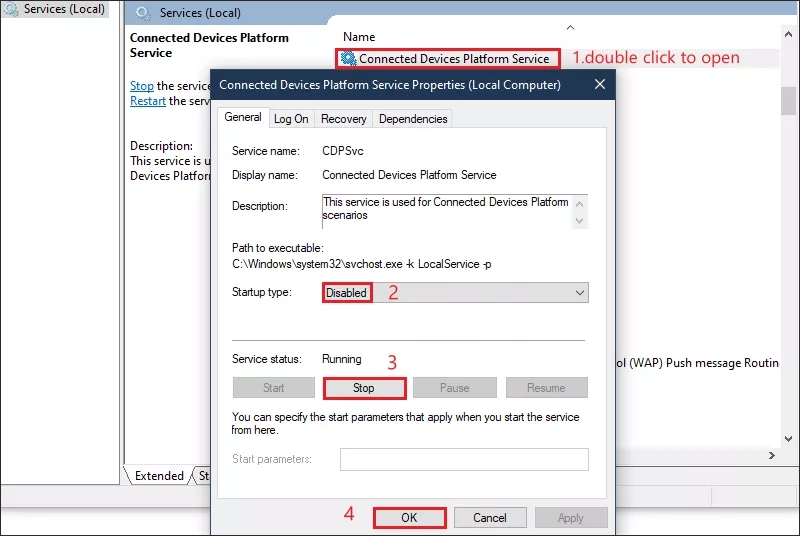
Step 3: It is recommended to disable the "Connected Devices Platform Service" as well. Change the startup type to "Disabled" and stop the services. Disabling these two services should significantly reduce disk usage on Windows 10 or 11 PCs.
Fix 3: Disable unnecessary startup apps
Step 1: Use the shortcut key "Ctrl + Shift + Esc" to open the Task Manager.
Step 2: Move to the "Startup" tab and check all applications. If you see an application that is not used during startup and has an "Enabled" label next to it, right-click on it and "Disable" it.

Fix 4: Reset Virtual Memory
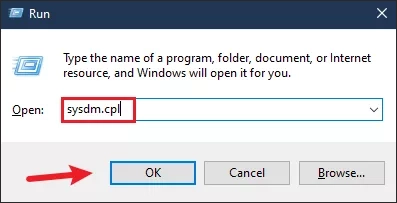
Step 1: Use the "Windows + R" keyboard shortcut to open the "Run" window, type sysdm.cpl, and click on "OK". It will open the "System Properties" window immediately.
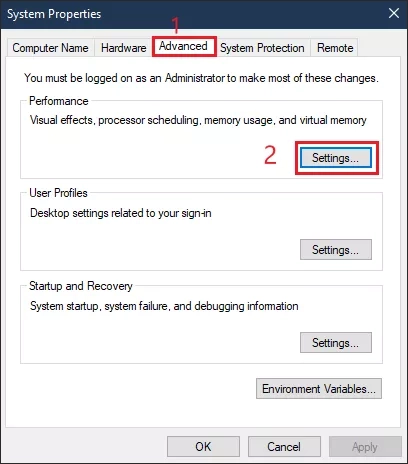
Step 2: Move to the "Advanced" tab, then click "Settings" under Performance.
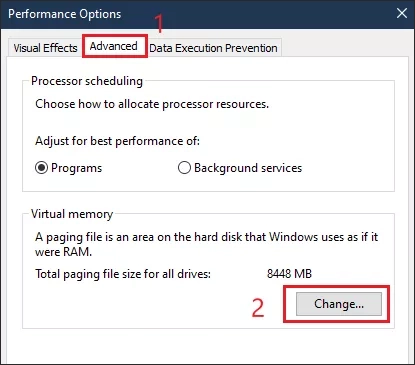
Step 3: Under the Performance Options window, find the "Advanced" tab and click "Change".
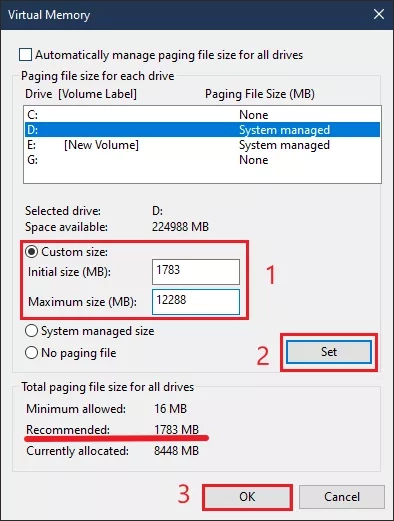
Step 4: Under the Virtual Memory window, select "Custom size", and enter the recommended size in the initial size field. In the Maximum size field, enter an amount 1.5 times the RAM size (in MB). For example, my RAM is 8GB, so I entered 1024 x 8 x 1.5 = 12288. Finally, click "Set" and "OK".
Tip: If you don't know the size of RAM, please refer to this article: How to Check System Full Hardware Configuration in Windows 10?
Step 5: Reboot your PC and the disk usage should be greatly reduced.
Fix 5: Update storage drivers
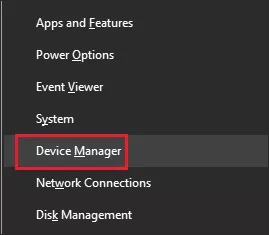
Step 1: Press Windows + X at the same time and select to open Device Manager.
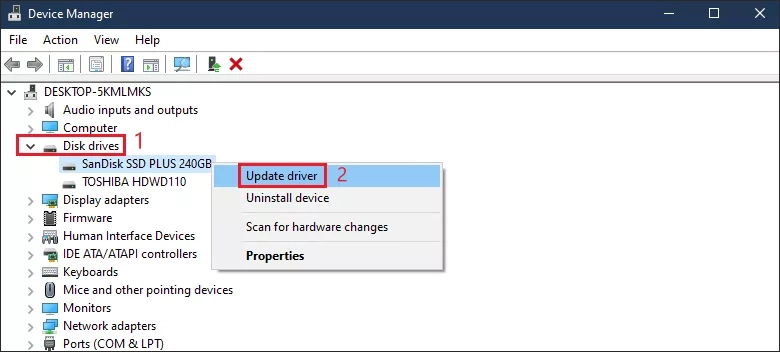
Step 2: Expand the "Disk drives" section and right-click on your disk and click "Update driver".
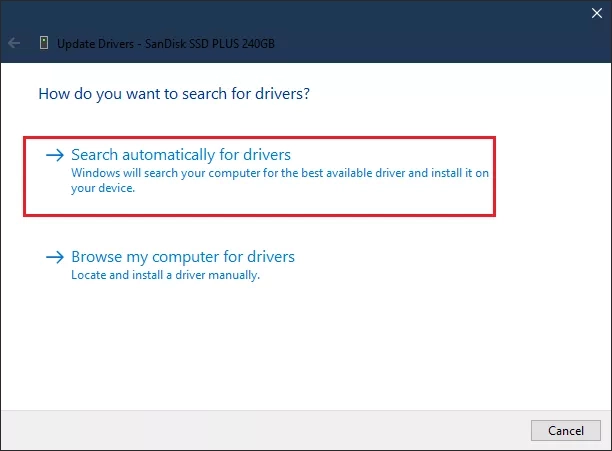
Step 3: From the pop-up window, click "Search automatically for drivers". If there is a new update available for your disk drive, Windows 10/11 will install it and ask you to restart your PC.
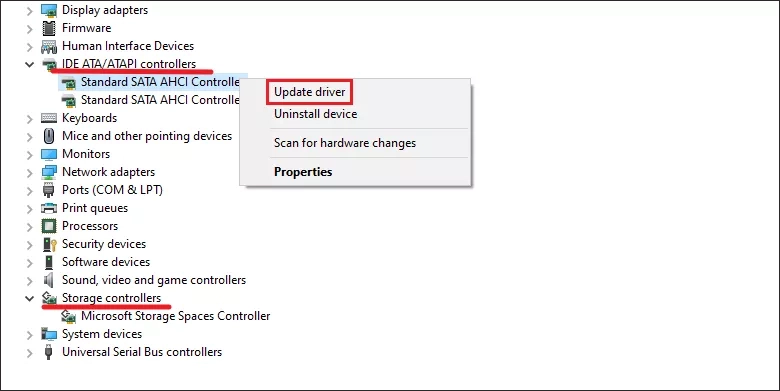
Step 4: You can also "Update driver" for "IDE ATA/ATAPI controllers" and "Storage controllers".
Fix 6: Use the registry editor
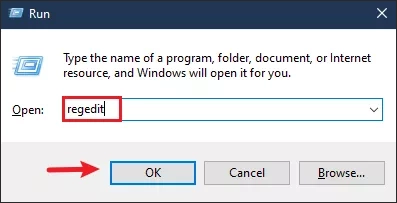
Step 1: Press the Win + R keys simultaneously, type "Regedit", and click "OK".
Step 2: Locate the following directory in the registry.
Computer\HKEY_LOCAL_MACHINE\SOFTWARE\Microsoft\Dfrg\BootOptimizeFunctionStep 3: Double click to open the file "OptimizeComplete", and change the value data to "No" in the pop-up dialog box. Finally, click "OK" to complete the change.

Step 4: Close the registry, restart your PC and check the disk usage.
Fix 7: Execute disk check
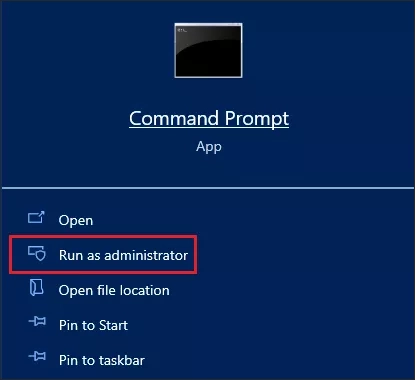
Step 1: Type CMD in the search bar and click "Run as administrator".
Step 2: In the CMD window, type the following command. It will ask you if you want to execute a disk check the next time you restart your PC. Type Y and hit Enter.
chkdsk /r c: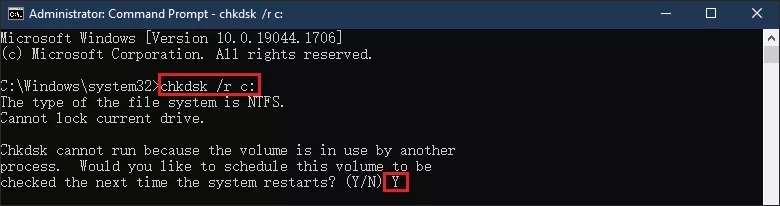
Step 3: Restart your PC and Windows 10/11 will check for all bad sectors and logical errors and try to repair them. Once the computer starts, the high disk usage problem should disappear.
Final Word
If you are using a HDD on a Windows 10/11 desktop or laptop, you should consider switching to a SSD. SSD will provide you with faster loading speeds and better performance. Switching to SSD will also solve the problem of 100% disk usage on Windows 10/11 PCs.