Error Fix: The Disk Check Could Not be Performed Because Windows Cannot Access the Disk

June 27, 2022
If an external hard drive is connected to a computer, it could be found in This PC section in your device. However, there can be situations where you cannot open the external hard drive and can only find in properties that both Used space and Free space are shown as 0 bytes. In such cases, performing a disk check is a common option. But if you come across an error message "The disk check could not be performed because Windows can't access the disk" while checking the hard disk, don't worry, here are some available fixes on how to get rid of disk check could not be performed error.
1. Check the hardware connection
The first thing you should do is to check if your computer and the hard drive is properly connected.
Step 1: Check all cables to ensure that all cables are properly connected between the hard drive and your device. If there exists problematic cable, replace it and see if you could see the error message again.
Step 2: Check the power supply to the USB port and make sure the port is fully powered.
2. Change drive letter
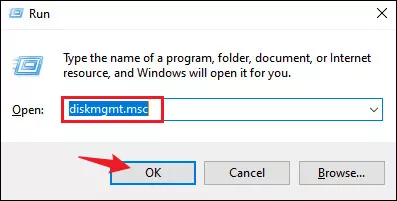
Step 1: Press Windows+R to open Run dialog and enter diskmgmt.msc in the open box. Then press OK to open Disk Management.
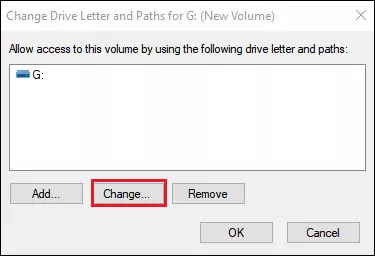
Step 2: Right-click on the problematic hard drive and choose Change Drive Letter and Paths.

Step 3: Click on Change.
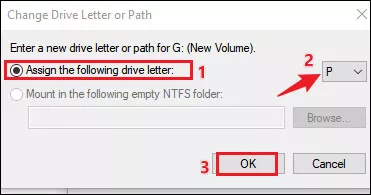
Step 4: Check the item Assign the following drive letter, select a new letter from the drop down menu and click OK.
3. Run chkdsk using Command Prompt
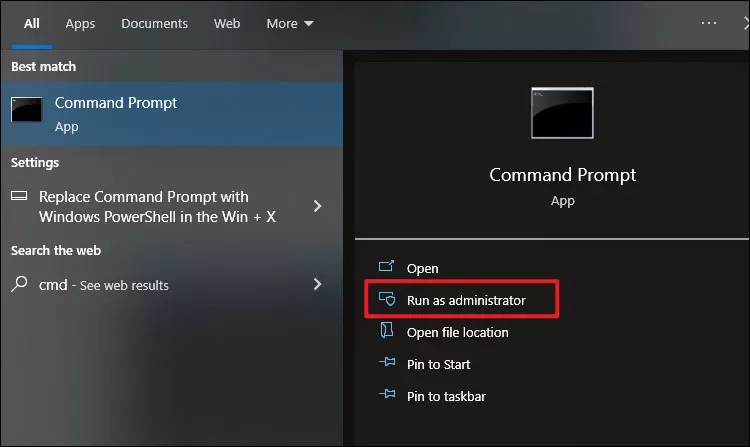
Step 1: Type and search cmd in the search bar and select Run as administrator.
Step 2: Enter the command chkdsk X: /f and hit Enter to launch it.
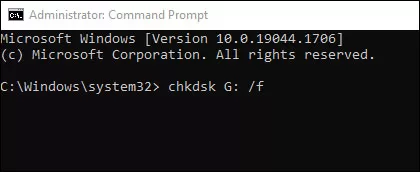
Note: X stands for the drive letter. Replace X with the letter of the affected drive.
4. Repair drive using PowerShell
Step 1: Press Windows+X and select Windows PowerShell from the context menu.

Step 2: Type the script Repair-Volume X -Scan and press Enter.
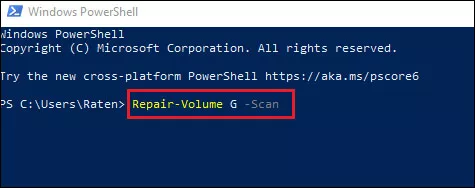
Note: X stands for the drive letter. Replace X with the letter of the affected drive.
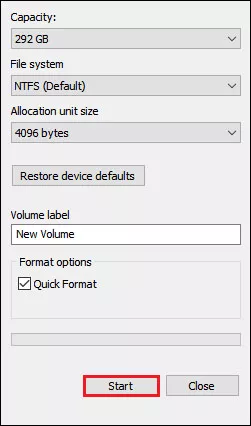
5. Format drive
Formatting the drive will delete all the data and files, thus it's recommended to make a back up before starting.
Step 1: Press Windows+E to open File Explorer and select This PC>Devices and drives.
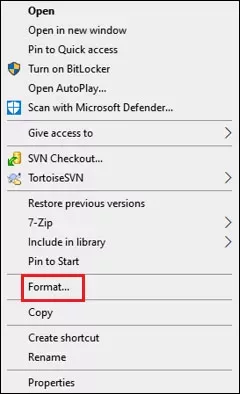
Step 2: Right-click on the problematic drive and choose Format.
Step 3: Click on Start.