Fix: Windows 11 23H2 Cannot Shut Down and Automatically Restart

December 13, 2023
There are many bugs in Windows 11, and Windows 11 23H2 is no exception. Some Windows 11 users reported that the computer cannot shut down and will restart after a shutdown. In this article, we will discuss how to fix the fact that Windows 11 23H2 cannot shut down and will automatically restart.
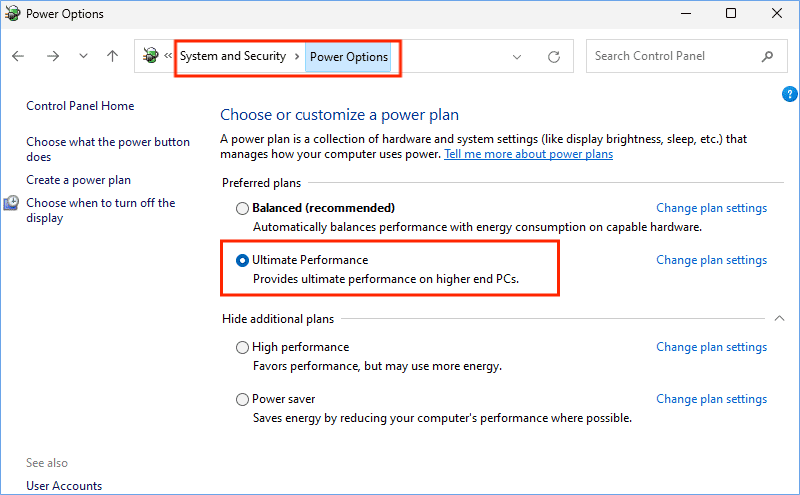
Fix 1: Enable Ultimate Performance
Steps: Type “control panel” in the search bar and click Open > System and Security > Power Options > Tick "Ultimate Performance".
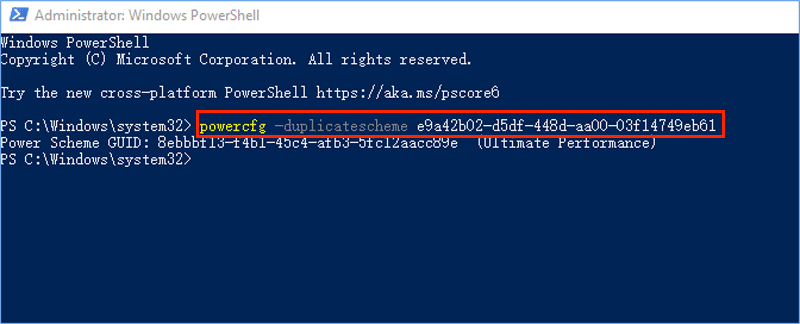
If you haven’t found the Ultimate Performance option, try the following two steps to enable it.
Step 1: Type “powershell” in the search box > Click Run as administrator.
Step 2: Type “ powercfg -duplicatescheme e9a42b02-d5df-448d-aa00-03f14749eb61 ” and hit the Enter button. Then go back to the power option window to check if the Ultimate Performance option has appeared.
Fix 2: Turn off Fast Start-up
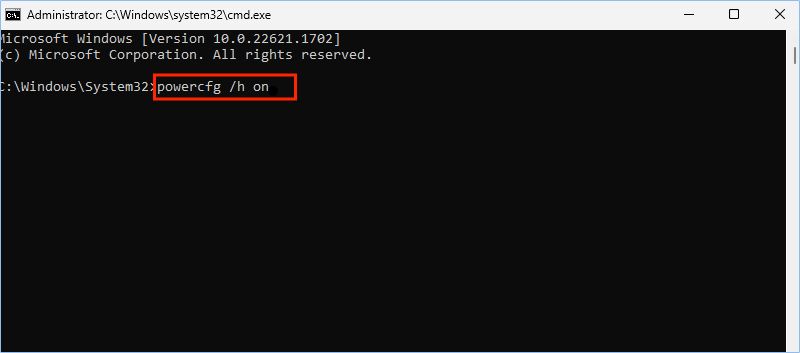
Step 1: Type “powershell” in the search box > Click “Run as administrator”.
Step 2: Type “powercfg /h on” and press the Enter button.
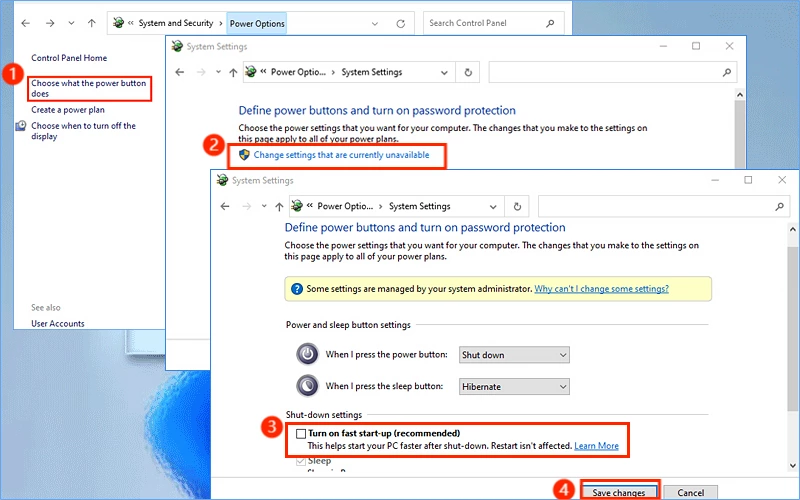
Step 3: Type “control panel” in the search bar and click Open > System and Security > Power Options.
Step 4: Click “Choose what the power buttons do” > Change settings that are currently unavailable > Untick “Turn on fast start-up” > Save changes.
Fix 3: Perform Total Shutdown
Steps: Click Start menu > Power > Click “Shut down” and press the “Shift” key simultaneously. After that, you can see that your Windows 11 23H2 shut down without restarting.
You can also create a shutdown shortcut for a total shutdown. Here are the steps:
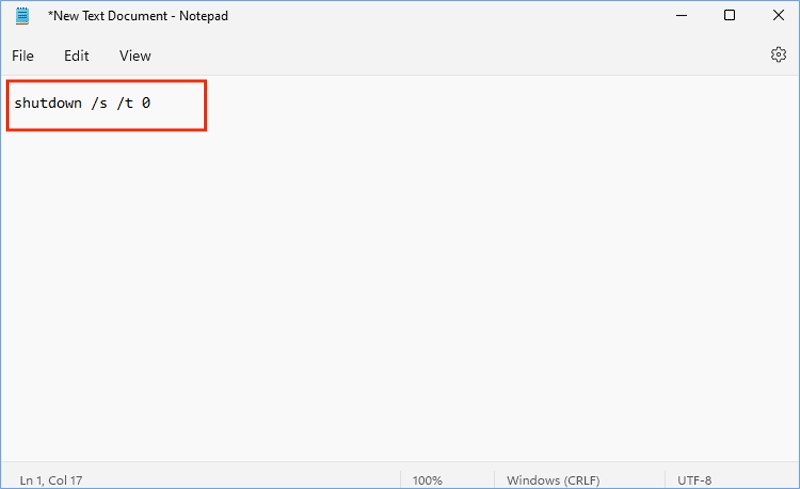
Step 1: Create a text document > Type the following command: “shutdown /s /t 0” > Click File in the top left corner > Save as...
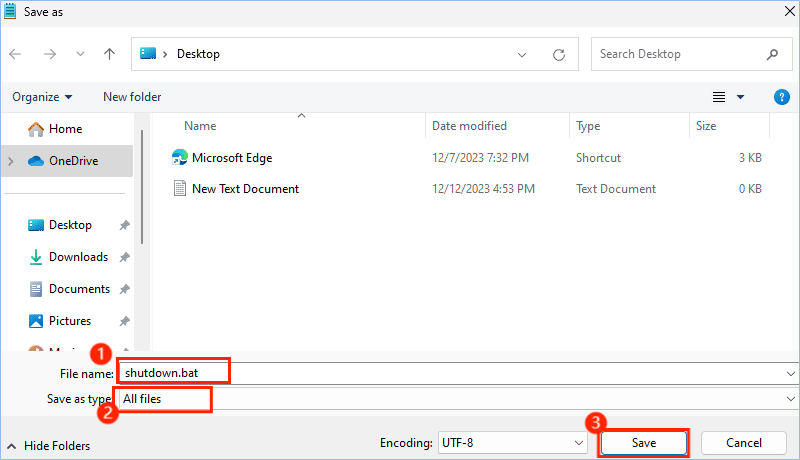
Step 2: Rename it to “shutdown.bat” > Choose “All files” > Save.
Step 3: Right-click "shutdown.bat" > Click “Create shortcut” > Right-click the shortcut > Properties.
Step 4: Click "Change Icon..." There will be a pop-up window. Click OK and choose the shutdown icon.
Step 5: Back to the Properties window, click "Advanced...' and tick “Run as administrator”.
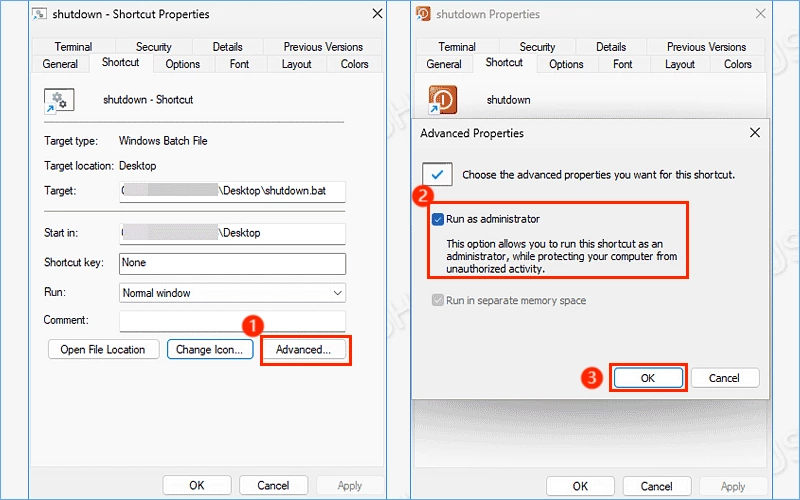
Step 6: Click Apply and OK. Double-click it to perform a total shutdown.
Fix 4: Run System File Checker
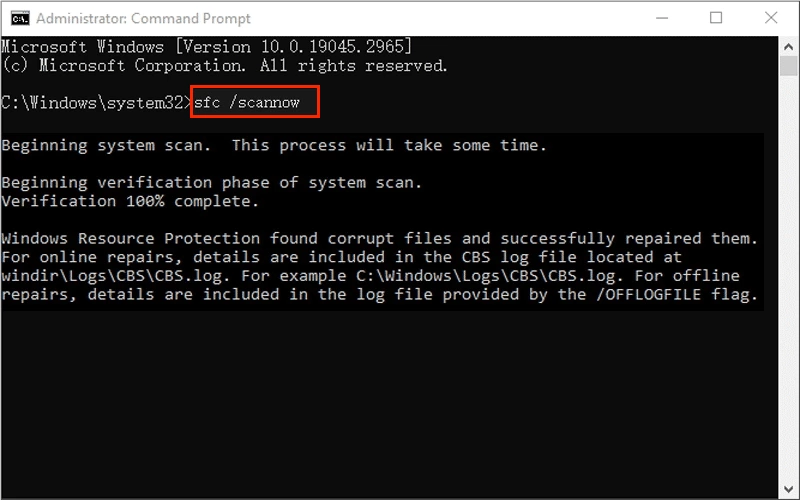
Step 1: Press Win + R and type “cmd”, then hit the “Ctrl + Shift + Enter” buttons to run as administrator.
Step 2: Type “sfc /scannow” and press the Enter button. After the scanning process, it will fix the corrupt system files and restart your PC. You can try to click the "Shut down" button again to check if the issue has been fixed.
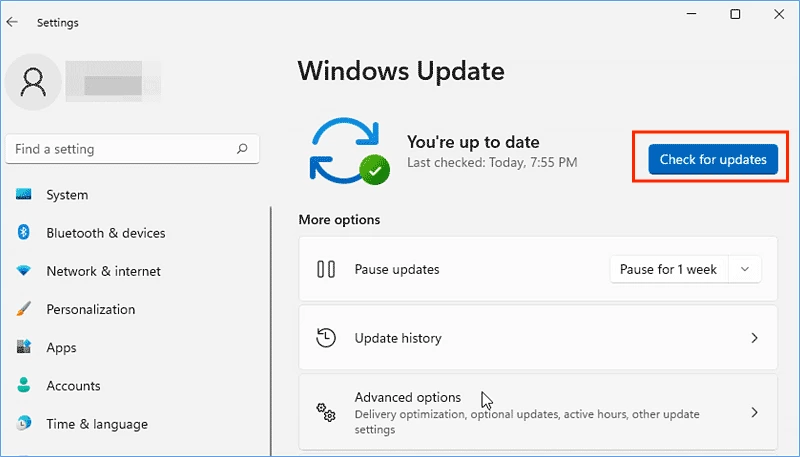
Fix 5: Update to the Latest Version
Steps: Press Win + I > Windows Update > Check for updates. Wait for the latest version and install it to fix the automatic restart bug.