How to Check NIC (Ethernet & WIFI) Speed in Windows 10

November 22,2019

Network Interface Card (NIC) aka network adapter, is the component of a computer's internal hardware that provides the interface between a computer and a network connection. It can be used over a wired (Ethernet) or wireless (WIFI) network. Whatever the network card you're using, it is necessary for you to check network card speed. In this post, we will show you how to check network card (Ethernet and WIFI) speed in Windows 10.
1. Check network card speed by Windows Settings
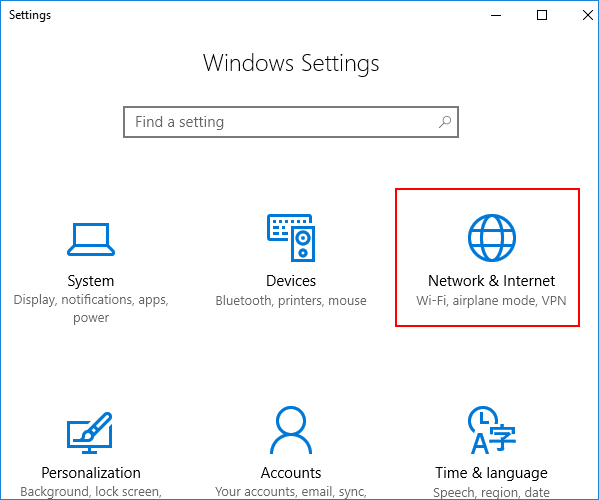
Step 1: Press Windows key + I shortcut and click Network & Internet option in Windows Settings window.
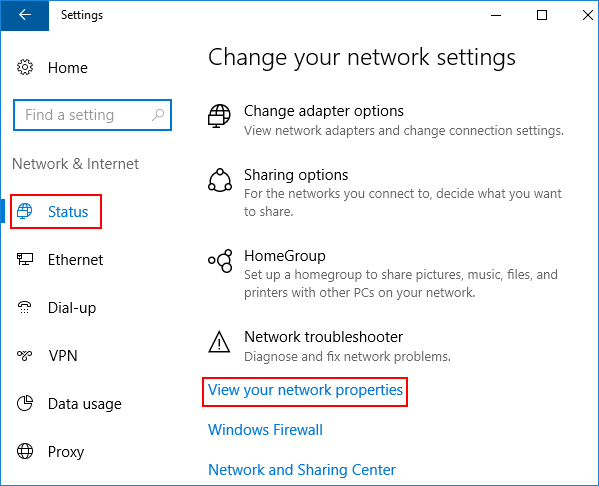
Step 2: Click Status option on the left panel and then click View your network properties on the right panel.
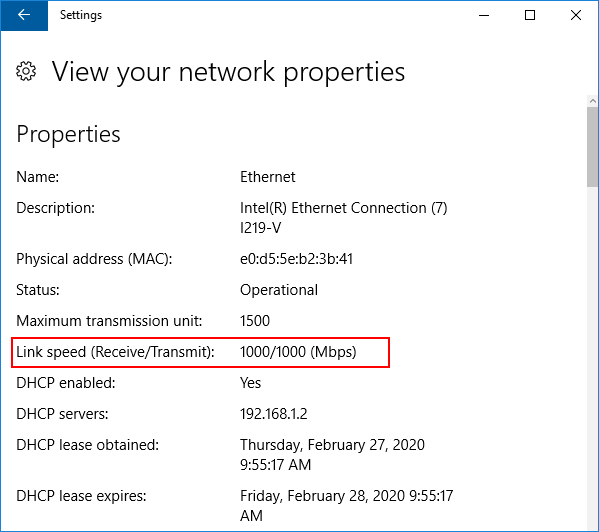
Step 3: Then you can view the properties of your network which includes the link speed of network card.
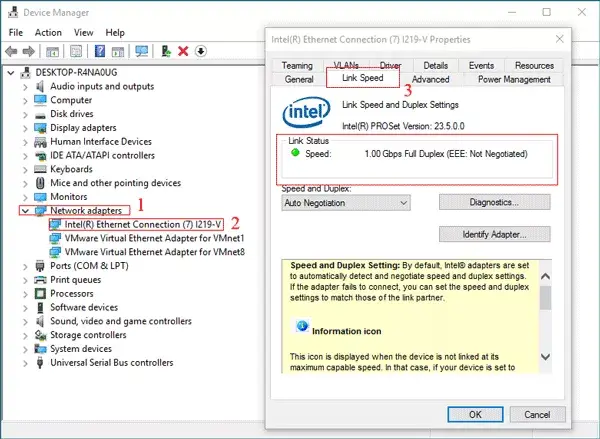
2. Check network card speed by Device Manager
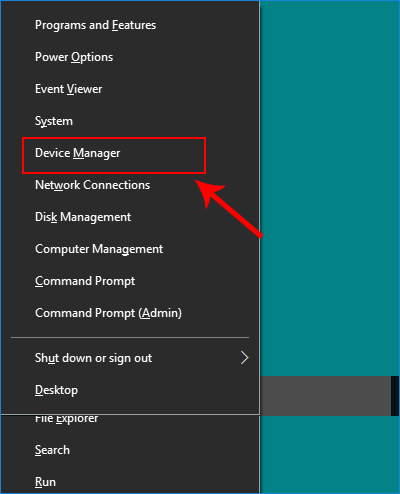
Step 1: Press Windows key + X shortcut and select Device Manager option in the context menu.
Step 2: Double-click Network adapters to open a collapse menu. Then double-click the network adapter (Ethernet or WIFI). On the popup window, click Link Speed tab. Finally, you can check your network card speed including Ethernet and WIFI.
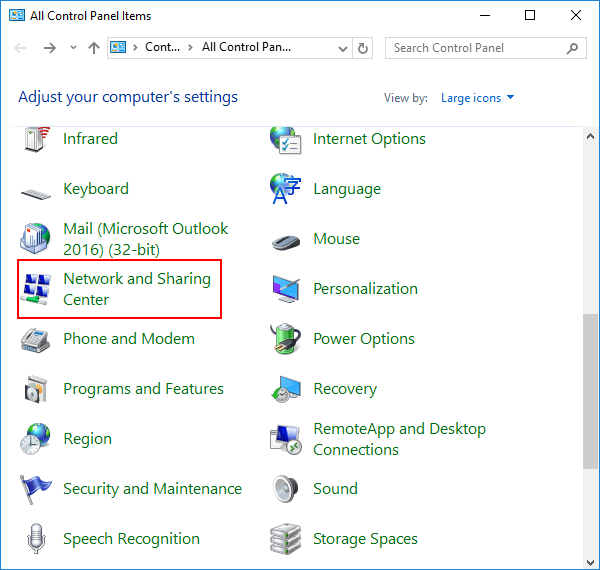
3. Check network card speed by Control Panel
Step 1: Press Windows Key + R to open a run window. Then type control panel and press Enter.

Step 2: Select Network and Sharing Center.
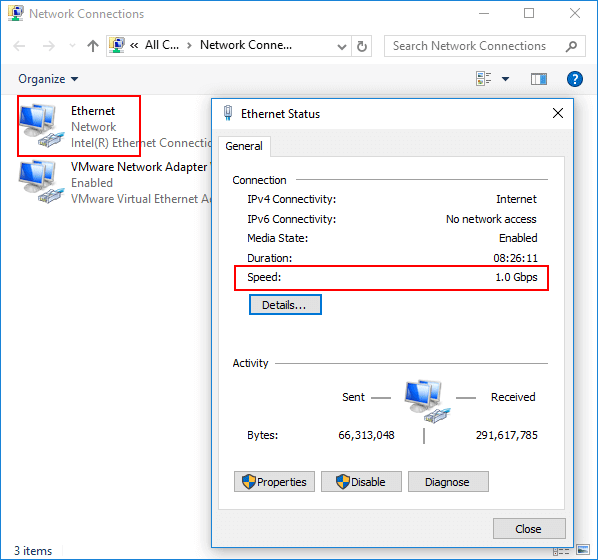
Step 3: Click Ethernet or WIFI and a new window will pop up. Then you can find out the ethernet or WIFI speed on the new window.
4. Check network card speed by CMD
Step 1: Press Windows Key + R to open a run window. Then type cmd and press Enter.
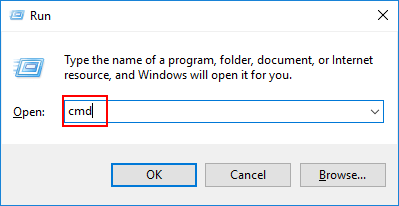
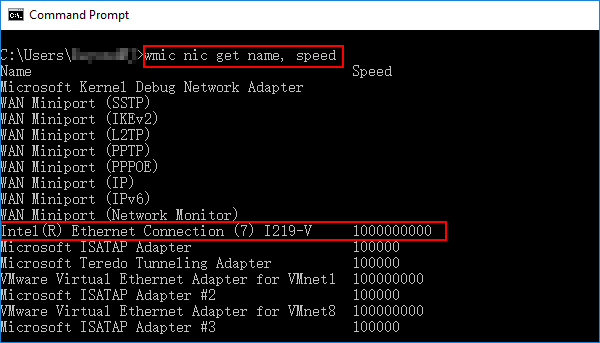
Step 2: In Command Prompt window, type wmic nic get name, speed and then press Enter. Then you can find out the name and speed of every network card including wired (Ethernet) and wireless (WIFI).
5. Check network card speed by PowerShell
In the matter of checking system specifications including network adapter speed, PowerShell offers the same function as Command Prompt does. Here are the detailed steps of how to check Ethernet and WIFI speed in Windows 10.
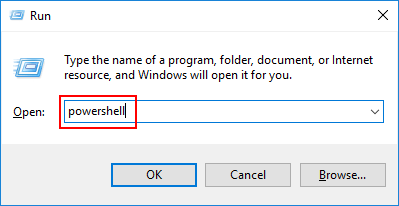
Step 1: Press Windows Key + R to open a run window. Then type powershell and press Enter.
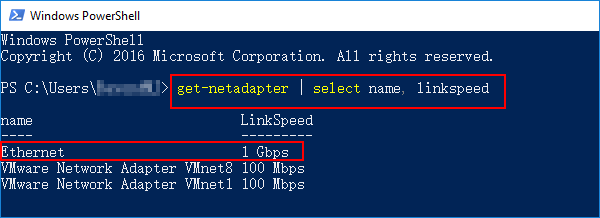
Step 2: In PowerShell window, type get-netadapter | select name, linkspeed and press Enter. Then you can find out your network card speed in Windows 10.
Summary
It is not hard to check your network card (Ethernet & WIFI) speed in Windows 10 by the methods above. It is worth mentioning that the speed displayed on the screen is the theoretical speed of your network card and there is always a bit of overhead on a network.