How to Create a Windows 11 Bootable USB Drive With Command Prompt

October 31, 2022
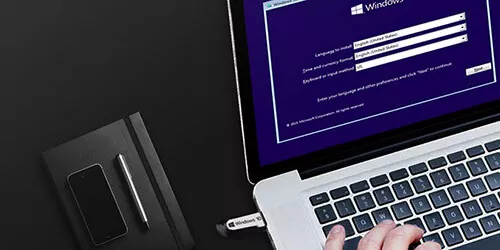
Have you ever thought of creating a USB drive installer for Windows 11? It is more useful than you can expect. If you use a USB flash drive to create installation media, you can not only install Windows 11 on another computer from a bootable USB drive, but can also be able to reset the problematic Windows 11 when necessary. Moreover, a USB installation media allows you to clean install Windows 11 without GPT disk or TPM2.0. So, how to make it? Actually, it's not that difficult and it can be done without software. Here we will show you a detailed tutorial on how to create a Windows 11 installation USB flash drive via Command Prompt.
Preparations:
Before getting started, please ensure that you are prepared for the following:
- 1. The flash drive must at least be 8GB and above.
- 2. Back up the USB drive, as subsequent operations will format the flash drive and all the data will be erased.
Section 1: Download Windows 11 ISO file
Step 1: Download Windows 11 ISO file from Microsoft.
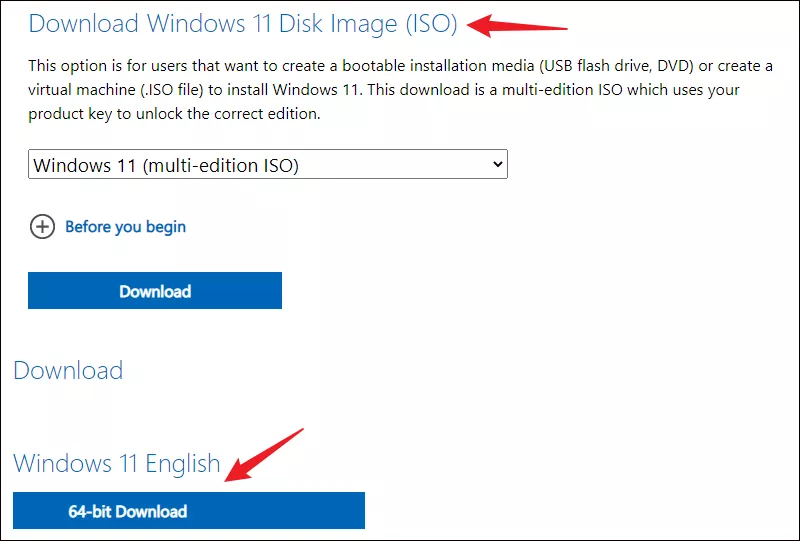
Step 2: In the download page, scroll to the Download Windows 11 Disk Image (ISO) section and select Windows 11 from the drop-down menu.
Step 3: Click Download button and choose a language you preferred as instructed on the page. Then click Confirm to proceed.
Step 4: Once the page has loaded, click on the 64-bit Download option. Wait for the ISO file to finish downloading, then follow the steps below to create a bootable USB drive.
Section 2: Erase all the data on your USB drive
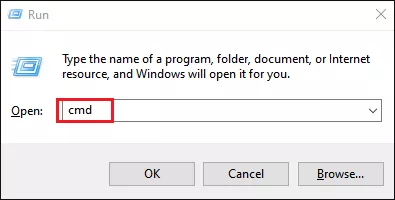
Step 1: Connect the USB flash drive to your computer. Then press Windows+R to open Run command and input cmd in the box. Press Ctrl+Shift+Enter to open Command Prompt as administrator.
Step 2: In the Command Prompt window, enter the below command to enable Windows Diskpart utility.
diskpart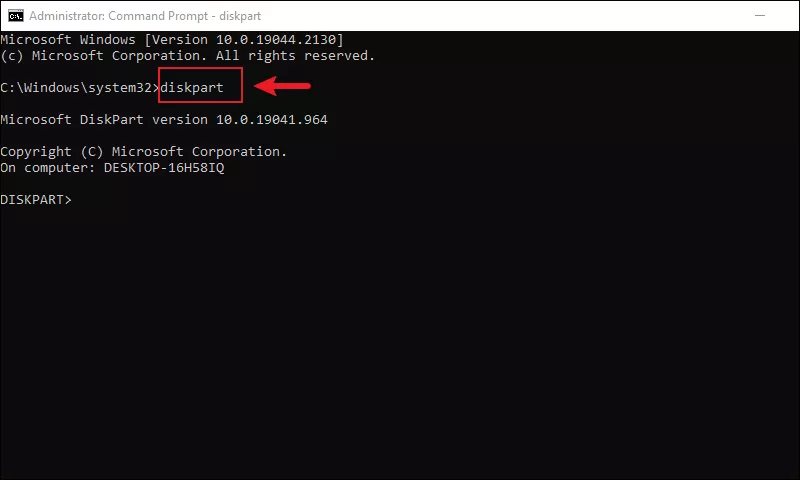
Step 3: Then, type the following command and hit Enter to execute it:
list disk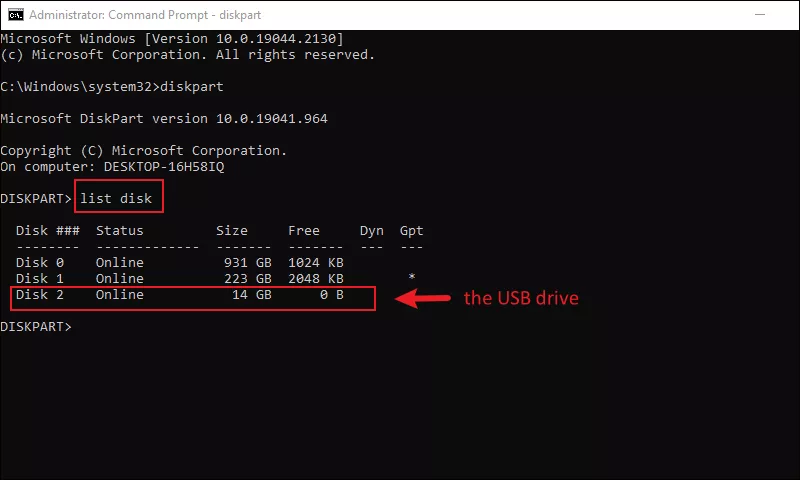
This command will have all the drives on your device displayed on the screen, find your USB drive by the Size.
Step 4: Select your drive with the command as below:
select disk X 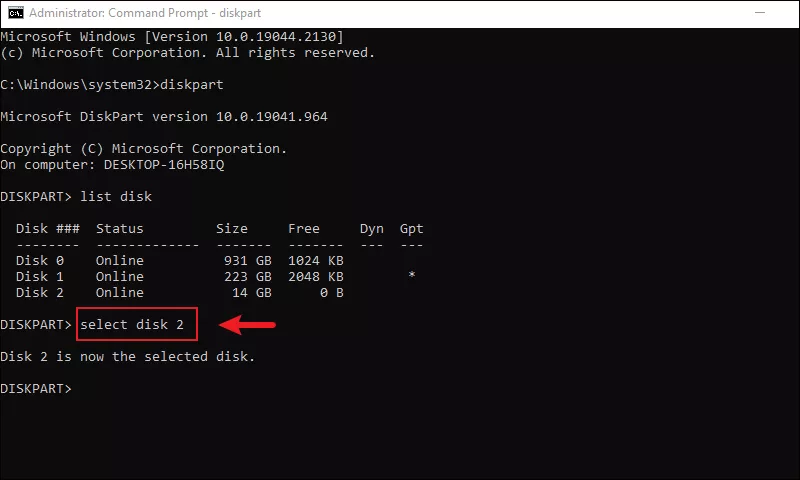
Replace the X with the number assigned to your flash drive. Make sure you've selected the right drive, and in our case, the USB drive is marked as Disk 2.
Step 5: Next, you need to format the USB drive by launching the following command:
clean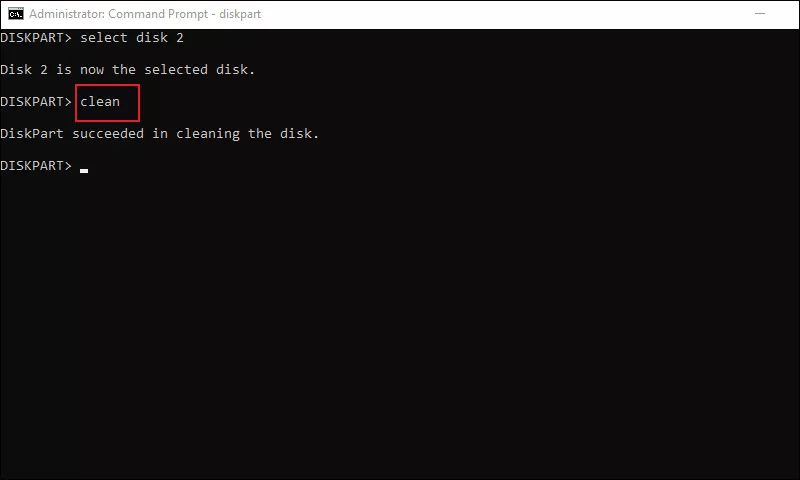
Section 3: Create a primary partition:
Step 1: Enter the following command to create a primary partition:
create partition primary Step 2: Enter the following command to select the new partition you've created:
select partition 1 Step 3: Enter the following command to quickly format the partition and make the USB drive bootable:
format FS=FAT32 quick Step 4: Enter the following command to assign a drive letter for the USB drive:
assign letter=X The letter "X" can be replaced by any letter you prefer to use.
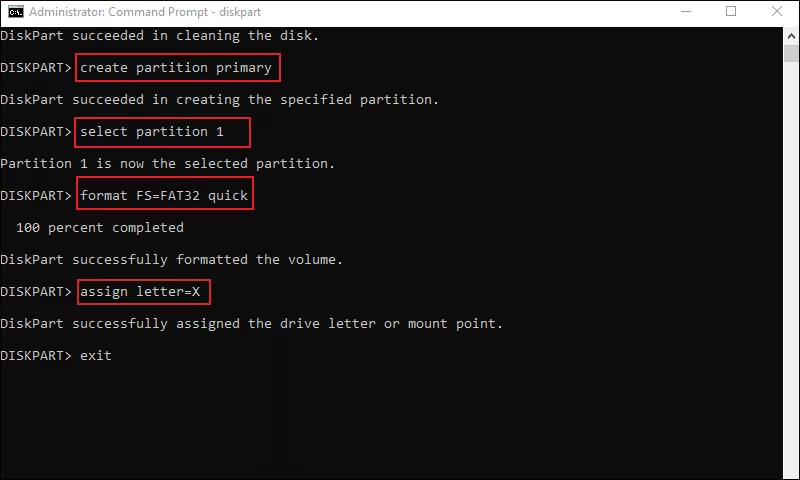
Step 5: Type exit and hit Enter to quit the Diskpart.
Section 4: Mount Windows 11 ISO file to USB
Step 1: Enter the following command to mount the Windows 11 ISO file:
PowerShell Mount-DiskImage -ImagePath "C:\path o\Windows11.iso In the command, substitute the path with the actual location path of your Windows 11 ISO file.
Step 2: Reload Diskpart with the below command:
diskpart 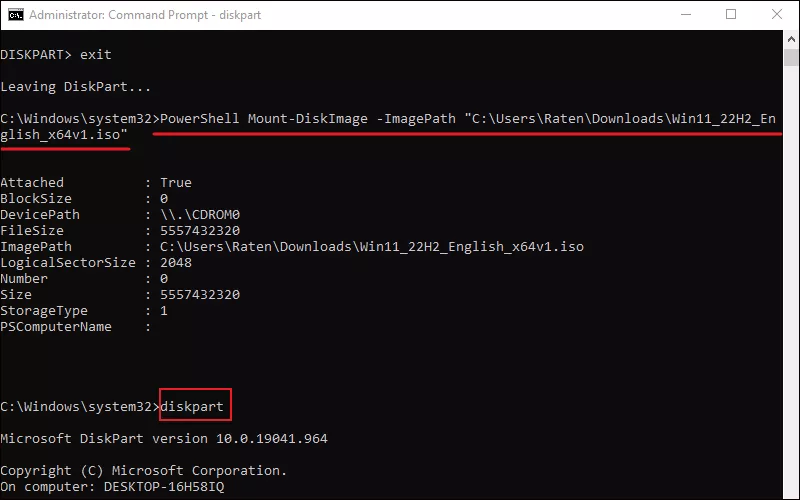
Step 3: Enter the following command to confirm the drive letter for the mounted ISO file.
list volume
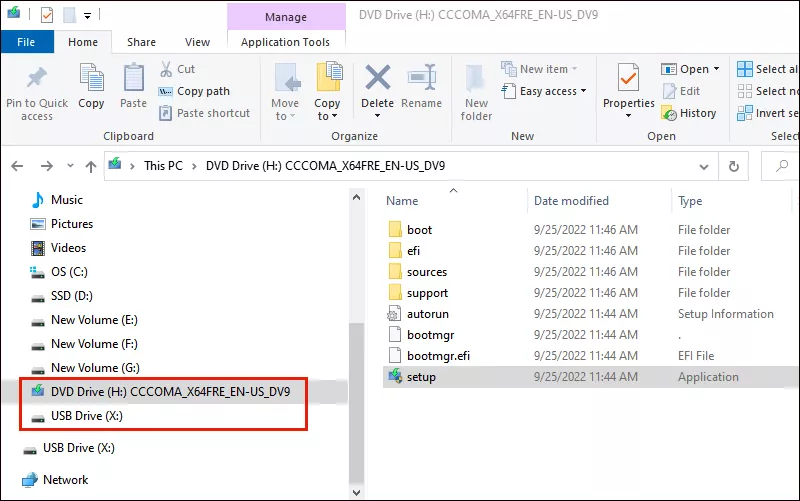
The mounted ISO will be listed as DVD-ROM in the Type column, and the letter H in the Ltr column is the actual drive letter for the Windows 11 ISO file.
Step 4: Exit the Diskpart by entering the command exit.
Step 5: Input the Mounted ISO volume letter and hit Enter. In our case, the volume letter for the mounted ISO file is H. Enter the command to access the ISO file:
H: Step 6: Enter the following command to boot from CD drive:
cd boot Step 7: Enter the following command to apply the boot code to the USB drive:
bootsect /nt60 X: Step 8: Enter the following command to copy all of the Windows 11 installation files to the USB drive:
xcopy H:\*.* X:\ /E /F /H 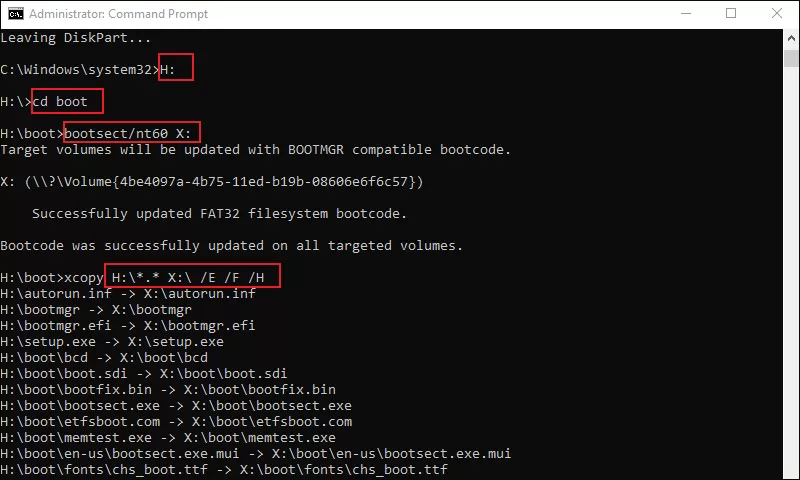
Note: In the above command, replace the letter "H" and "X" with the drive letter of your Mounted Windows ISO and USB respectively.
It may take 5-10 minutes to have the whole process completed. Please wait patiently until the process is complete and don't exit the Command Prompt if the program gets stuck for a while.
Step 9: After done, all the files will be copied successfully.
Now, the USB bootable drive gets ready and you can use this installation media to clean install Windows 11.