How to Delete Backup Files in Windows 11

May 13, 2022

Windows allows users to back up their important files, these files generally are saved on the USB drive or external hard drive. You should spend a few minutes deleting old backups or application backup files regularly to release more free space on your drive. Otherwise, the room of your backup disk will be occupied entirely. A full drive not only leaves you no place to store new files but also affects the speed of your computer.
So what should you do to avoid these issues? In this post, we list five fixes to help you easily clear Windows backup files.
1. Delete Windows file history using built-in tool
Step 1: Press Windows + I to open Settings.
Step 2: Press Update & Security > Backup.
Step 3: Press More options.
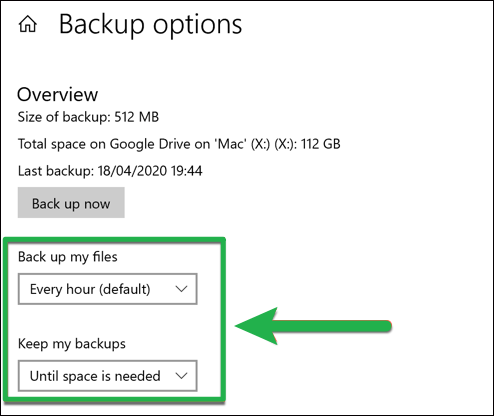
Step 4: In the backup options window, click Back up my files to change how often file backups are made, and click Keep my backups to change how often they're saved before being deleted.
Note: The Keep my backups option is set to forever by default, change it to delete backups every month, which will increase your available disk space.
2. Remove Windows system restore points by system properties
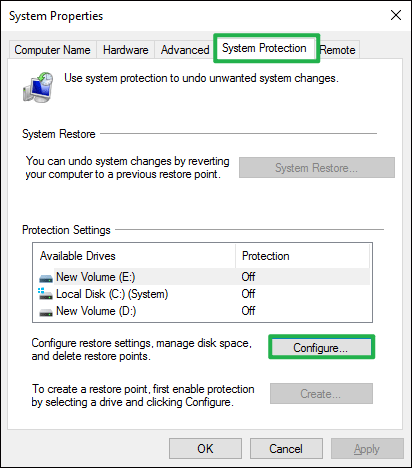
Step 1: Press Windows + R to open Run dialog, type systempropertiesprotection and click OK.
Step 2: In the System Protection tab, click Configure button.
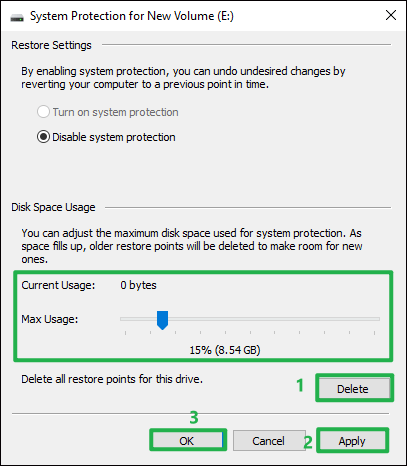
Step 3: Here, you can see the current usage of space that is used by restore points on your system. Click Delete, this will remove any saved system restore points.
Alternatively, you can move the slider of Max Usage. You will see the amount of space that will be used for restore points below, once that space has been used, the oldest backups will be deleted to make room for new ones.
Step 4: Click Apply and OK.
3. Delete the windows old folder using disk cleanup tool
Step 1: Press Windows + R and type cleanmgr, and click OK to launch Disk Cleanup tool.
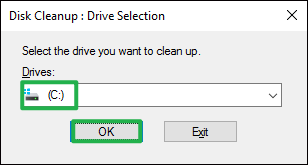
Step 2: Select the System drive and click OK.
Step 3: Press Clean up system files.
Step 4: In the Files to delete list, make sure that the Previous Windows installation(s) is checked, then click OK. It will remove all the backup files of old windows installation and free space on the system drive.

Alternatively, you can also click More Options tab in disk cleanup, then click Clean up in the System Restore and Shadow Copies section.

4. Clean up windows file history using control panel
Step 1: Right-click Windows start menu and click Control Panel.
Step 2: Under System and Security, click Save backup copies of your files with file history.
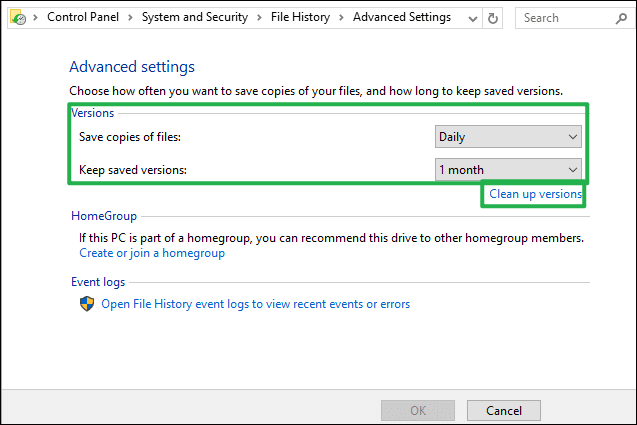
Step 3: Click Advanced settings.
Step 4: Here, you can adjust how long to keep saved file history backup versions, for example, you set to Keep saved versions for 2 months, then the versions that exceed this range will be deleted automatically.
In addition, you can click Clean up versions to delete versions of files and folders older than the selected age.
5. Clean up windows file history using command prompt
Step 1: Type cmd in the Windows search bar and click Command Prompt.
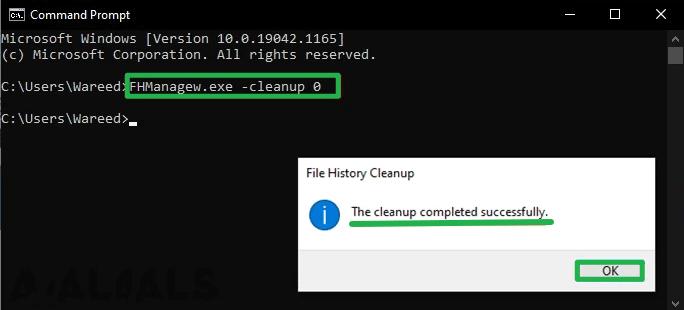
Step 2: Type the following command and then click OK.
fhmanagew.exe -cleanup 0Note: The 0 in the command is for days and it will remove all backups without recent ones. You can change 0 to any value you like, such as 30, 90, or 120,etc.

![[Examples] How to Recover Permanently Deleted Files Using Command Prompt in Windows 10](../img/software/examples-how-to-recover-permanently-deleted-files-using-command-prompt-in-windows-10/examples-how-to-recover-permanently-deleted-files-using-command-prompt-in-windows-10-m.webp)