How to Edit Context Menu in Windows 11 and 10

April 11, 2024
The context menu (right-click menu) is a useful tool for performing some operations quickly. While the context menu is already convenient, we can still customize it further to better suit our needs. Generally, there are two ways to customize it, namely, editing the registry and using dedicated software. I will show you how to edit the context menu in Windows using these two methods step by step.
Way 1: Edit the Context Menu via Registry Editor
By this way, you can add, remove, or modify the context menu without using any other third-party tools. It's worth mentioning that the Windows registry plays an important role, so make sure you know what you're doing before making any modifications.
Caution: Remember to back up your registry in case something unexpected happens.
Here's detailed steps.
Step 1: Back up your registry first.
1.1: Open the Registry Editor by typing regedit in the Run dialog box.
1.2: Navigate to the corresponding path(Computer\HKEY_CLASSES_ROOT), then go to File -> Export to save the backup file.
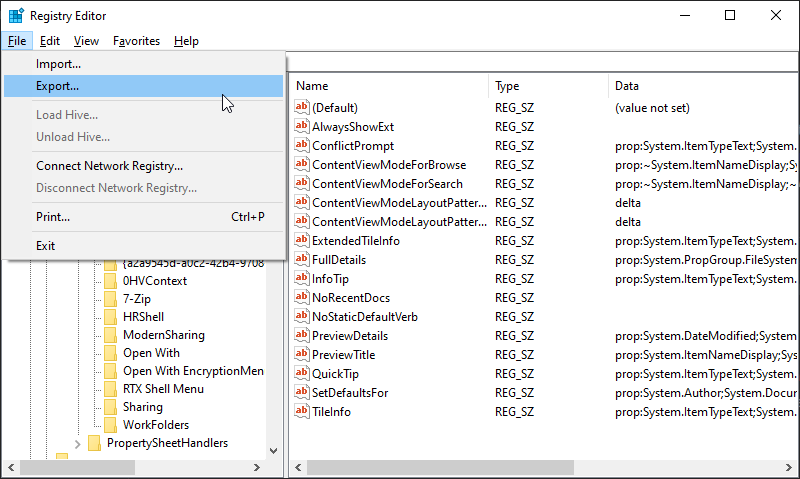
Tips: Double-clicking the backup file can import it later.
Step 2: Navigate to HKEY_CLASSES_ROOT\*\shellex\ContextMenuHandlers, where menu items for all file types are located.
Disabling menu items
1. Delete or disable the items you don't want to see in context menu.
Tips: You can disable it by adding minus in the front of key value.
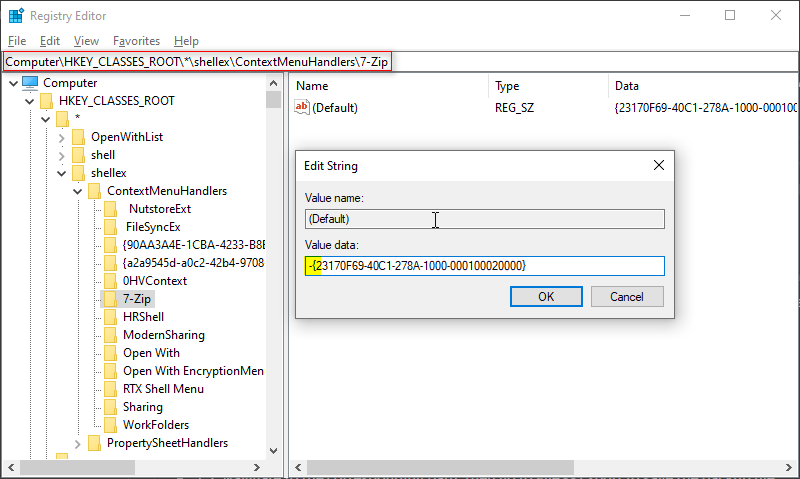
2. Press "F5" to refresh or go to View -> Refresh.
Note: If changes don't take effect, try logging out or restarting Windows Explorer.
Adding a menu item
1. Navigate to HKEY_CLASSES_ROOT\*\shell\.
2. Add a new key named "notepadpp"(replace it with your actual shortcut name).
3. Modify the key in the main panel; its value will be displayed in the context menu later.
4. Add a new key named "command" under the "notepadpp" folder.
5. Modify its key in the main panel; the value should be the location of ".exe" file.
Such as "D:\downloads\npp\notepad++.exe" %1. The "%1" refers to the file path to be opened in Notepad++. When executing this command, %1 will be replaced with the actual file path.
"D:\downloads\npp\notepad++.exe" %1// Replace the underlined part with your actual program path.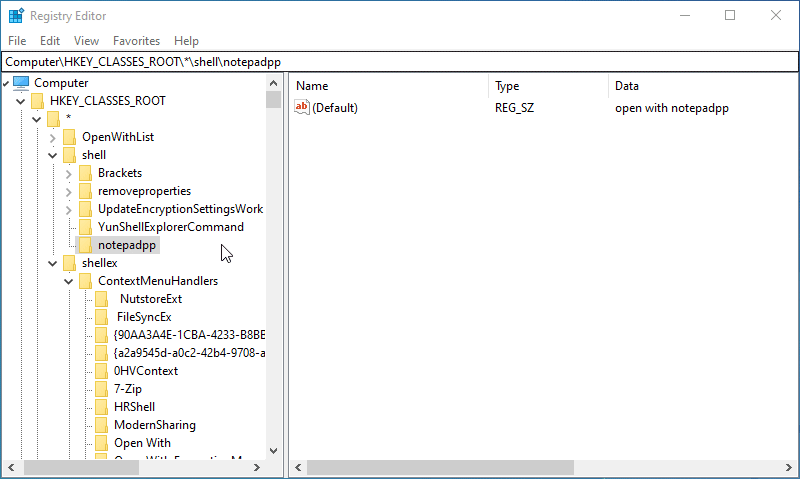
The menu item has now been added the file's context menu.
If you want to add an icon for it, follow these steps.
1. Add a new String named "icon" in the "notepadpp" folder.
2. Change its value to the location of the icon file(.ico file).
Tips: You can find suitable icons from icon archive. Alternatively, you can use the system's built-in icons: %windir%\System32\shell32.dll,-2
The above operations apply to the file context menu. The registry locations for folders and the desktop context menu could appear as follows.
Folder Context Menu: Computer\HKEY_CLASSES_ROOT\Directory\shell.
Drive Context Menu: Computer\HKEY_CLASSES_ROOT\Drive\shell.
Desktop Context Menu: Computer\HKEY_CLASSES_ROOT\Directory\Background\shell.
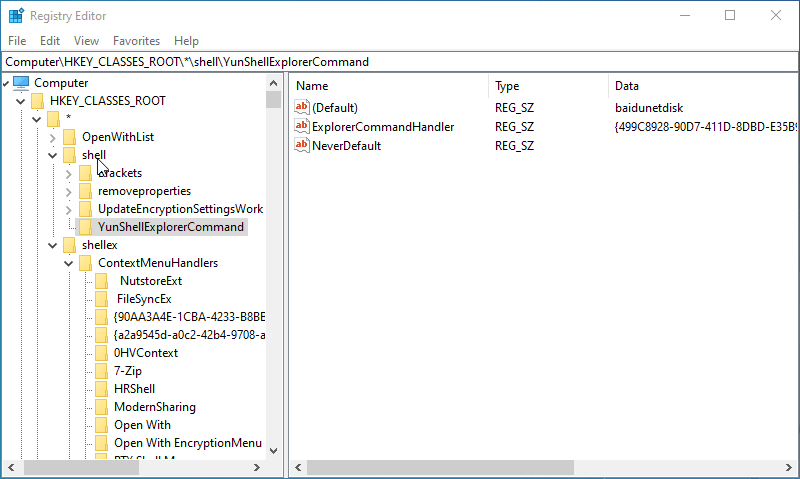
Note: Menus for some programs may be located in HKEY_CLASSES_ROOT\program name\shell or HKEY_CLASSES_ROOT\program name\shellex\ContextMenuHandlers.
You can add, modify, and delete the corresponding items to edit the respective context menu. This method may seem somewhat complex and is not beginner-friendly, so next, I will demonstrate how to achieve the same purpose using powerful third-party software.
Way 2: Edit the Context Menu Using Dedicated Software
In this section, I will use Easy Context Menu to edit the context menu.
Step 1: Download the zip file from this page.
Step 2: Unzip the file and run either "EcMenu_x64.exe" or "EcMenu.exe" based on your operating system.
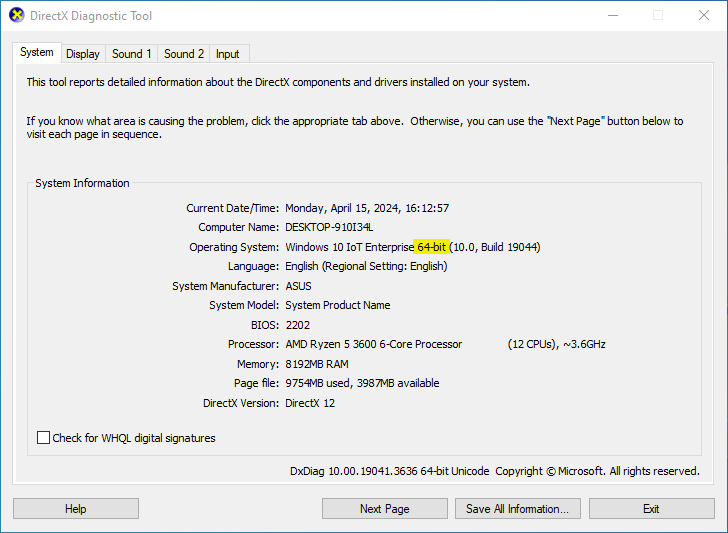
Tips: You can check your system information by running the dxdiag command.
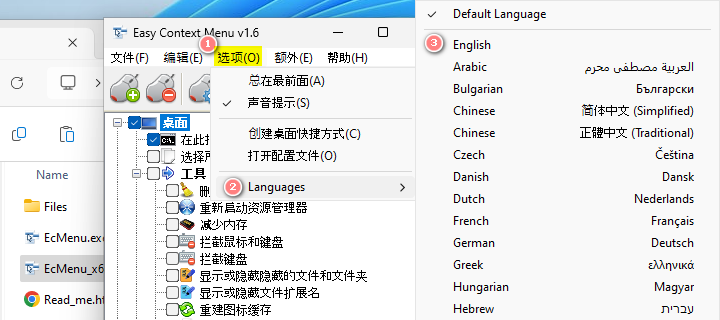
Step 3: Change the language based on the provided diagram.
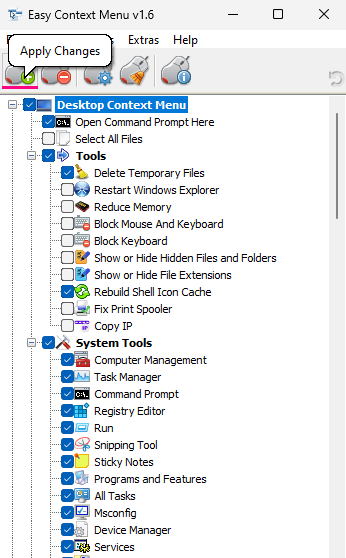
Step 4: Select the options you want to add from the default list.
Step 5: Press Ctrl + S or click on the "Apply Changes" icon in the top-left corner of the interface to save changes.
The basic configuration is complete. If you wish to add customized options, follow these steps:
1. Click the "List Editor" icon or press Ctrl + E to open the List Editor window.
2. Click on "Add New" button and select an executable file in the pop-up window.
3. You can change its display location through the "Target Context Menu" dropdown menu.
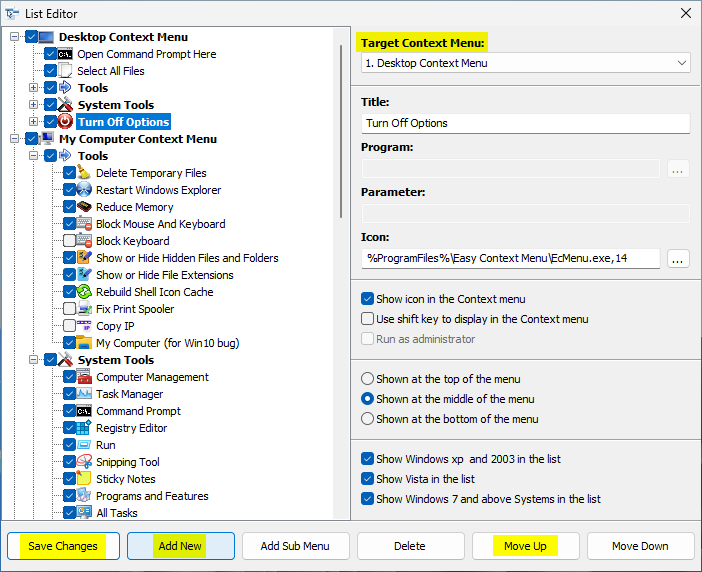
Tips: For additional customization, explore further options in this window.
4. Click on "Save Changes" to confirm.
5. Click the "X" icon to exit the window.
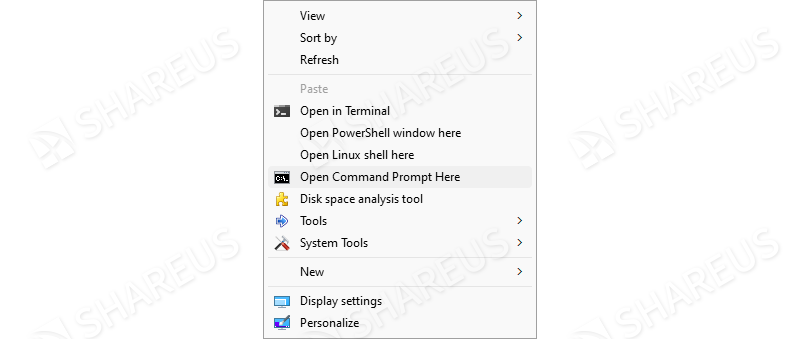
6. The new option has been added, and it can be added in the context menu later.
Note: In Windows 11, press Shift and then right-click to display the complete context menu.
Conclusion
This article presents two methods for customizing the context menu in Windows 10 and 11. The first method is suitable for users who prefer not to install additional software and have some familiarity with the Windows registry. In contrast, the second method is more user-friendly for average users, offering a simpler and more intuitive approach. Choose the method that best suits your needs to customize your context menu in Windows.
Watch the Video Tutorial
Learn how to edit context menu in Windows - Watch the video now!