How to Fix Error Code 0x80070490 in Windows Update

September 27, 2023
Error code 0x80070490 usually represents that something goes wrong during the Windows update process. The common reasons for error 0x80070490 may include corrupted update files, misconfigured system settings, Windows update service exceptions, and so on.
If you haven’t fixed it immediately, you may lose new features and security patches. Fortunately, you will find how to fix error code 0x80070490 in the windows update with 6 effective ways.
Fix 1: Disable Third-party Antivirus Software
Sometimes the third-party antivirus software may have generated some files that conflict with the Windows Update files. Therefore, try disabling the antivirus program and then reboot your computer to check if the error has been fixed. If so, please delete this kind of antivirus software and replace it with the default Microsoft Defender. If that doesn't work, try the following methods.
Fix 2: Create a New User Account
The update error 0x80070490 usually occurs when the logon user profile is corrupt. So, you can create a new user account to update your Windows.
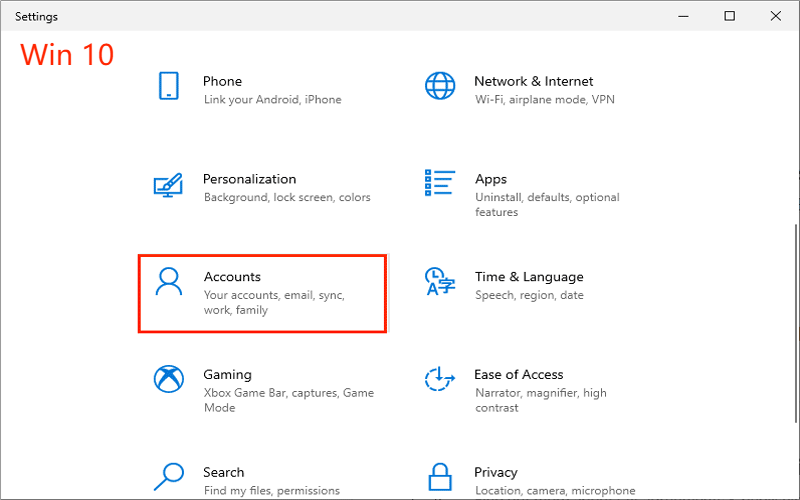
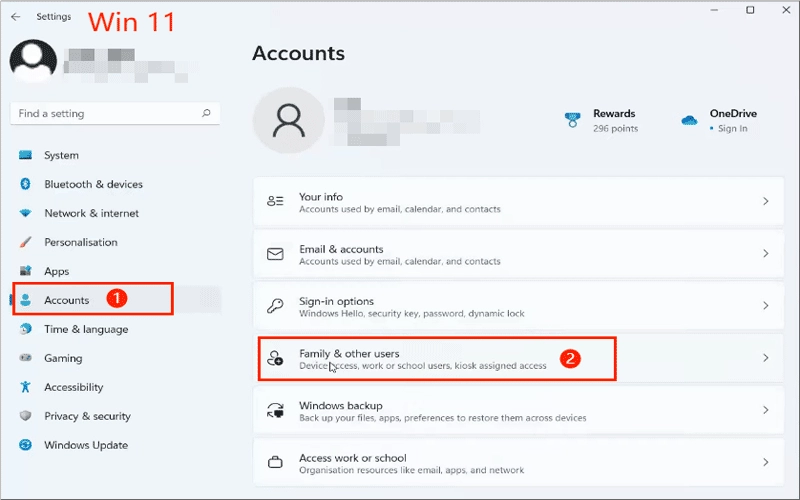
Step 1: Press "Win + I" to open the settings window → Click "Accounts".
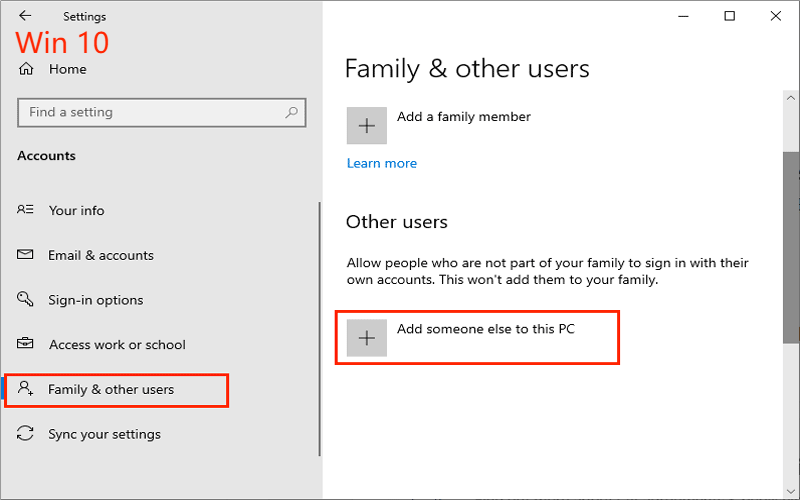
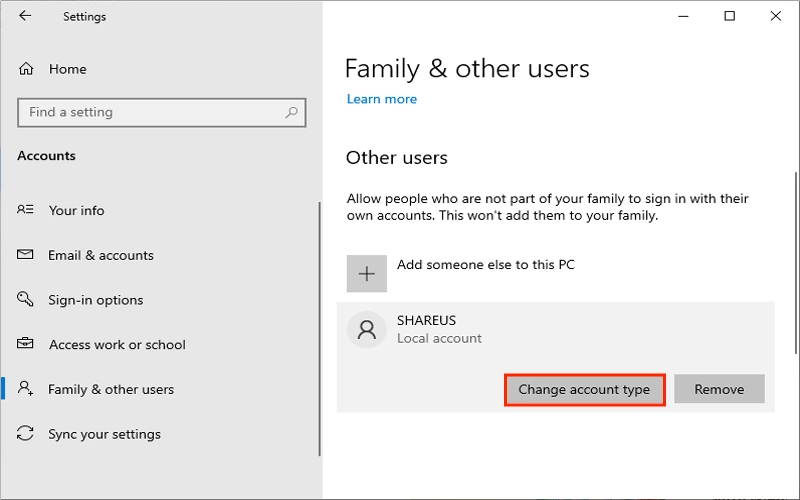
Step 2: Select "Family & other users" → Click "Add someone else to this PC".
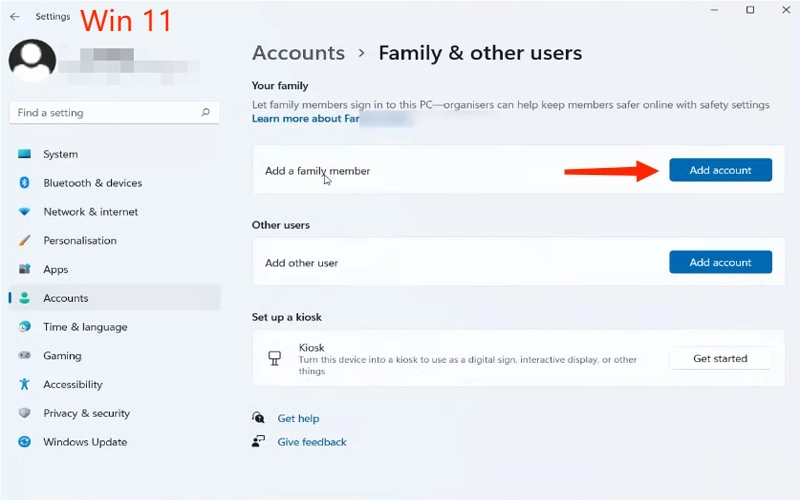
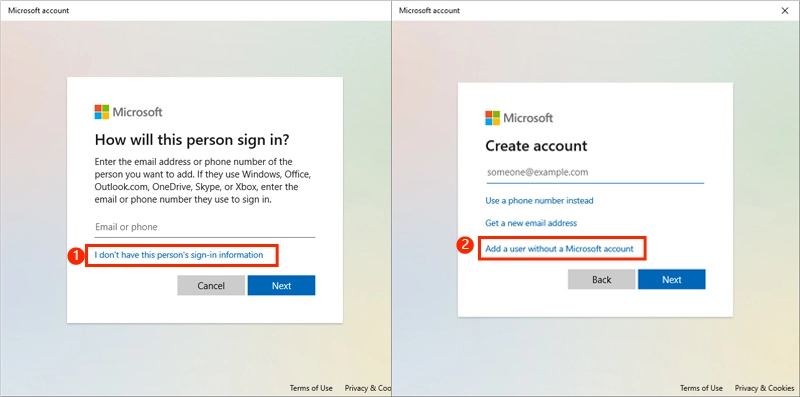
Step 3: Click "I don’t have this person’s sign-in information" → Click "Add a user without a Microsoft account" → Fill in the information of the new account.
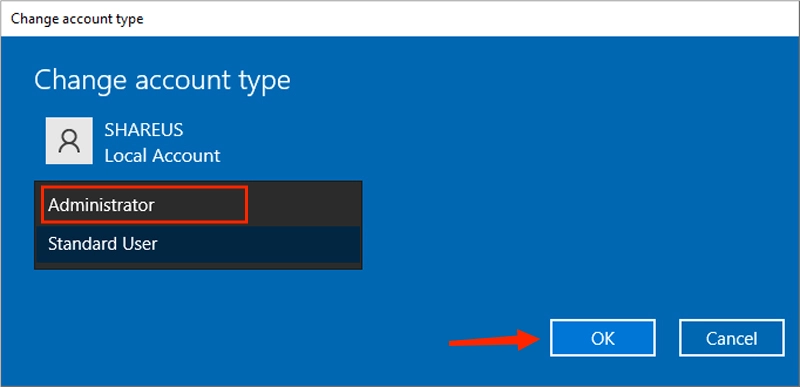
Step 4: Click the account you just created → Change account type → In the Account type, select the "Administrator" option, then click OK.
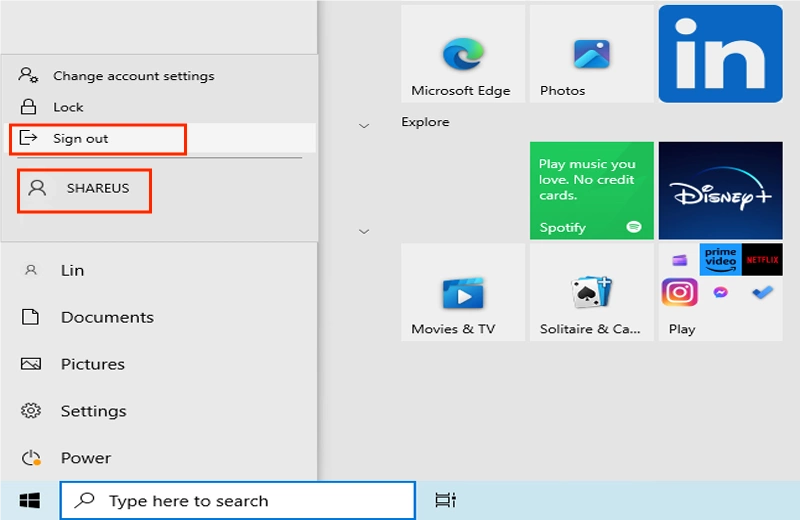
Step 5: Click Start menu → Click Users to sign out the located one and sign in the new one. Then try to update Windows with the new account to determine whether the error code 0x80070490 is repaired.
Fix 3: Delete ID Cache via Registry
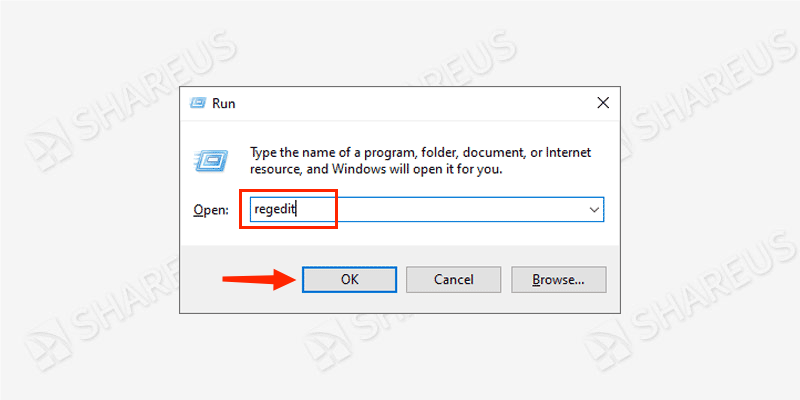
Step 1: Press "Win + R" → Type "regedit", then click OK.
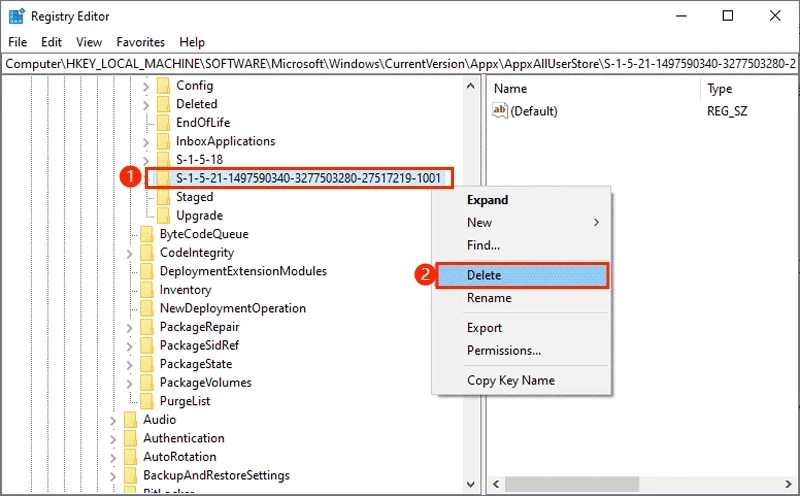
Step 2: Visit the following path:
HKEY_LOCAL_MACHINE>SOFTWARE>Microsoft>Windows>CurrentVersion>Appx>AppxAllUserStore
Step 3: Find the numbers similar to “S-1-5-21-1497590340-3277503280-27517219-1001” → Right-click that file → Click "Delete". If there is more than one file similar to the above form, delete them all. After deleting these files, restart the PC then try to update again.
Fix 4: Use Windows Update Troubleshooter
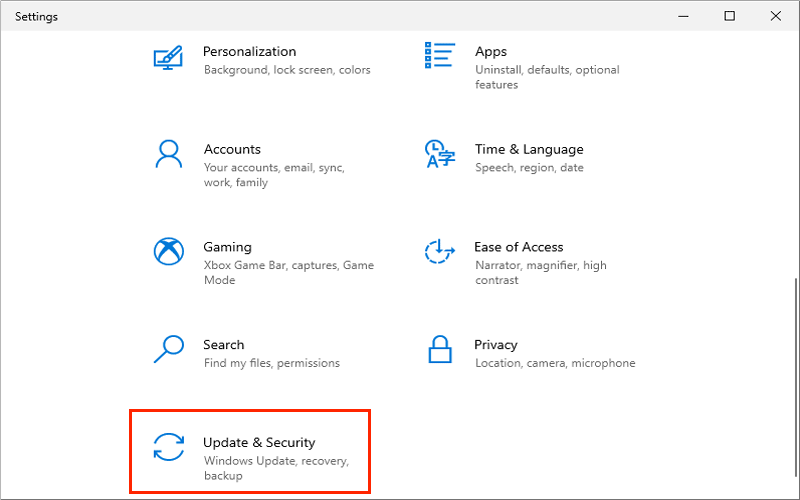
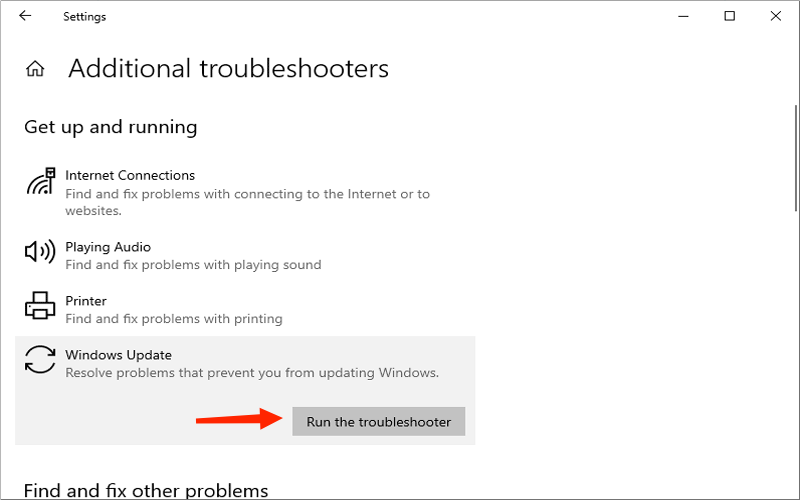
Step 1: Press "Win + I" → Click "Update & Security" → Select "Troubleshoot" → Click "Additional troubleshooters".
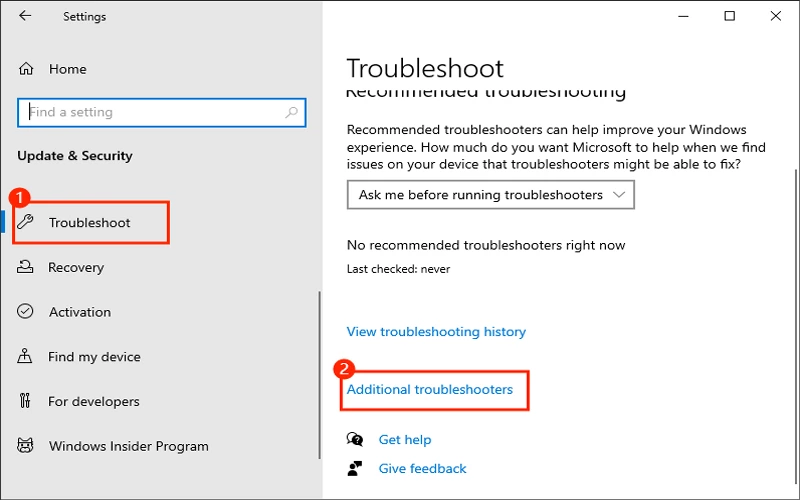
Step 2: Find "Windows Update" → Run the troubleshooter. After detecting, restart your computer to check if the error code 0x80070490 is fixed.
Fix 5: Reset Windows Update Services
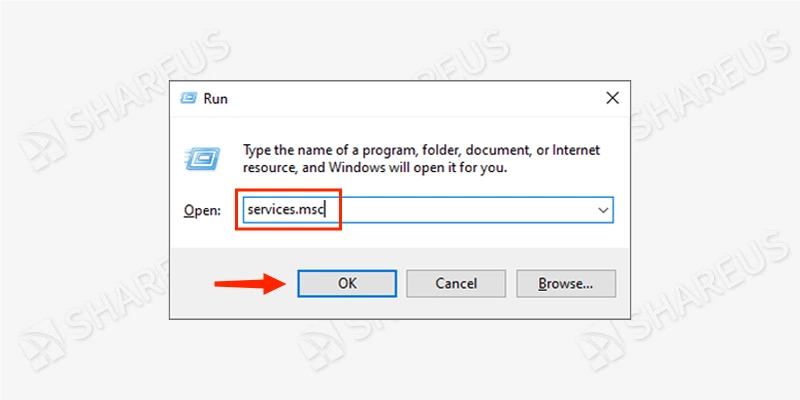
Step 1: Press "Win + R" → Type "services.msc" then click OK.
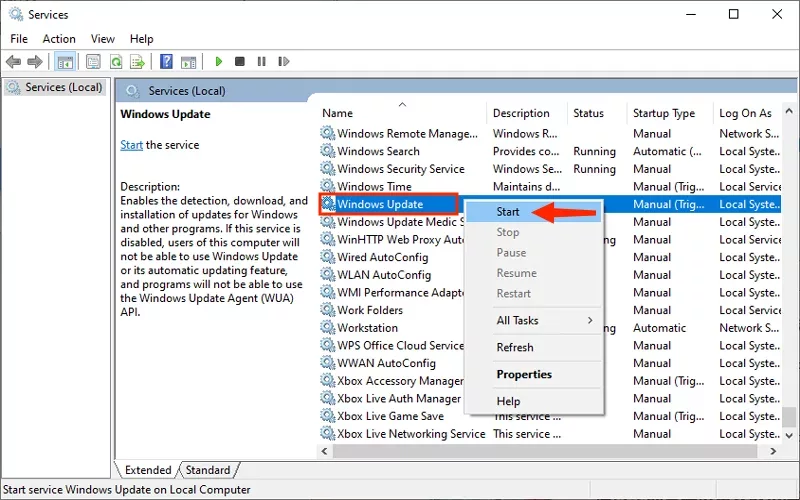
Step 2: Find out Windows Update/Background Intelligent Transfer/Cryptographic Services/ Windows Installer to check if these services are started → If not starting, right-click these services → Click Start.
Fix 6: Rename SoftwareDistribution File
Before renaming the SoftwareDistribution file, you should first disable the Windows Update service.
Step 1: Press "Win + R" → Type "services.msc" then click OK.
Step 2: Find out "Windows Update" → Right-click the service → Click Stop.
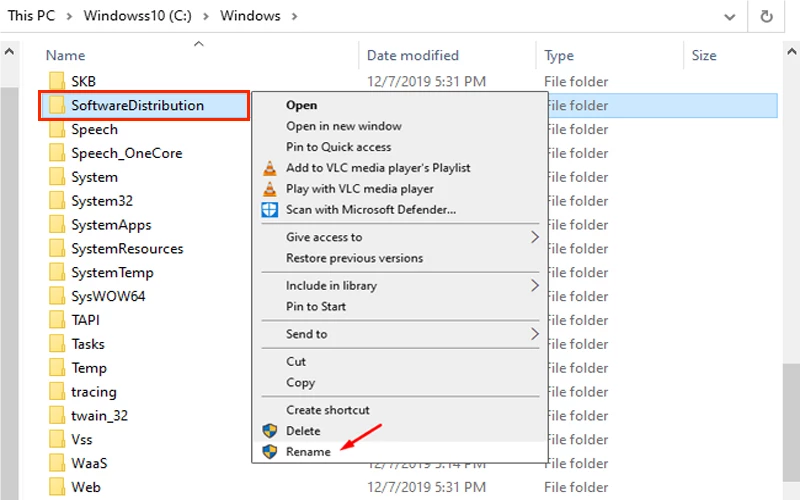
Step 3: Search the path: C:\Windows\SoftwareDistribution → Right-click the file → Click Rename as "SoftwareDistribution.old"
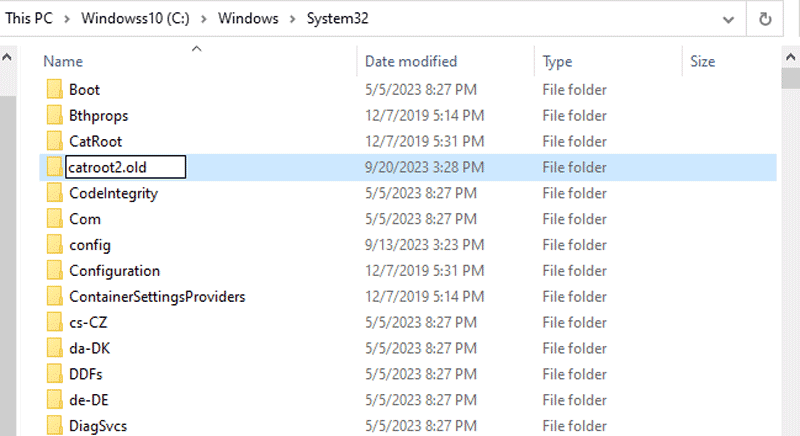
Step 4: Search the path: C:\Windows\System32 → Find the "catroot" file → Rename it as "catroot2.old".
Step 5: After renaming the two files, start the Windows Update service. Then reboot your computer to check if the error 0x80070490 is fixed.
For other methods like using SFC/DISM or manually installing the independent package to fix, please refer to how to fix error code 0x8007000d in windows 10 & 11 update.