How to Move Virtual Memory to Another Drive in Windows

June 22, 2022
All the programs that run on the computer need to go through the memory to be executed, thus the memory can be exhausted if a large or many programs are executed. In order to solve this problem, virtual memory was implemented. A portion of the hard disk space is used as memory, and this space is called virtual memory. By default, it is located at the system C: drive in the form of paging file. To free up your main drive and improve the PC's performance, moving virtual memory to a different drive is highly recommended.
1. What is virtual memory
Virtual memory means that a portion of the hard disk space is absorbed to be used as memory. When memory is exhausted, the computer automatically calls on the hard disk to act as memory and relieve the memory crunch. If the computer does not have enough random memory (RAM) to run programs or operations, then Windows compensates with virtual memory. It combines the computer's RAM with temporary space on the hard disk. When RAM is running at a slow rate, it moves data from RAM to a space called a paging file. Moving data into the paging file frees up RAM so that work can be done. Therefore, virtual memory is also commonly known as paging file, with the extension sys.
2. How to move virtual memory to another drive
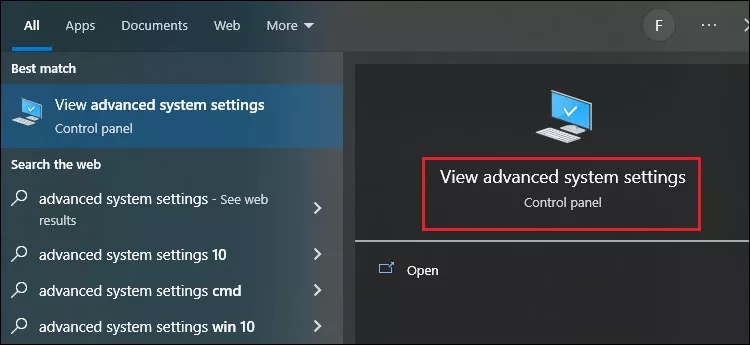
Step 1: Type and search advanced system settings in the search bar and select View advanced system settings option to proceed.
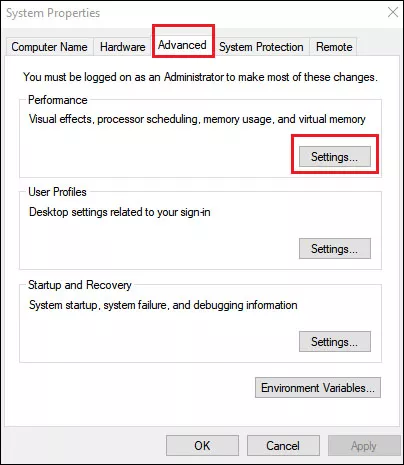
Step 2: System Properties window will open, choose Advanced option and click the Settings button under Performance box.
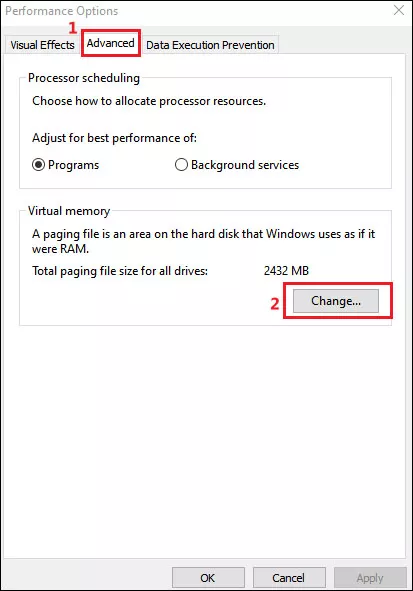
Step 3: Performance Options window will pop up, choose Advanced tab and click Change in Virtual memory section.
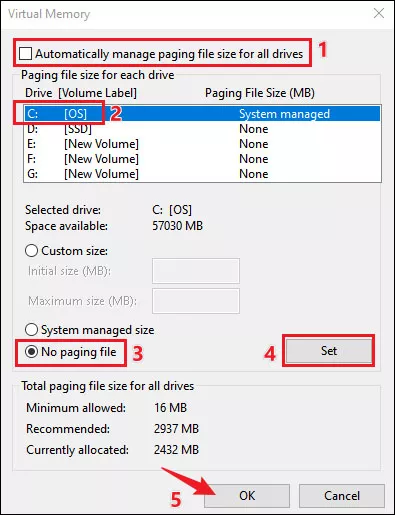
Step 4: Uncheck the box in front of Automatically manage paging file size for all drives, so that you can makes changes on the default settings.
Step 5: Click on the drive storing pagefile.sys (commonly C: drive).
Step 6: Select No paging file option and click Set. Then click OK.
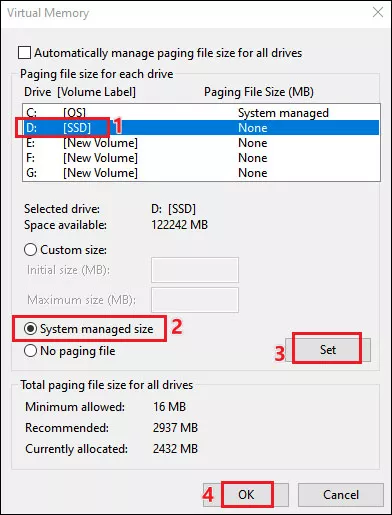
Step 7: Choose the different drive you want to move the pagefile.sys to.
Step 8: Select System managed size option and click Set. Then click OK.
Step 9: Restart your device to make the changes effective.
3. How to confirm virtual memory on the new drive
To confirm virtual memory is working on a new drive, you can follow these steps:
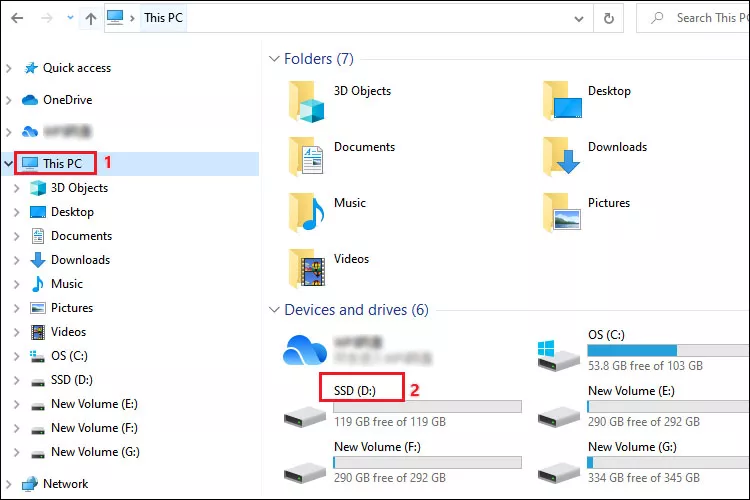
Step 1: Press Windows+E to open File Explorer and select This PC. Under Devices and drives, double-click on the drive which is currently storing the paging file to open it.
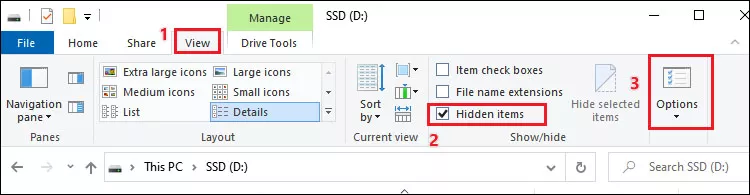
Step 2: Choose View tab and check Hidden items.
Step 3: Double-lick on Options.
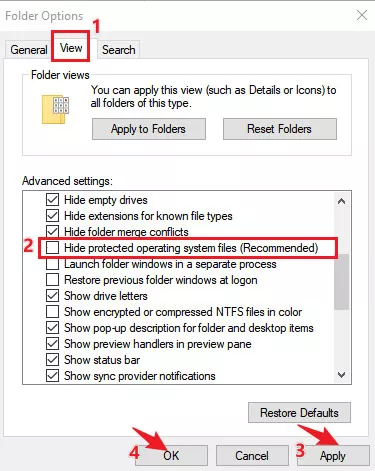
Step 4: In Folder Options window, choose View tab and uncheck Hide protected operating system files item. Then click Apply and OK.
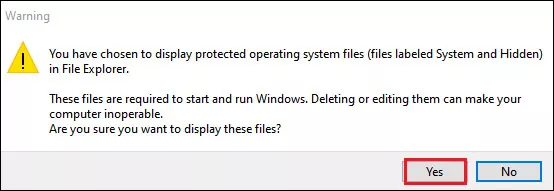
Step 5: If you see a warning message, click Yes to continue.
Then you will see a pagefile.sys file displayed in the new folder.
Watch the Video Tutorial
Learn how to move virtual memory to another drive - Watch now!