Processor Thermal Trip Error in Windows 10/11: Here’s how to fix it

September 1, 2022

Typically, a CPU is configured to perform normally within a specific temperature and once its temperature exceeds a safe threshold, the thermal trip is activated. The processor thermal trip is meant to protect the CPU from being overloaded by continuous intense tasking, shutting down the system when the processor overheats, thus ensuring that the processor remains at a cool temperature. You may get the "Thermal trip failure" error message after a forced shutdown, which implies the temperature of your processor is reaching its threshold. In this post, we will discuss why could this issue happen and what to do if thermal trip error appears.
Why processor thermal trip failure would happen?
- Insufficient thermal paste between the processor and heat sink or the heat sink is not securely fastened.
- Fans are not working properly or too much dust is accumulating around the vents.
- Overclocking leads to overheated processor.
- CPU-intensive applications burdened the system.
How to solve the processor thermal trip error?
Before we performing the following fixes, it is important to note that do not turn on the computer immediately after a thermal shutdown. You will have to wait until the components inside the computer have cooled down completely. The cooling time depends on the room temperature and usually takes at least ten minutes. If the room temperature is hot, you are advised to move the computer to a cooler location.
1. Check core temperature
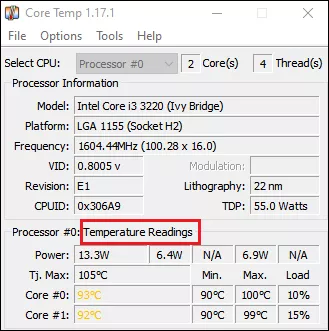
Step 1: Download CoreTemp from the official website.
Step 2: Launch the application and all the information of your processors is involved. Pay attention to the temperature readings.
2. Check the ventilation fans
Keeping the fans running properly is the most essential step in getting your computer to cool down. Power off the computer and open your PC case, then you will first need to check that the fan blades are not damaged or not hung up on anything else. If much dust has gathered around the fan or vents, sweep it away since dust is sometimes the main cause of overheating. If the internal chassis looks both undamaged and clean, reconnect the power cable, but do not close the lid of the chassis so that good air flow can help it cool down. Then you need to turn on the computer to check if the computer fan, CPU fan and graphics card fan are spinning properly.
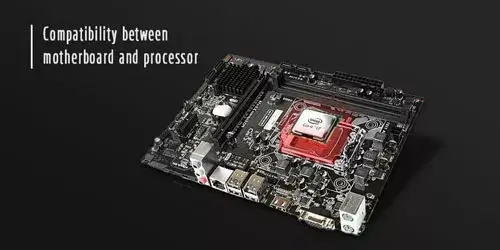
3. Check thermal paste and heat sink
There is also a less common case where the processor overheats due to insufficient thermal paste between the CPU and its heat sink. Removing the old thermal paste and reinstalling the heat sink will be the only solution. Find a professional repair service if you are unable to perform this operation.
4. Close background process of high CPU usage
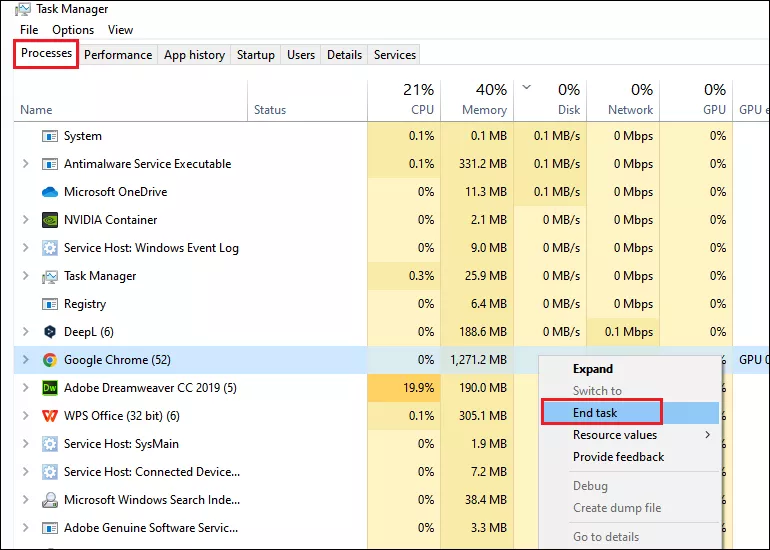
Step 1: Press Ctrl + Shift + Esc to open Task Manager.
Step 2: Choose Processes tab and find out the running processes of high CPU usage.
Step 3: Right-click on a program and select End task.
5. Disable overclocking
If your CPU is overheating because you have overclocked it, please stop doing so.
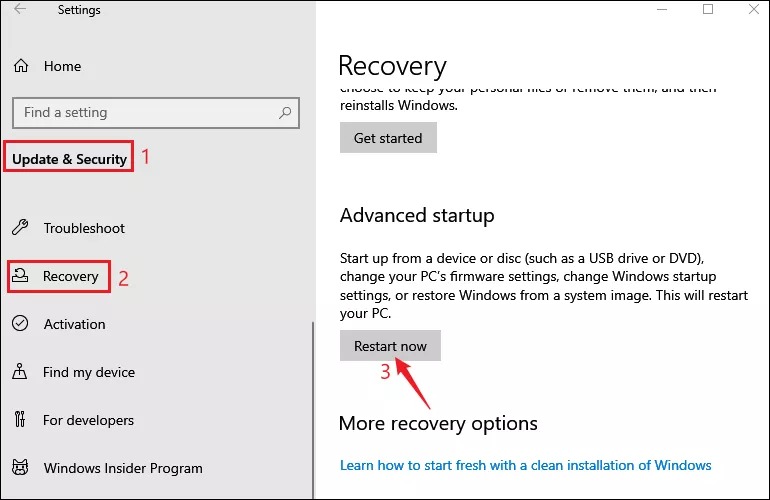
Step 1: Press Windows+I to open Settings and select Update & Security >Recovery. Then click on Restart now under Advanced startup.
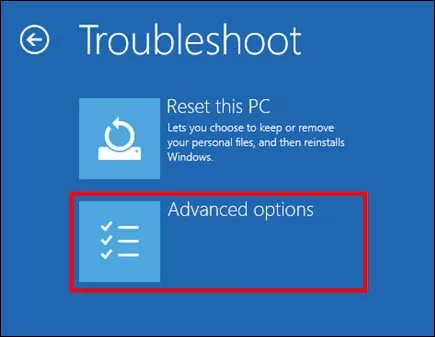
Step 2: Once it restarts, choose Troubleshoot option and select Advanced options.
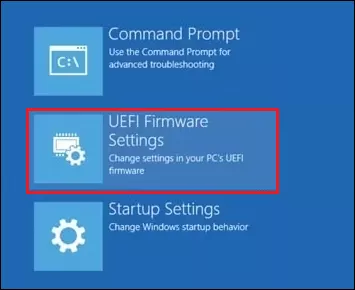
Step 3: Select UEFI Firmware Settings and click Restart.
Step 4: Then the BIOS or UEFI menu will open, choose the Advanced tab and select Performance.
Step 5: Find an option marked as overclock or something similar and disable it.
Step 6: Press F10 to save the change and then restart your system.
6. Increase RAM
When you check the CPU usage of the background programs in the fourth method, you find no programs are straining the system despite the high CPU usage, then it is likely that the memory is insufficient.
Also read: RAM usage high: 12 ways to free up your RAM