"USB device not recognized" Malfunction And Fix

Feb 21, 2023
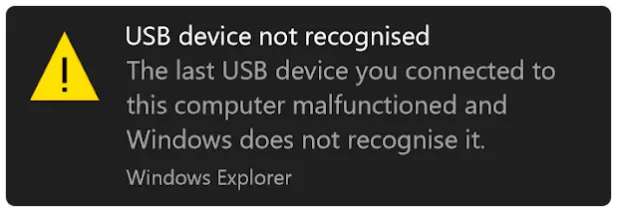
Most of windows users have encountered the " USB device not recognized " and " USB flash drive keeps disconnecting to Windows 10 pc " error. When you connect a USB driver to the computer, the USB driver isn't shown up but a window pops out with a message "USB device not recognized". Definitely, you can ignore the warning and it will disappear from the desktop for a few minutes on its own, but it is also a suggestion that your USB device is not being accessible.
In this article, we will focus on the causes of the problem and explain how to fix it, and how to recover the lost data after fixing the error.
1 : The causes of "USB device not recognized"
The tip doesn't mean your USB driver is dead and can't be used further if your USB device undiscovered. The potential causes of this malfunction are various, and we have collected some common reasons for you to check and solve the problem.
- 1. The USB driver currently loaded on your PC has already become corrupt or unstable.
- 2. The windows system should update that it doesn't match to the USB device level.
- 3. The USB device might contain virus or malware which prevent computer reading USB driver.
- 4. Due to the low system battery setting.
- 5. The port connected to the USB device could be faulty.
- 6. The USB driver need to update to fix the bug.
2 : The solution to "USB device not recognized"
Fix 1: Restart Your Computer
This is the simplest method and it has a great chance to solve the problem successfully. Reboot computer can clean up all the running programs and release sufficient memory for USB device to run. Generally, it is effective to fix most of computer problems if you restart.
Fix 2: Update the USB Device Driver
Outdated drivers can generate conflicts with other system devices. Driver updates fix security and compatibility problems, and can ensure that your computer in a good operating condition.
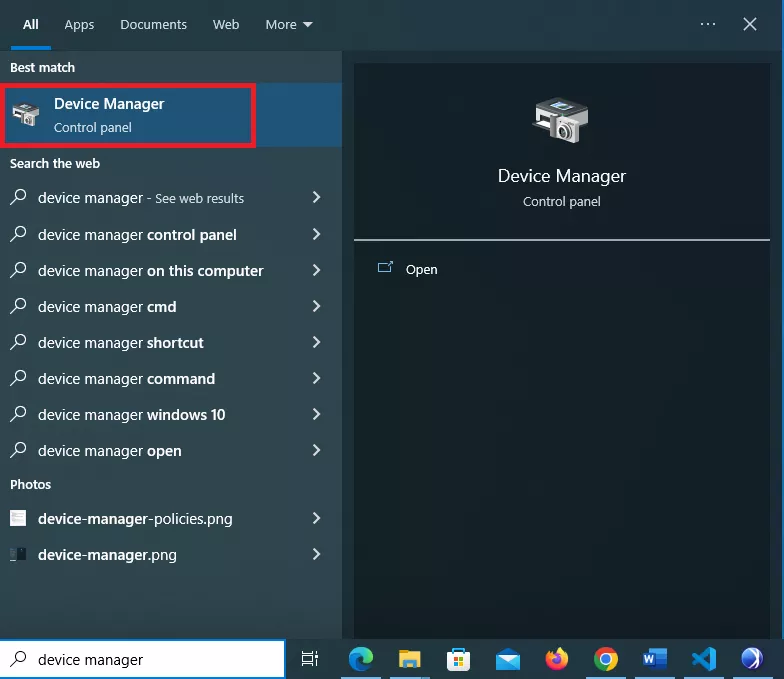
Step 1: Type Device Manager in the search box of the taskbar, and then select Device Manager from the result list.
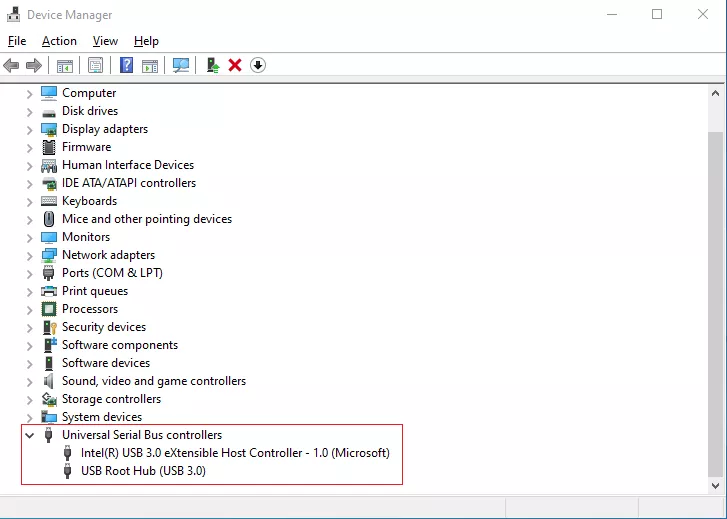
Step 2: Click Universal Serial Bus Controllers and expand it. From the list, choose a USB component you would like to update and then right-click, and choose Update driver.
Step 3: Select Search automatically for updated driver software.
Fix 3: Change USB Root Hub Settings
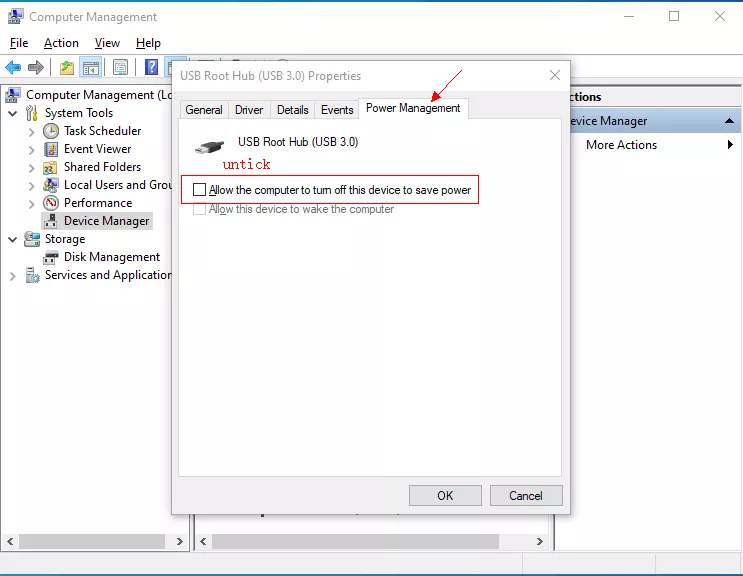
The system is permitted to save power with turning off connected USB device. Cancel the default setting can fix the error quickly.
Same to the first two steps of Fix2, select and right-click USB Root Hub from the list of Universal Serial Bus Controllers. A new window will display, choose the Power Management tab, uncheck the checkbox and then click OK.
Fix 4: Run USB Troubleshooter
Windows operating system has its own tool-USB troubleshooter-to scan errors.
Step 1: Right-click your USB driver and select item Properties.
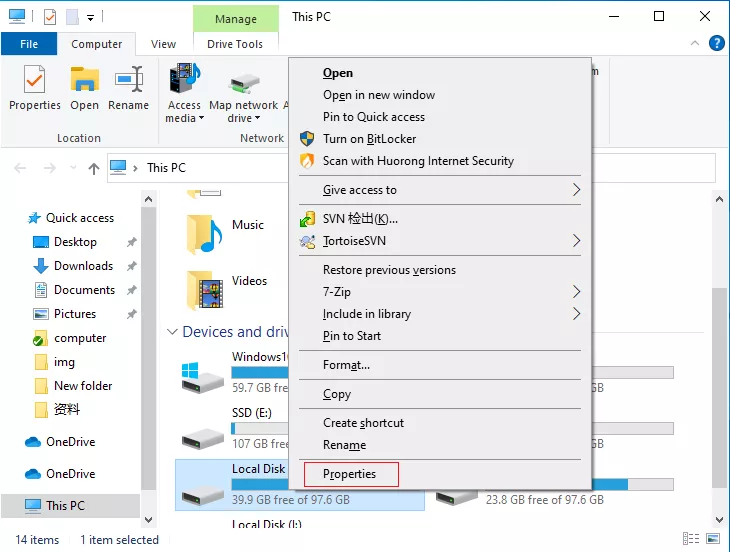
Step 3: Click Tools tab in the new open window, and then the click Check button.
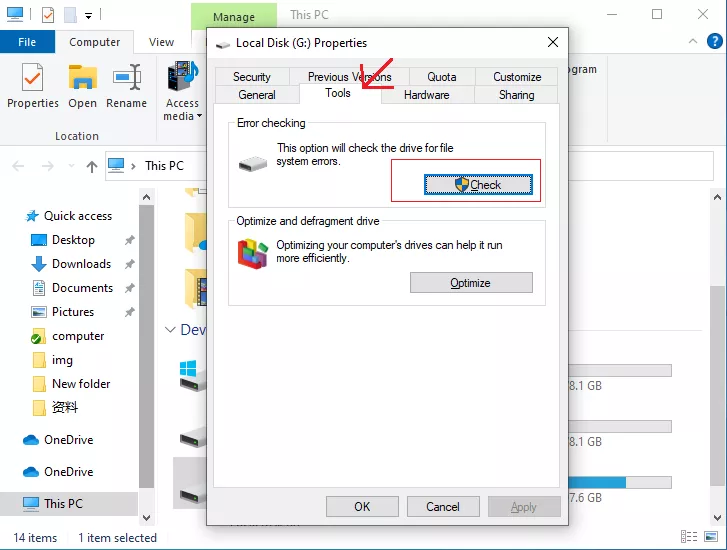
Step 4: Select the Scan and repair driver option. Wait for the system to scan error patiently.
Fix 5: Disable the USB Selective Suspend Setting
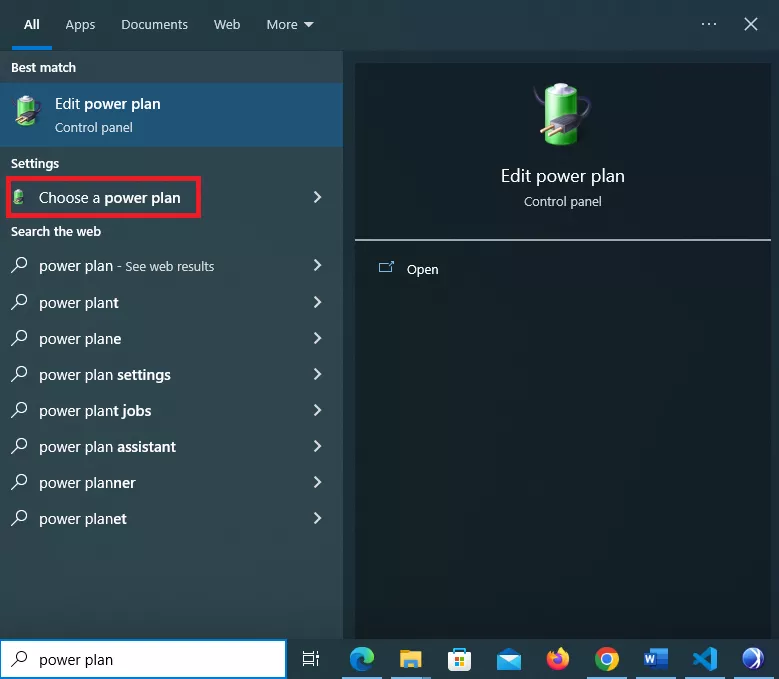
Step 1: Type Power Plan in the search box and choose the result of Choose a power plan.
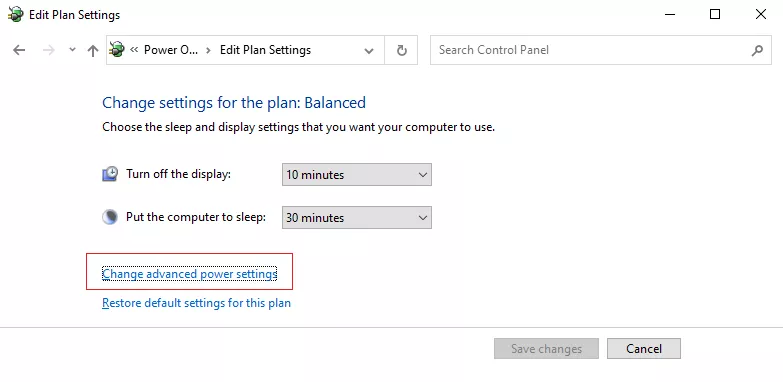
Step 2: Click the Change plan settings option in the Balanced model.
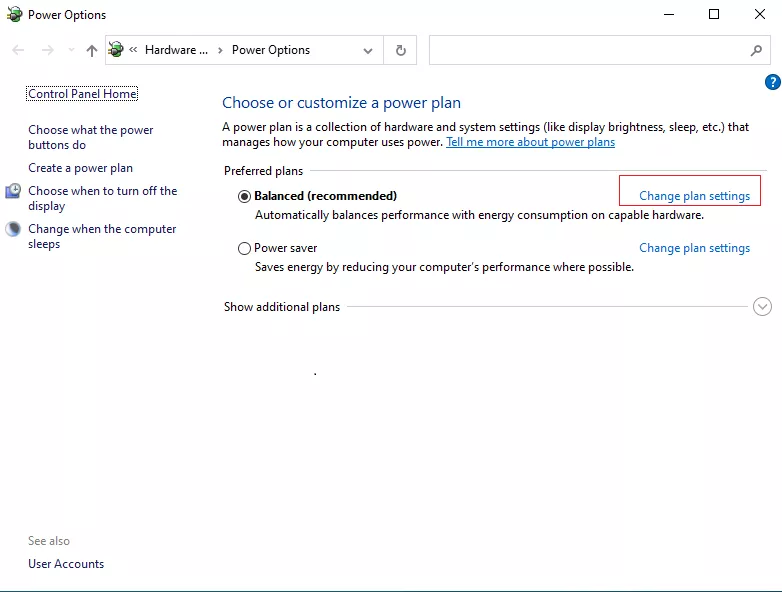
Step 3: Select Change advanced power settings.
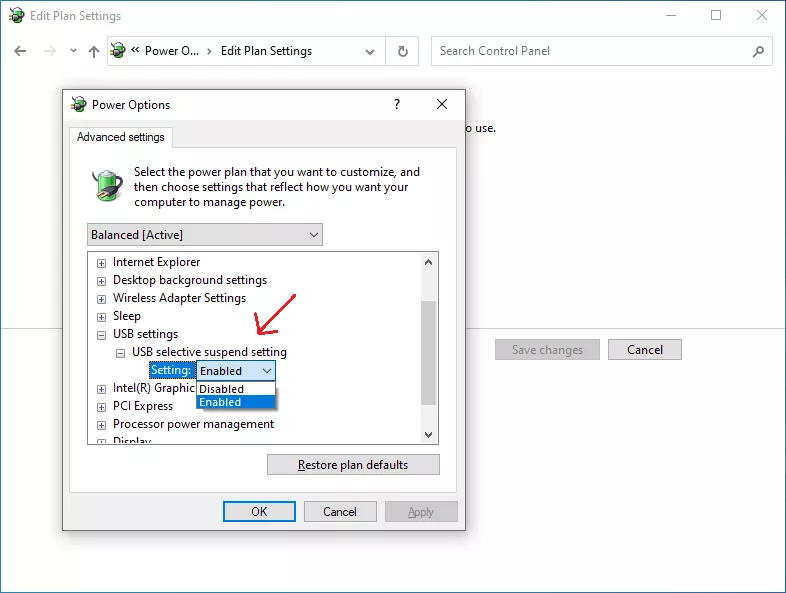
Step 4: Click the box with the plus sign to expand USB Settings. Then, tap the plus sign to expand USB selective suspend settings. From the drop-down menu, select Disabled. If you are using a laptop, select Battery and then choose disabled from the drop down menu. Tap Apply and then click OK.
3 : How to recover lost data after fixing the error?
If the files stored in the USB device lost and it is significant to you, you may need to use data recovery software like iSunshare BitGenius to restore your data.
iSunshare BitGenius is a robust data recovery software that can recover lost data from NTFS & FAT32 partitions/drivers in Windows OS.
Install iSunshare BitGenius on your computer: https://www.shareus.com/software/bitgenius/
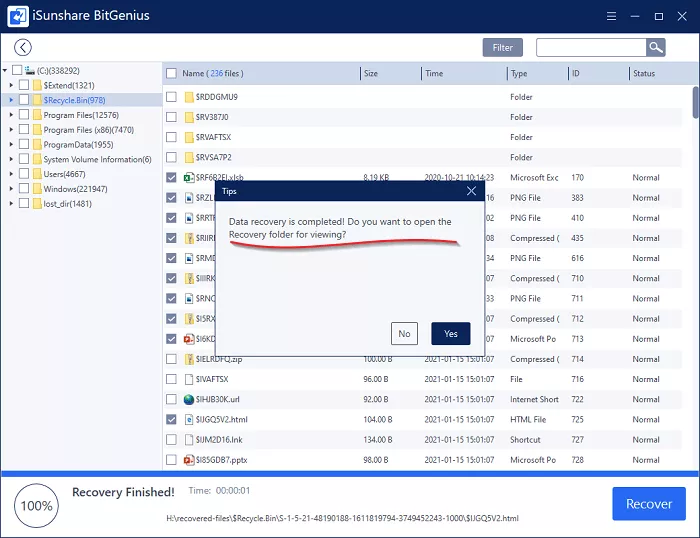
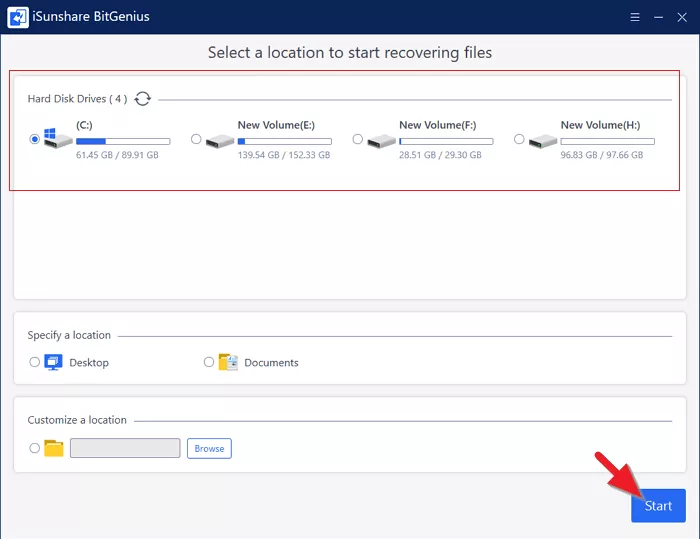
Step 1: Scan out the lost files. Select your storage device and click Start button to scan files.
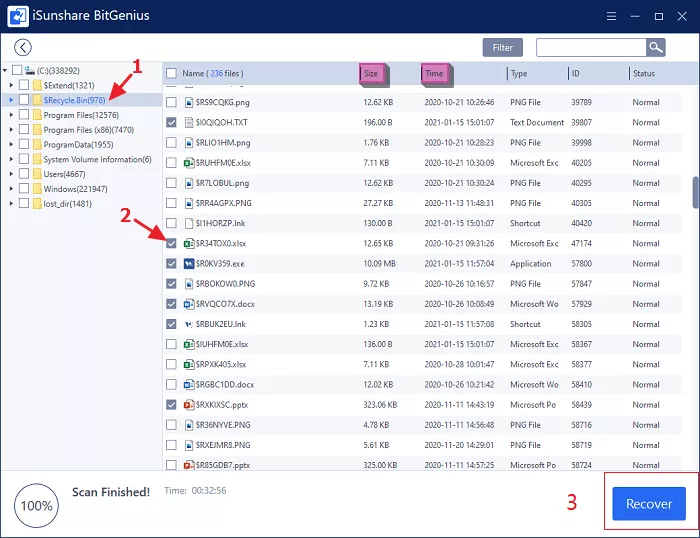
Step 2: Recover the lost data. Choose the files you would like to recover, and then click Recover button.
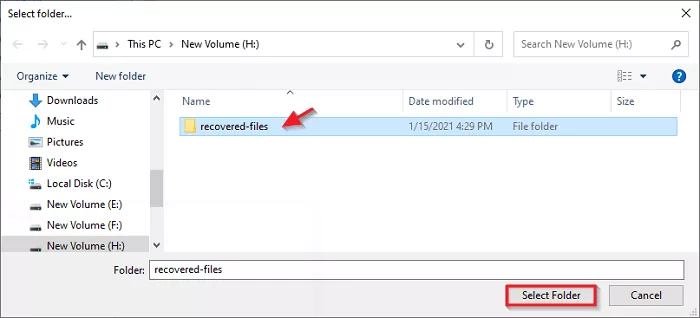
Step 3: Set a destination to store the recovered data. (The destination could not be the location where you lost the data.)
Step 4: Once the data is recovered, a Tips box will be popped out to remind you and you can click Yes button to check the restored content instantly or not.