Fixed: This Webpage Is Not Available in Google Chrome

June 14, 2022

You may not be surprised at the error message "This webpage is not available" while attempting to open a website in Chrome. Many users have encountered this depressing error. A wrong website URL, a dead proxy, invalid browser data and DNS issues, any one of which can result in the occurrence of this error message. But such error can be resolved in easy ways. In this post, we'll discuss how to fix "this webpage is not available" error in Google Chrome.
1. Check the website URL
If you are accessing a certain website by entering the website address in the address bar, make sure the URL is completely correct. Just a missing point can lead to the wrong message. Don't mix up the extension of the website such as ".com", ".org", ".info" and be careful not to leave out letters.
2. Check the proxy settings
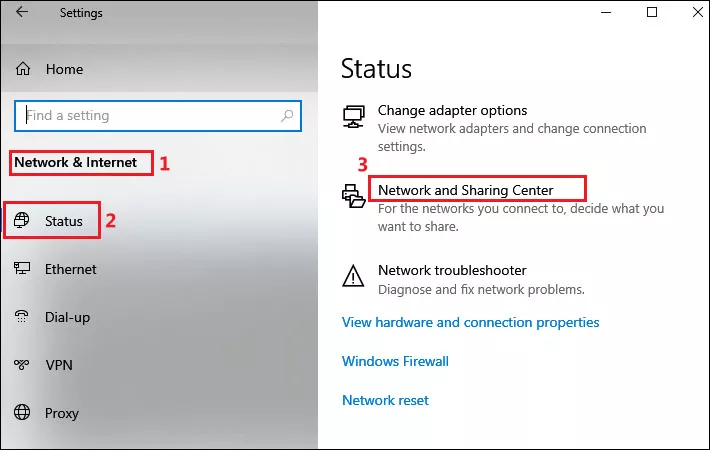
Step 1: Press Windows+I to open Settings and select Network&Internet > Status. In the right pane, scroll down to find Network and Sharing Center and click on it.
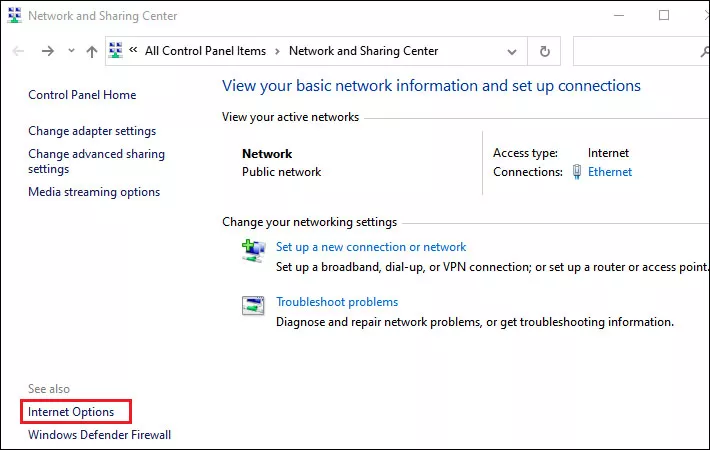
Step 2: In the next window, click Internet Options in the bottom-left corner.
Step 3: Internet Properties window will open, choose Connections tab and click on LAN settings.
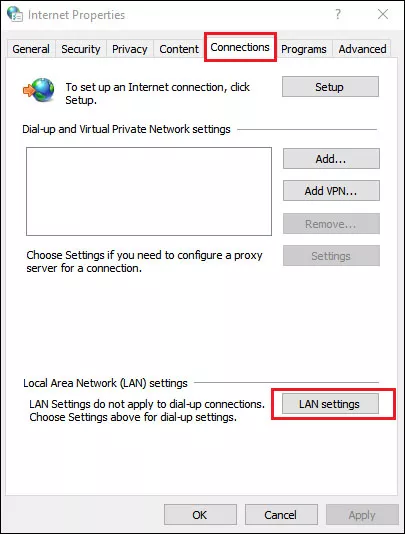
Step 4: Make sure you have not checked the Proxy server option.

3. Clear browser data
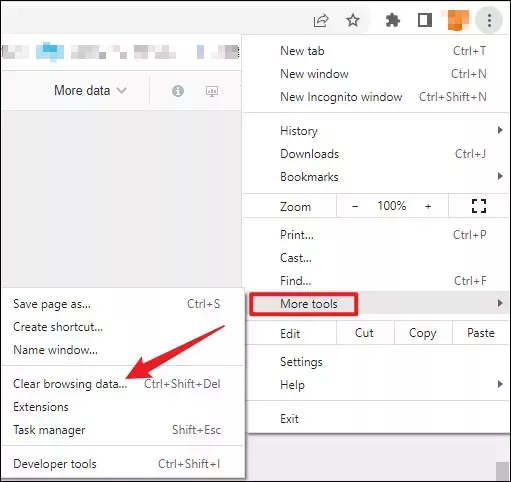
Step 1: Click on the vertical ellipsis on the top right corner in Chrome window. Select More tools > Clear browsing data.
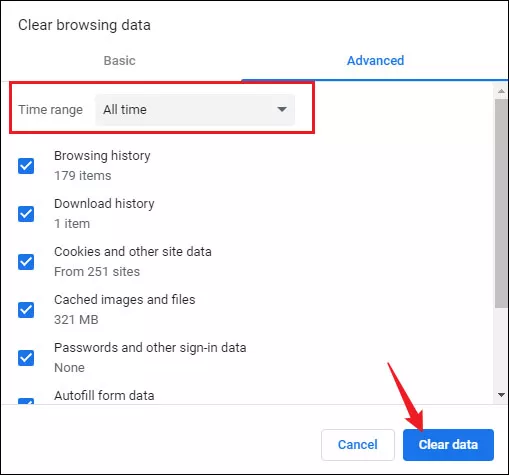
Step 2: Change the Time range to All time and check all the options. Then click Clear data and restart Google chrome.
4. Flush DNS
Step 1: Type and search cmd in the search bar and select Run as administrator.

Step 2: Enter ipconfig /flushdns in the Command Prompt window and hit Enter to execute it.
Step 3: When you see a message "Successfully flushed the DNS Resolver Cache", close Command Prompt and reboot your PC.
5. Change DNS server addresses
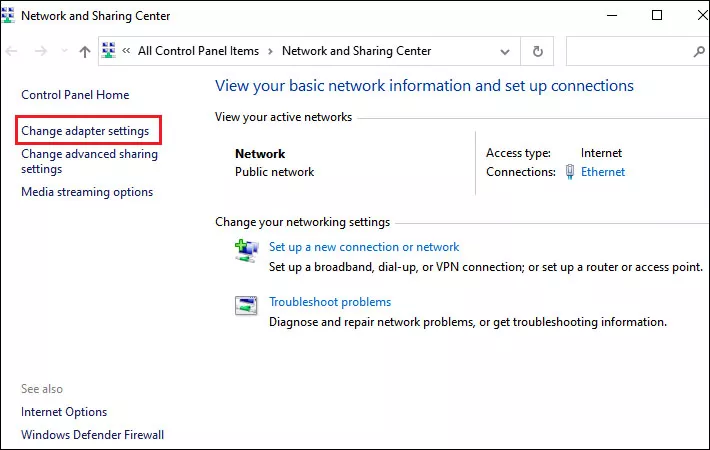
Step 1: Repeat step 1 in method 2 to open Network and Sharing Center.
Step 2: In the next window, click Change adapter settings.
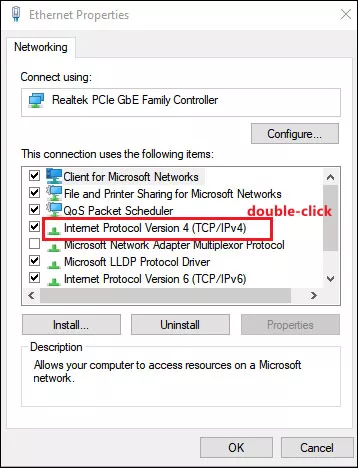
Step 3: Right-click on your Internet adapter and select Properties.

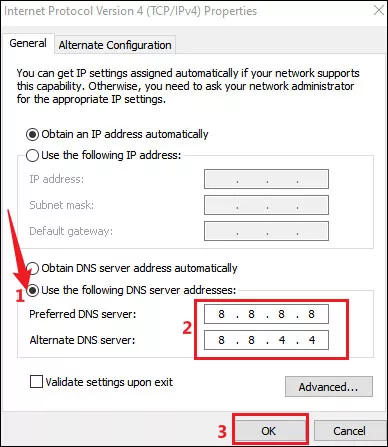
Step 4: Find Internet Protocol Version 4 (TCP/IPv4) and double-click on it.
Step 5: TCP/IPv4 properties window will open, choose Use the following DNS server addresses option and type 8.8.8.8 in Preferred DNS server. Type 8.8.4.4 in Alternate DNS server and then click OK to apply the changes.
6. Reset Transmission Control and Internet Protocols
Step 1: Open Command Prompt as administrator.
Step 2: Enter the following command lines one bye one. Press Enter to launch after pasting each command.
ipconfig/release
ipconfig/all
ipconfig/flushdns
ipconfig/renew
netsh int ip set dns
netsh winsock reset