How to Change Chrome's Default Text Size

March 4, 2022

If you often cannot browse comfortably in Google browser because the font is too large or too small, we recommend you adjust the size of objects in your browser to take your reading experience to the next level. If you are interested, you can experiment with the following settings so that you can find what font and image size are most comfortable for you.
This article aims to help every user who is confused about how to adjust the font and image size on the page finding a solution.
1. Change font and image size
Step 1: Open your Chrome browser.
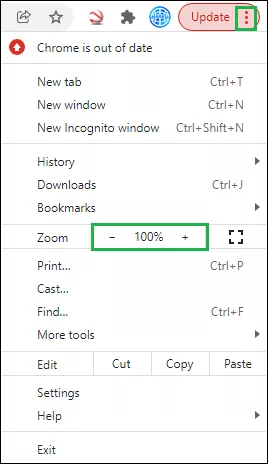
Step 2: Click the three dots in the top-right.
Step 3: In the drop-down menu, click +(plus) or -(minus) in the Zoom section to increase or decrease the font size. ( Chrome's default Zoom settings is 100%)
2. Change font size only
Step 1: Repeat step 1 and step 2 above.
Step 2: Select Settings from the drop-down menu.
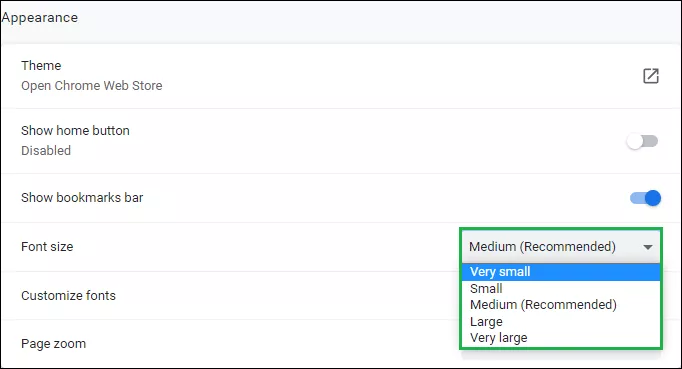
Step 3: On the left side, click Appearance.
Step 4: Under the Appearance section, click the drop-down menu in the Font size entry, and choose a font size that you are desired to set as default. (Five basic font size options are: very small, small, medium(recommended), large and very large.) .
3. Customize fonts
Step 1: Repeat step 1, step 2, and step 3 above.
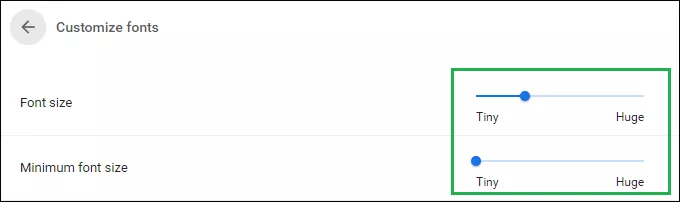
Step 2: Under the Appearance section, click Customize fonts.
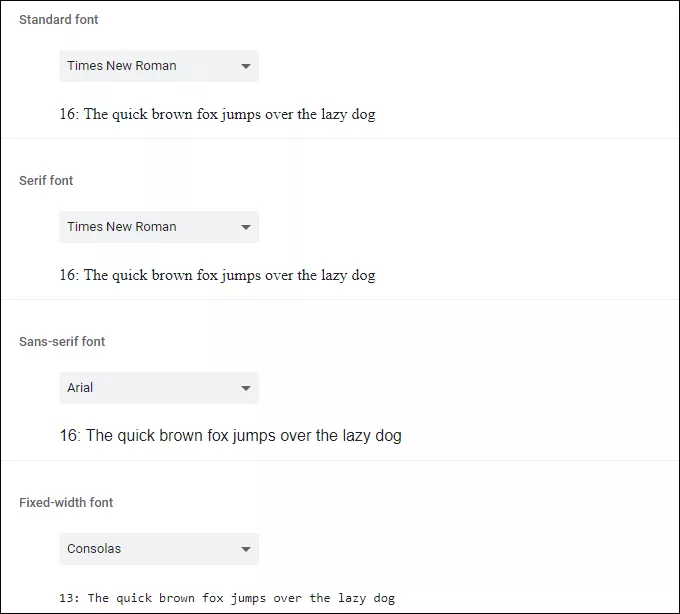
Step 3: On the Customize screen, you can change the font size by adjusting the slider. You can also adjust the minimum font size, which ensures that websites never display fonts that are too small for you to read.
You can even change the actual font faces you use on this same Settings page.