Full Fix: Error in WSClient.DLL Missing Entry in Windows 10/11

July 27, 2022

Have you always seen the pop-up WSClient.dll error message on startup? What does this mean? WSClient.dll file, the short for Windows Store Licensing Client, is an integral component of the Windows operating system that ensures the proper functioning of Windows programs. It contains a set of programs and driver functions applied to Windows software. If the WSClient.dll file is missing, it might cause errors in related programs. For the purpose of getting away from the annoying error message, here are seven fixes on how to troubleshoot WSClient errors on Windows.
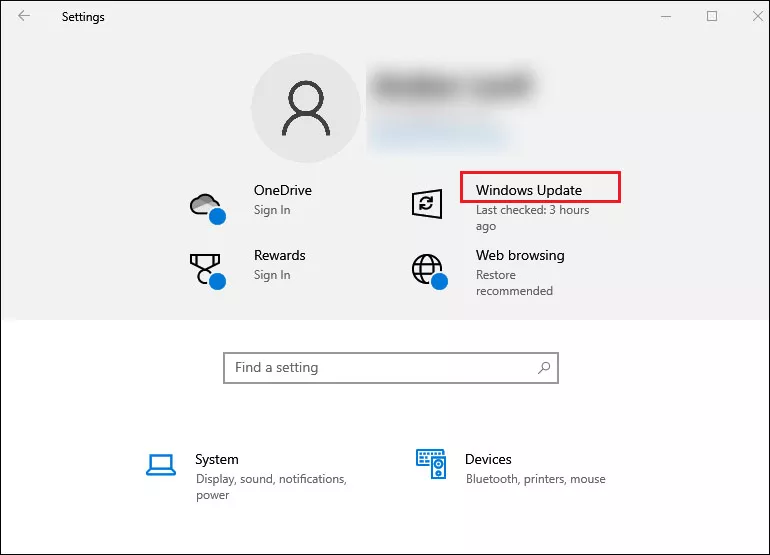
1. Update Windows
Step 1: Press Windows+I to open Settings and select Windows Update.
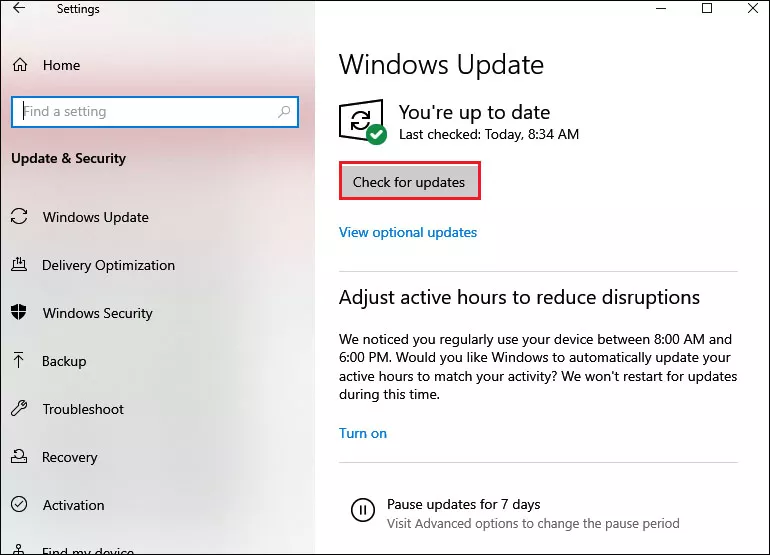
Step 2: Click on Check for updates and if there's an available update, click "Install now" and follow the instructions on screen.
2. Run a WSReset command
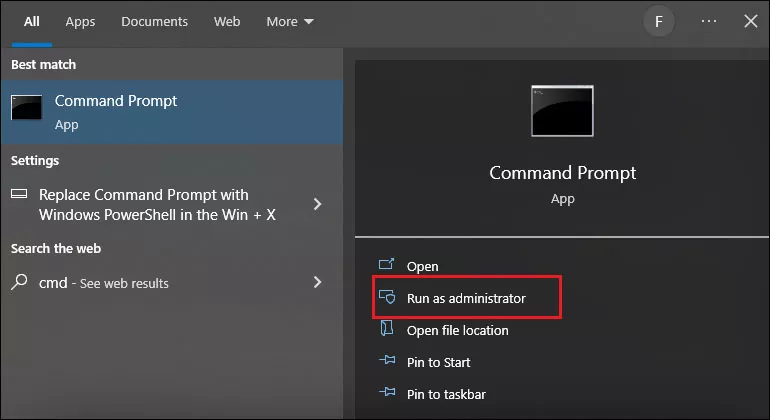
Step 1: Search cmd in the search bar and select Run as administrator.
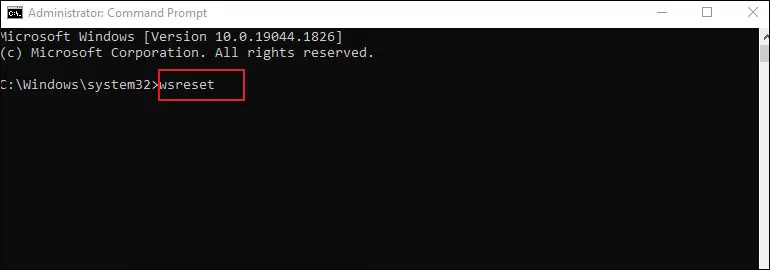
Step 2: Type wsreset and press Enter.
3. Re-register the problematic DLL file
Step 1: Start Command Prompt as administrator.
Step 2: Run the below command first:
regsvr32 /u WSClient.dll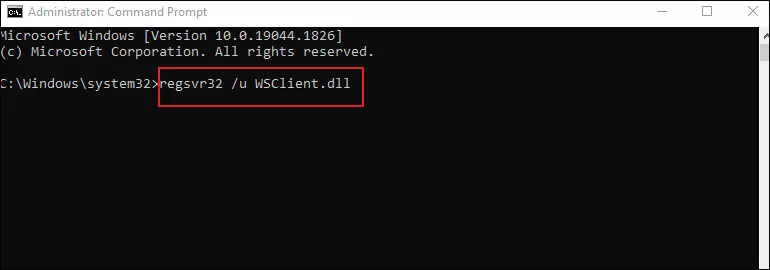
Step 3: Next, execute the other command:
regsvr32 /i WSClient.dll
After running these two commands, you will re-register the problematic DLL file.
4. Disable the WSRefreshBannedAppsListTask
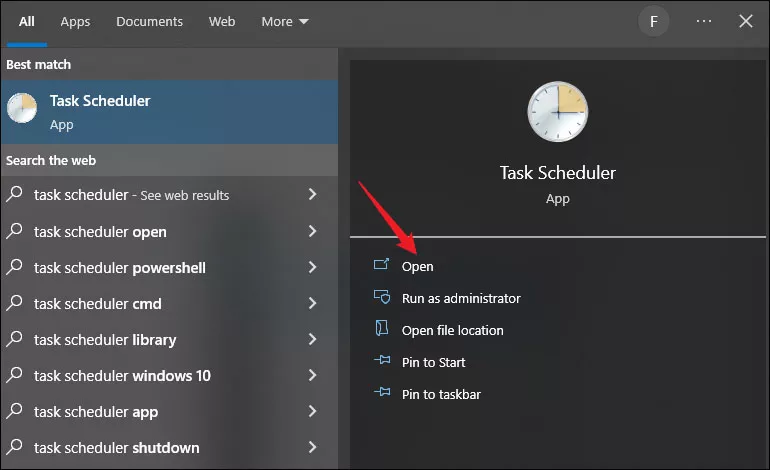
Step 1: Search task scheduler in the search bar and open it.
Step 2: Navigate to the given directory:
Task scheduler library > Microsoft > Windows > WSStep 3: Right-click the WSRefreshBannedAppsListTask item and select Disable.
Alternatively, this task can be removed through Command Prompt.
Launch Command Prompt as administrator and enter the following command:
schtasks /delete /TN "\Microsoft\Windows\WS\WSRefreshBannedAppsListTask" /F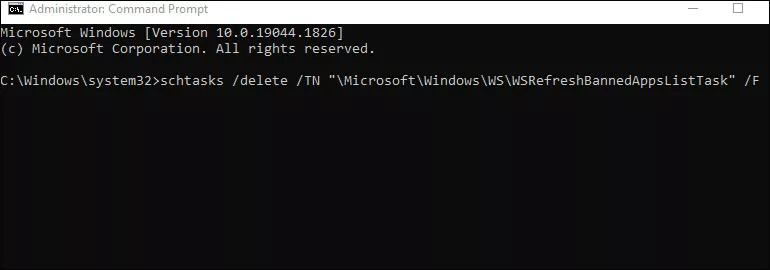
5. Repair corrupt system files
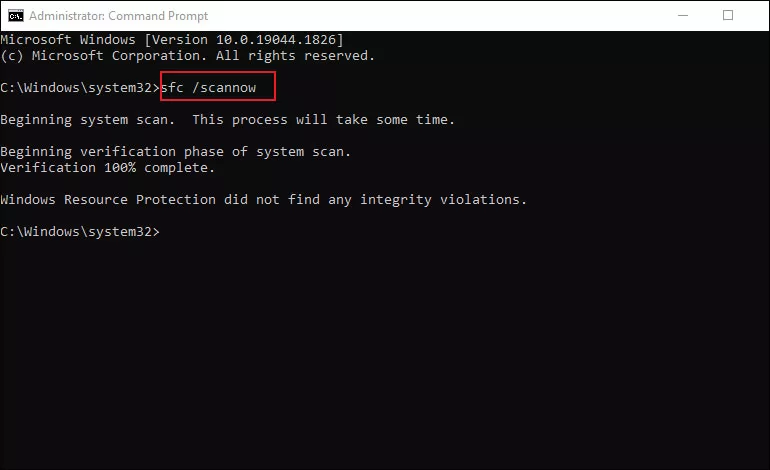
Corrupt systems files sometimes result in WSClient.DLL issues, but you can restore it by performing an SFC scan.
Step 1: Open Command Prompt as administrator.
Step 2: To run an SFC scan, enter sfc /scannow in Command Prompt window and press Enter. And this process could take minutes to complete.
6. Change DNS server addresses
Step 1: Right-click on the network icon in the taskbar and select Network.
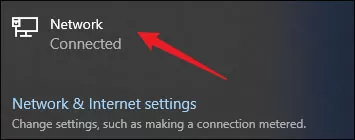
Step 2: Select Change adapter options in the Settings window.

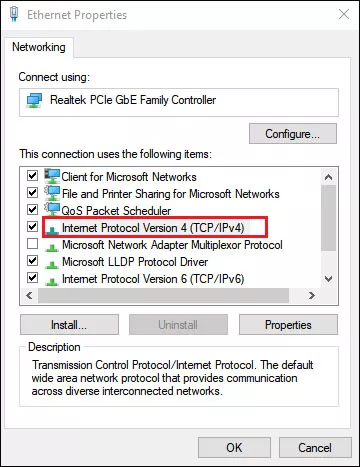
Step 3: Right-click on your currently network connection and choose Properties.
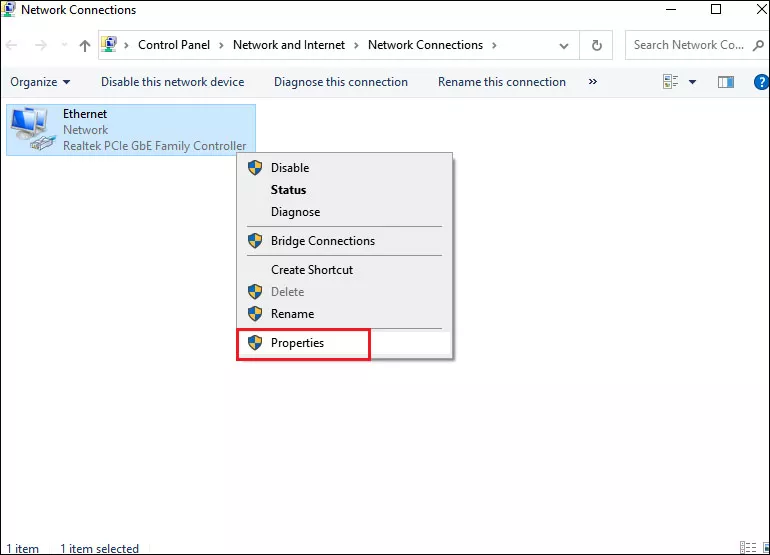
Step 4: Double-click on Internet Protocol Version 4 (TCP/IPv4) in the next window.
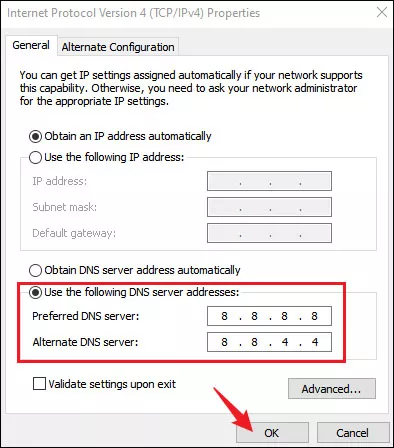
Step 5: Under General tab, choose Use the following DNS server addresses option. Then enter 8.8.8.8 next to Preferred DNS server and 8.8.4.4 next to Alternate DNS server.
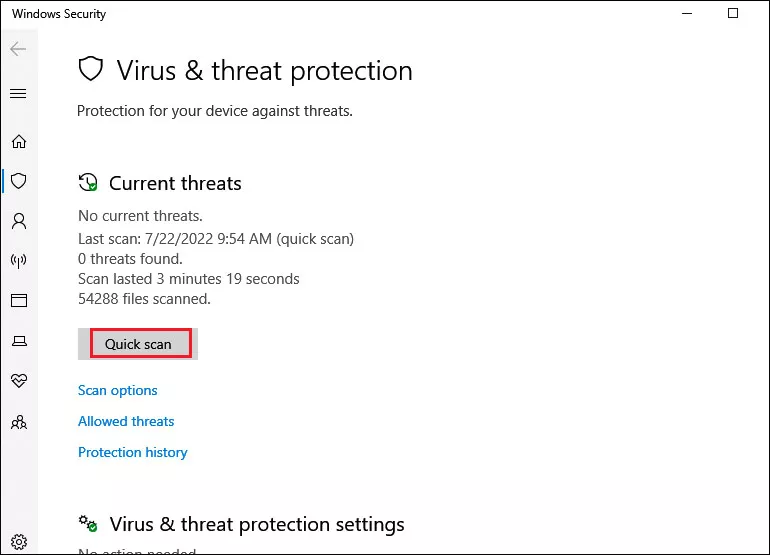
7. Run a malware scan
Step 1: Open Settings and select Update & Security>Windows Security>Virus & threat protection.
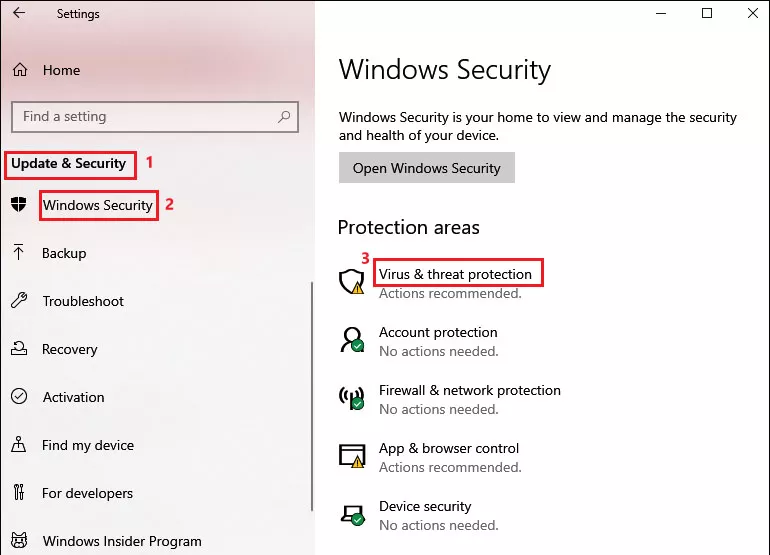
Step 2: Click Quick scan.