How to Edit Hosts File in Windows 10/11

June 21, 2022
The main functions of the hosts file include speeding up domain resolution, establishing IP mapping for LAN users, blocking spam sites, and facilitating connections to some database systems. In some cases, you may want to edit the hosts file to enable your computer to resolve to the specific IP address or block access to a website. In this post, we will show you how to edit hosts file on your computer step by step.
Part 1: What is the hosts file
The hosts file is a system file with no extension, which converts the hostnames into IP addresses, thus locating a host on an IP network. Its basic function is to create a database of commonly used web addresses and their corresponding IP addresses. When the user enters a web address in the browser, the system will first automatically search for the corresponding IP address from the hosts file. If not found, the system will submit the URL to the DNS resolution server for IP address resolution.
Though DNS is used for IP resolution nowadays, the hosts file remains an alternative mechanism and takes precedence over the configured DNS server.
Part 2: How to find hosts file location
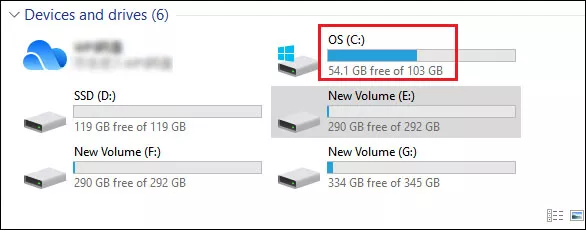
Step 1: Press Windows+E to open File Explorer and double-click on C drive.
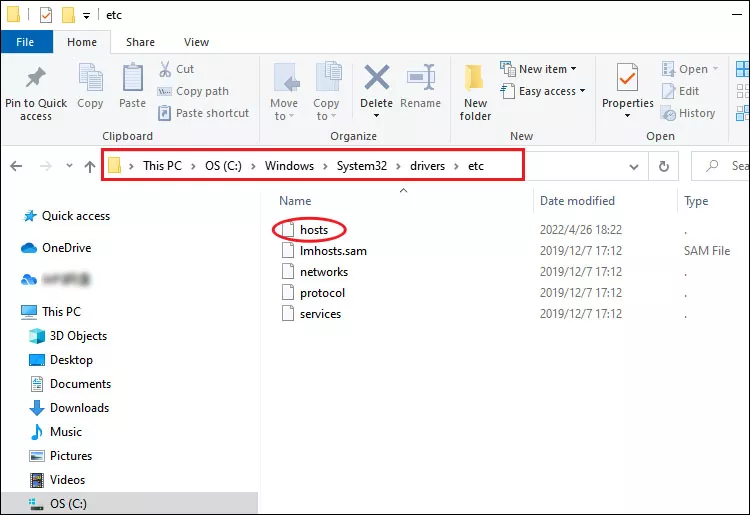
Step 2: Navigate to the below folder path:
C:\Windows\System32\Drivers\etcThen you will find the hosts file.
Part 3: How to edit the hosts file
1. Using Notepad
Step 1: Copy the hosts file and paste it in a different location like desktop. Then you are able to edit it without admin privileges.

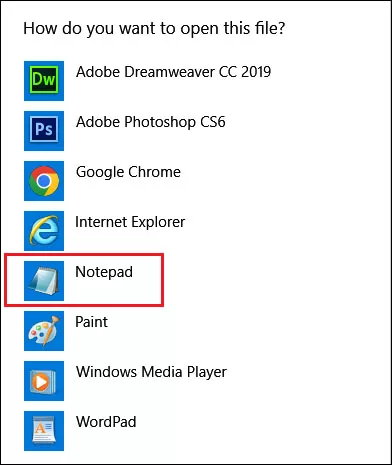
Step 2: Right-click on the copied hosts files and select Open with > Notepad and click OK.
Step 3: Write the new IP addresses as well as the domain name you need to resolve at the end of the file, like example 1. To block websites, follow the syntax as example 2.
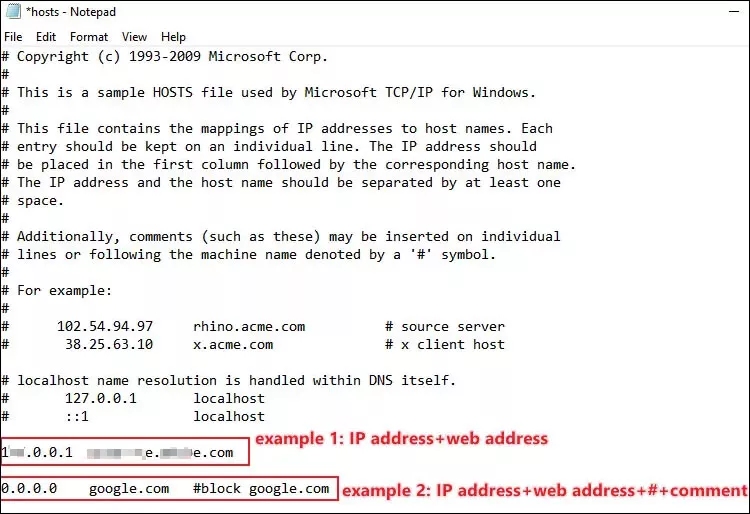
There are two addresses, 127.0.0.1 and 0.0.0.0, that are non-existent IP addresses and are commonly used in the hosts file to block websites.
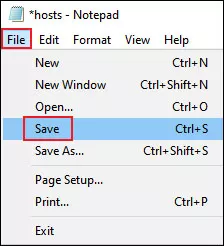
Step 4: Select File option and choose Save.
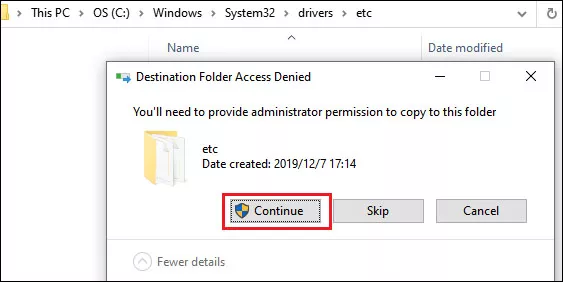
Step 5:Copy the modified hosts file, move it to the etc folder and replace the original hosts file. Then you will see a window asked for administrator permission, just click Continue.
2. Using Command Prompt
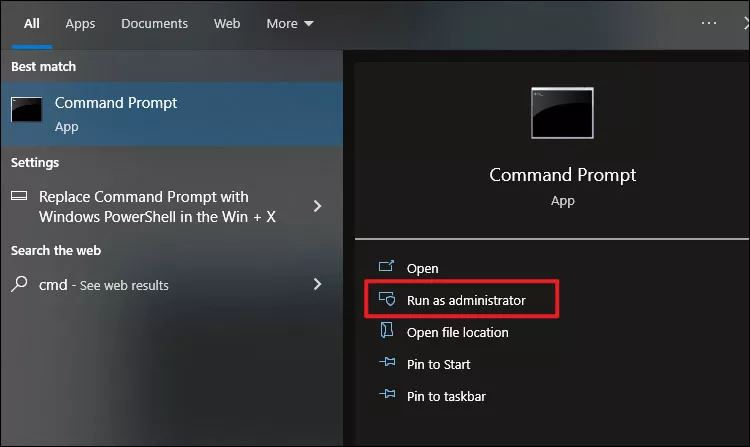
Step 1: Type and search cmd in the search bar and select Run as administrator.
Step 2: In Command Prompt window, enter the command and press Enter:
echo "IP" "DOMAIN" >> %windir%\system32\drivers\etc\hostsThis command will add the IP and DOMAIN line at the end of the hosts file.
Step 3: To test if hosts file resolves to the IP you set, enter the below command and hit Enter to execute it:
ping "DOMAIN"