Solved: Failed to Open the BitLocker Control Panel Tool Error in Windows 10/11

July 12, 2022

BitLocker Drive Encryption is a Windows in-built data protection feature that is primarily designed to address data loss or malicious leakage due to lost computer devices. After enabling BitLocker tool, the data of a computers will not be manipulated by others even if the device is left unattended, lost or stolen. However, some users have encountered the error message "Failed to open the BitLocker control panel tool" with an error code 0x80004005. In order to resolve this problem, this post will share 4 easy fixes on how to get BitLocker back to work in your Windows.
1. Check if BitLocker is available
Not all versions of Windows Vista support BitLocker drive encryption, this feature is only available in the Enterprise and Ultimate editions of Windows. So you need to check if BitLocker is supported on your current operating system.
Step 1: Search for system information in the search bar and select Run as administrator from the search results.
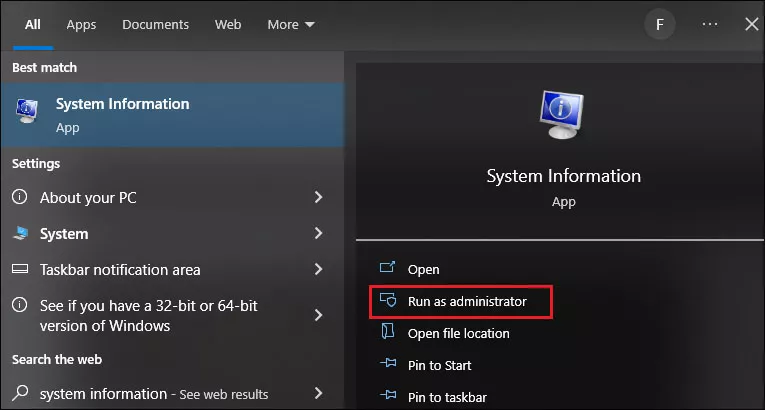
Step 2: Click Yes in the User Account Control prompt.
Step 3: In System Information window, choose System Summary tab and scroll down on the right to check the text next to Device Encryption Support.
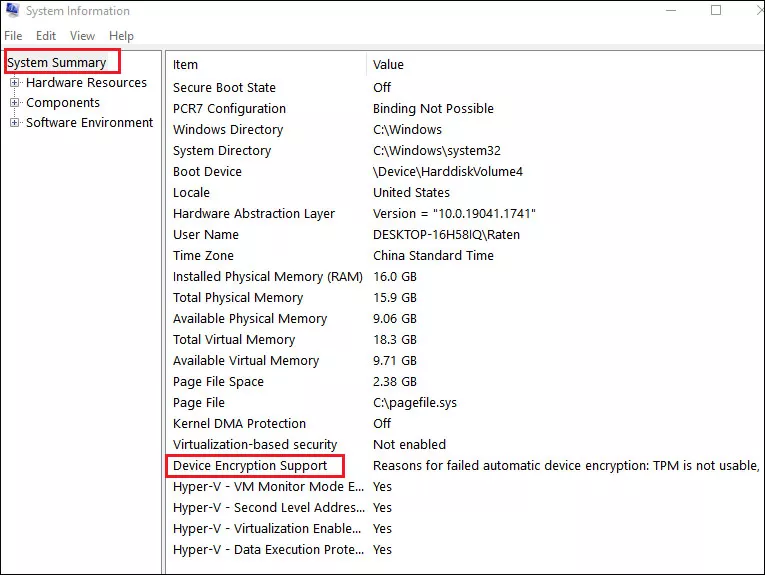
If it shows Meets perquisites, then BitLocker is available on your PC. If it doesn't, then you are unable to use this feature. In such case, you need to install a supported version of the operating system.
2. Enable BitLocker via Services
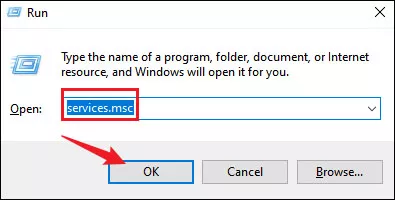
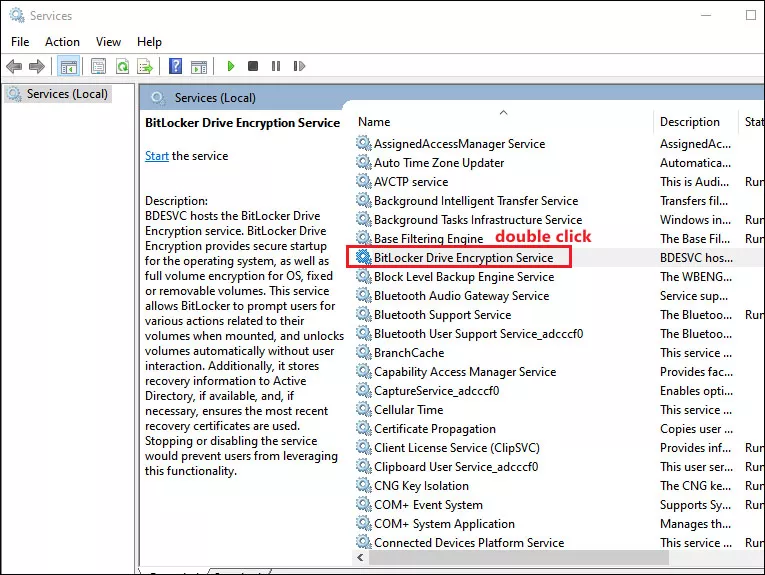
Step 1: Press Windows+R to open Run dialog and type services.msc in the box. Then click OK to open Services.
Step 2: Locate BitLocker Drive Encryption Service and double-click on it.
Step 3: In Properties window, change the Startup type to Automatic.
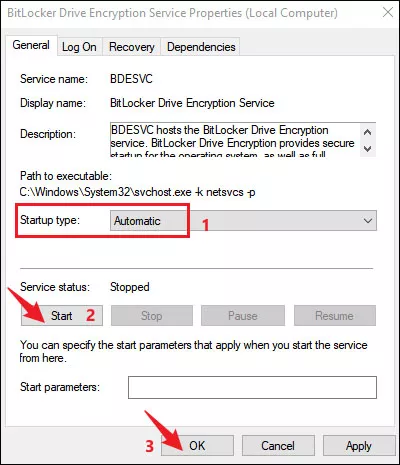
Step 4: Click Start under Service status to launch the service and then click OK.
3. Enable BitLocker via Group Policy
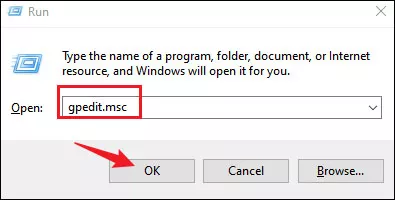
Step 1: Press Windows+R to open run dialog and type gpedit.msc in the box. Then press Enter to open Group Policy Editor.
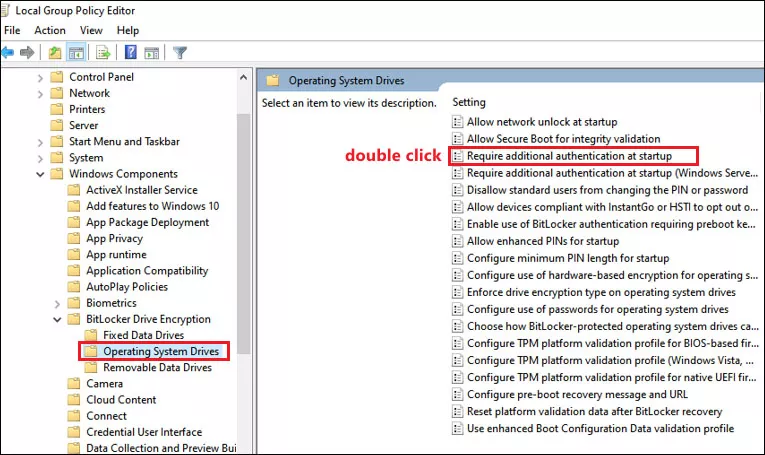
Step 2: Head to Computer Configuration > Administrative Templates > Windows Components> BitLocker Drive Encryption > Operating System Drives.
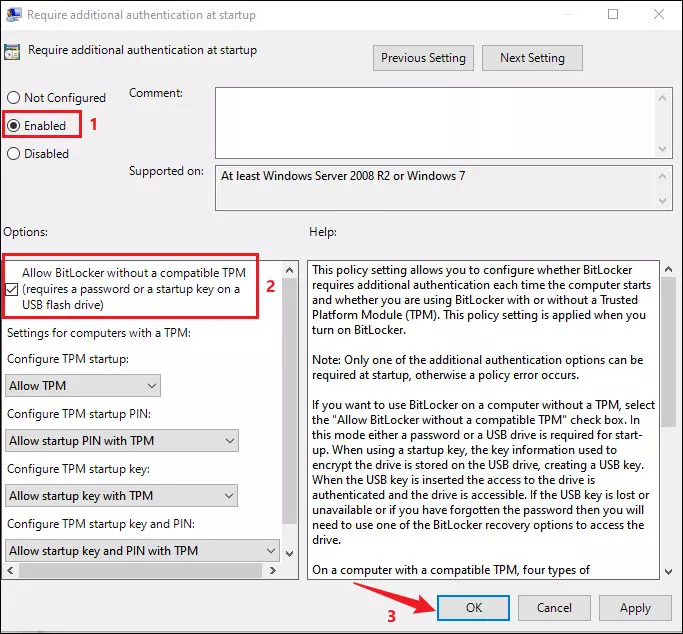
Step 3: Double-click on Require additional authentication at startup.
Step 4: Choose Enabled option and check Allow BitLocker without a compatible TPM. At last, click OK to save changes.
4. Enable BitLocker via Registry Editor
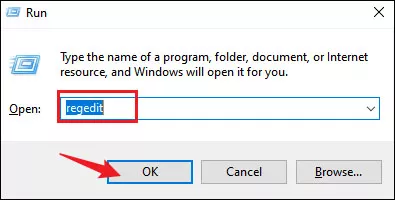
Step 1: Press Windows+R to launch the Run command, type regedit in the box and press OK to open Registry Editor.
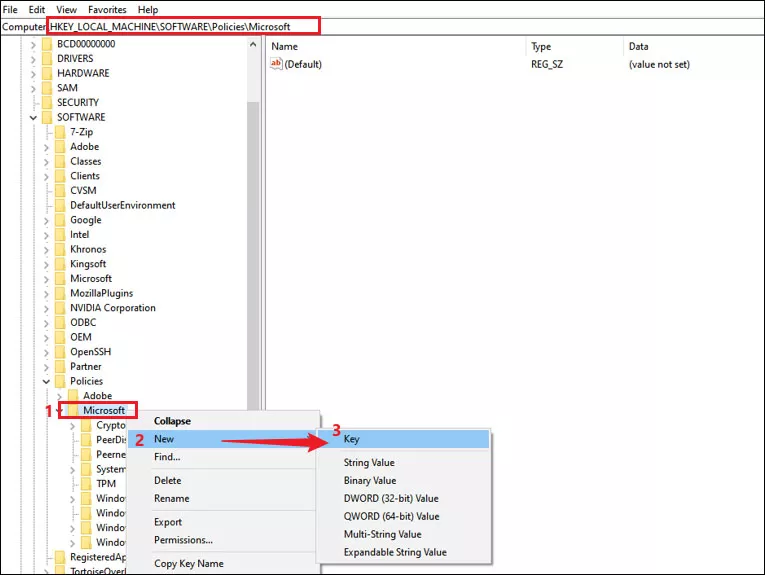
Step 2: Navigate to the following path:
HKEY_LOCAL_MACHINE\SOFTWARE\Policies\MicrosoftStep 3: Right-click on the Microsoft key and select New > Key. Then rename the newly created key as FVE.
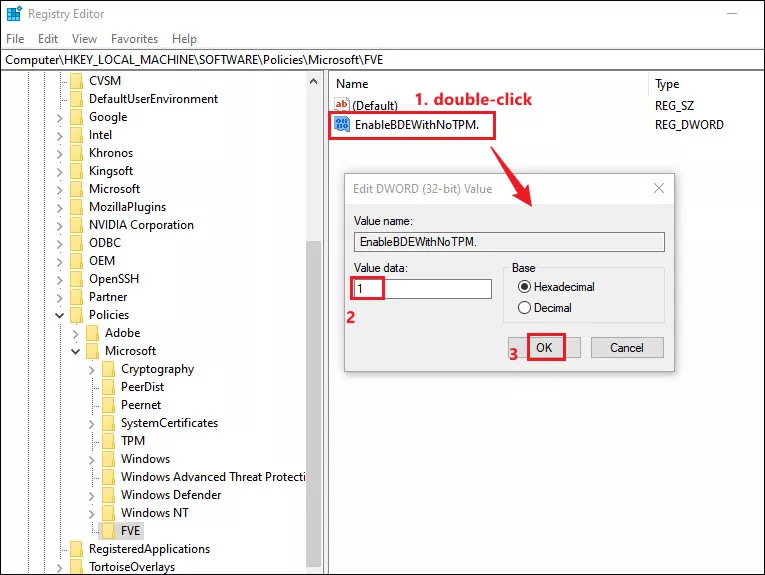
Step 4: Right-click on FVE and select New > DWORD (32-bit) Value. Set its name as EnableBDEWithNoTPM.
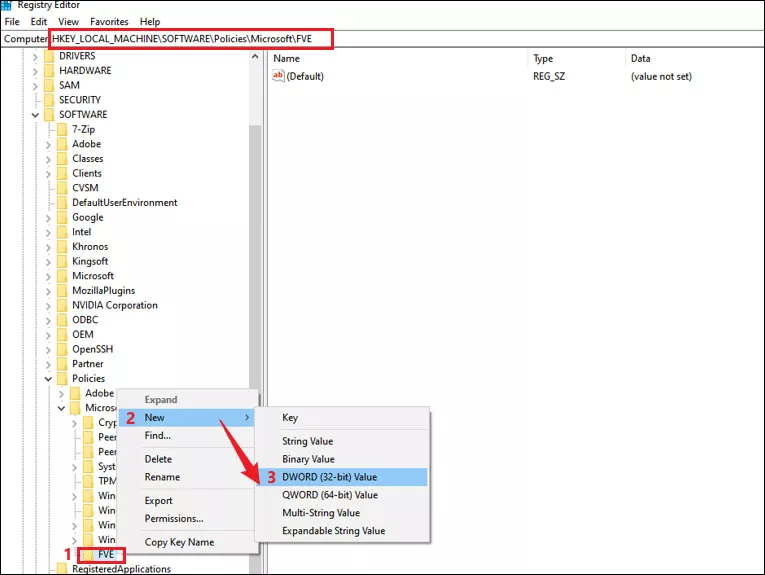
Step 5: Double-click on EnableBDEWithNoTPM and make its Value data as 1. Then click OK to save changes.
Step 6: Create five more DWORD values. Change their names and value data as the following:
- UseAdvancedStartup: 1
- UseTPM: 2
- UseTPMKey: 2
- UseTPMKeyPIN: 2
- UseTPMPIN: 2
Step 7: Close all windows and restart your PC.