Solved: Transparency Effects Not Working in Windows 10/11

August 2, 2022
The Transparency effects feature in Windows can be applied to the taskbar, Action Center and Start menu and is generally enabled by default. With the release of this feature, it gives users a better interface than the previous Windows version. However, some users encounter an situation where Transparency effects cannot function normally. The Start menu is not semi-transparent with the blur effect as it was before. If you are facing with the same issue on your system, don't be upset. Here are some potential fixes on how to bring back Transparency effects.
1. Enable Transparency effects from Settings
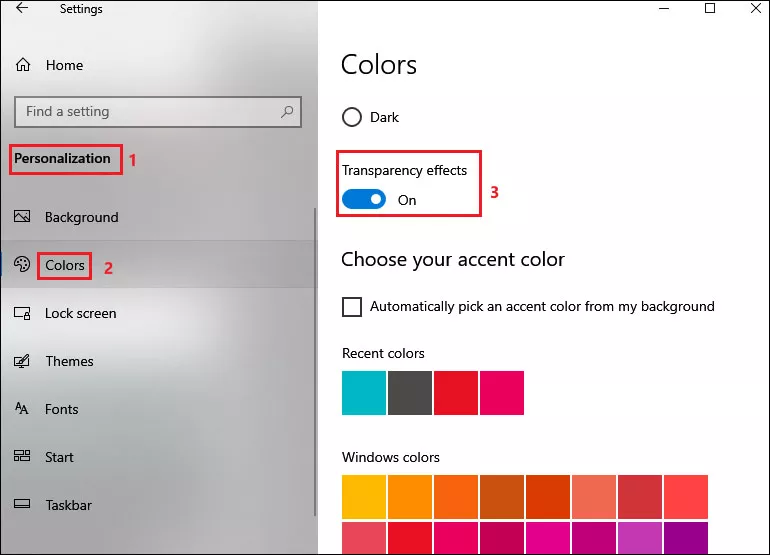
Step 1: Press Windows+I to open Settings and select Personalization>Colors.
Step 2: Turn on the toggle next to Transparency effects.
2. Change power settings
Transparency effects problem most likely occurs when the computer is set on a low power mode. To change system power mode, follow these instructions:
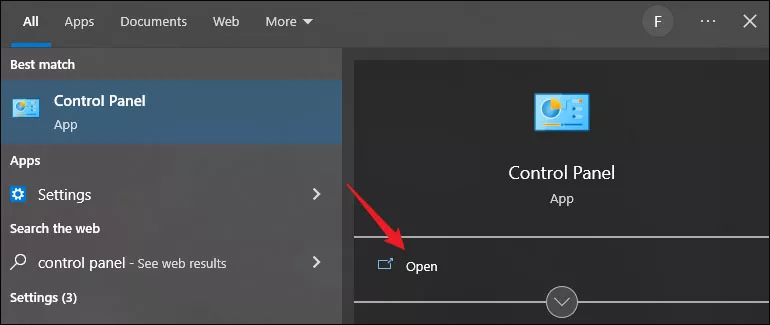
Step 1: Type and search control panel in the search bar and click Open.
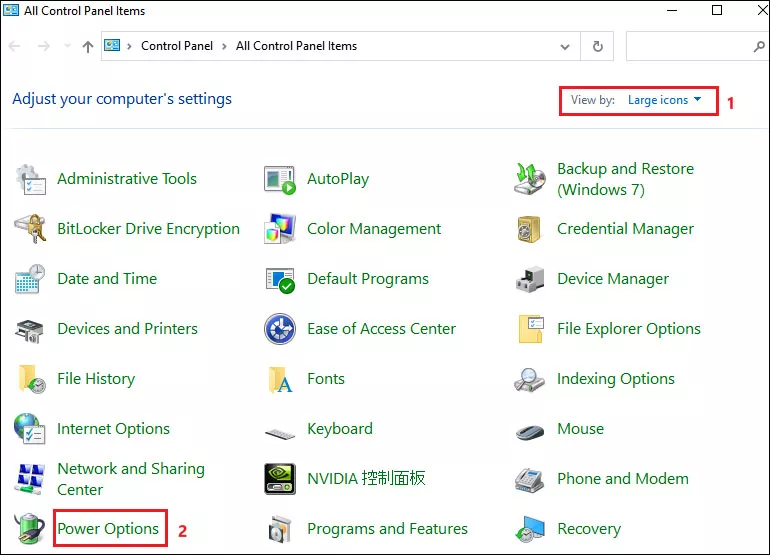
Step 2: Choose view by Large icons and then select Power Options.
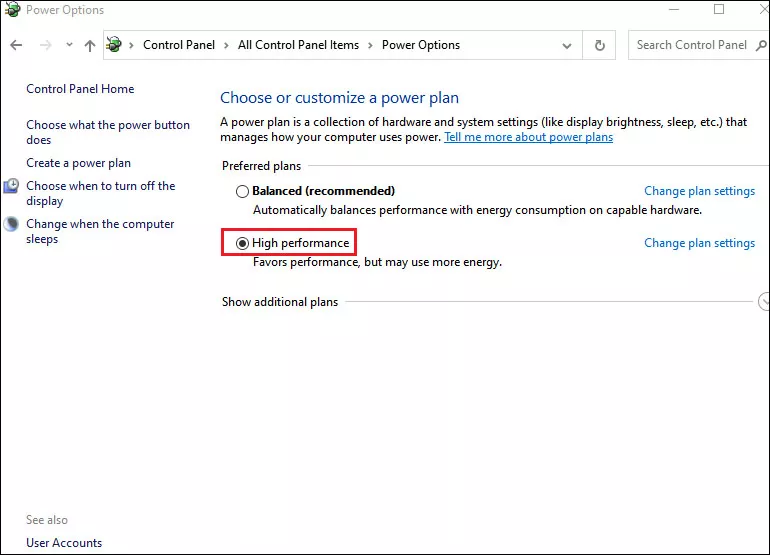
Step 3: Choose High performance option.
3. Tweak the registry value
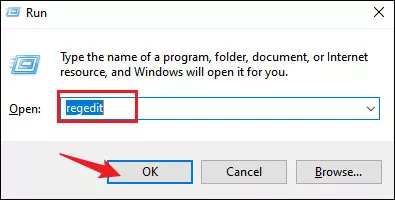
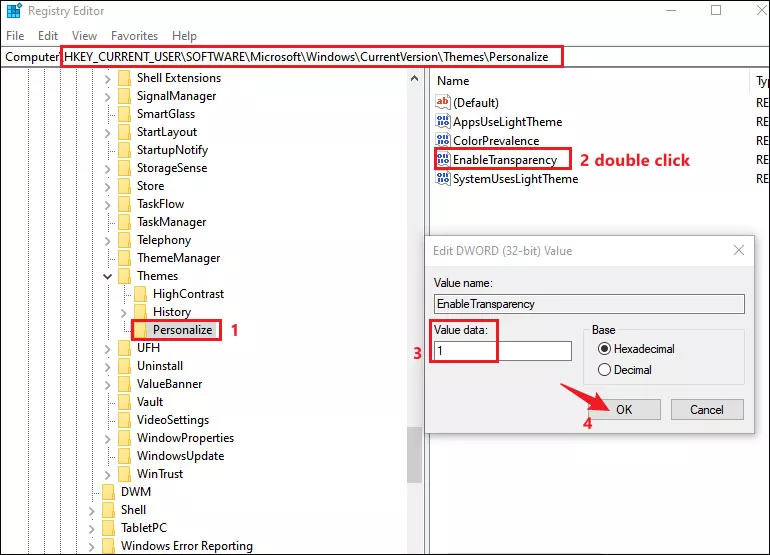
Step 1: Press Windows+R and type regedit in the open box. Then click OK to open Registry Editor.
Step 2: Head to the below path:
HKEY_CURRENT_USER\SOFTWARE\Microsoft\Windows\CurrentVersion\Themes\PersonalizeStep 3: Double-click EnableTransparency and enter 1 in the box under Value data.
4. Find out problematic programs in Clean Boot
There might be a particular program or an installed application that causes the conflict with transparency effects. Perform a clean boot with all the startup apps and services disabled. Then you can enable one program each time and then check if transparency effect works until you find the problematic one.
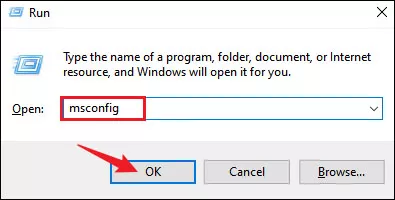
Step 1: Press Windows+R to open run command, type msconfig in the open box and click OK to open System Configuration.
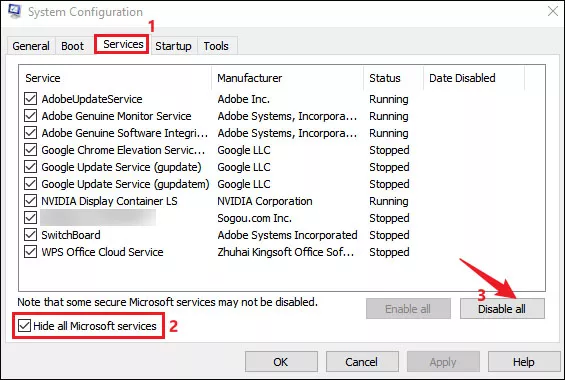
Step 2: Choose Services tab, check the box next to Hide all Microsoft services and then click Disable all.
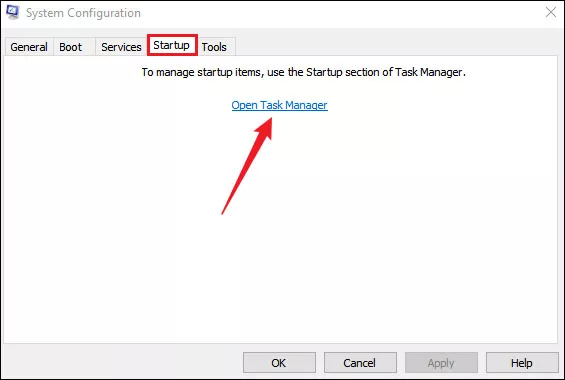
Step 3: Switch to Startup tab and click Open Task Manager.
Step 4: In Task Manager window, under Startup tab, choose a program and then click Disable. You need to disable all the programs in the list.
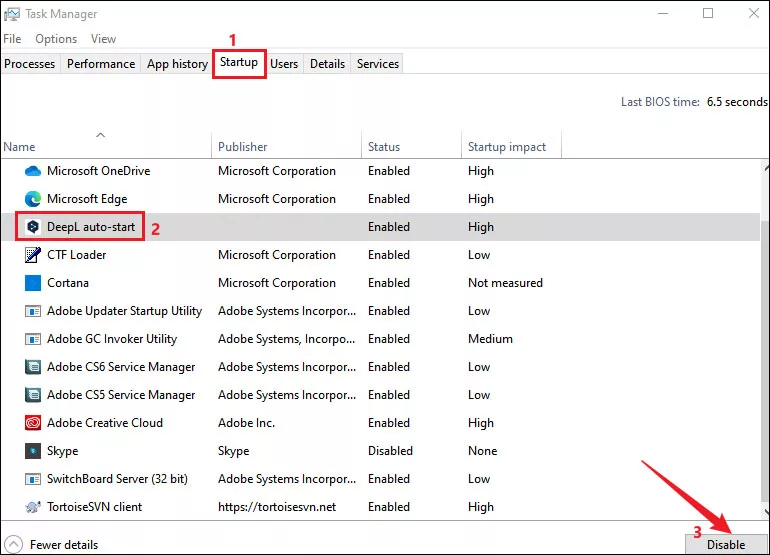
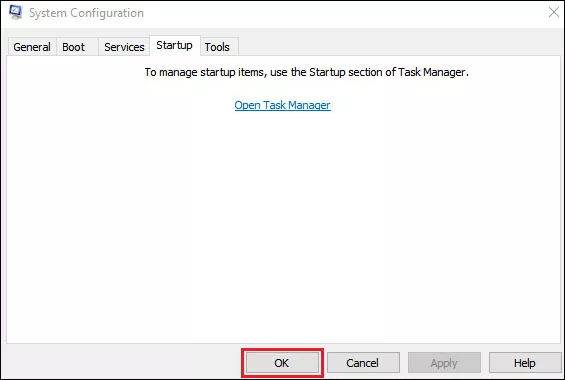
Step 5: Back to Startup tab and click on OK.
Step 6: Restart the system and it will run in a clean boot state.
Step 7: In clean boot state, turn on Transparency effects. Then enable one startup program from Task Manager at a time and check whether transparency effect works. Once you find the problematic progress, disable it in normal mode.
5. Update Windows
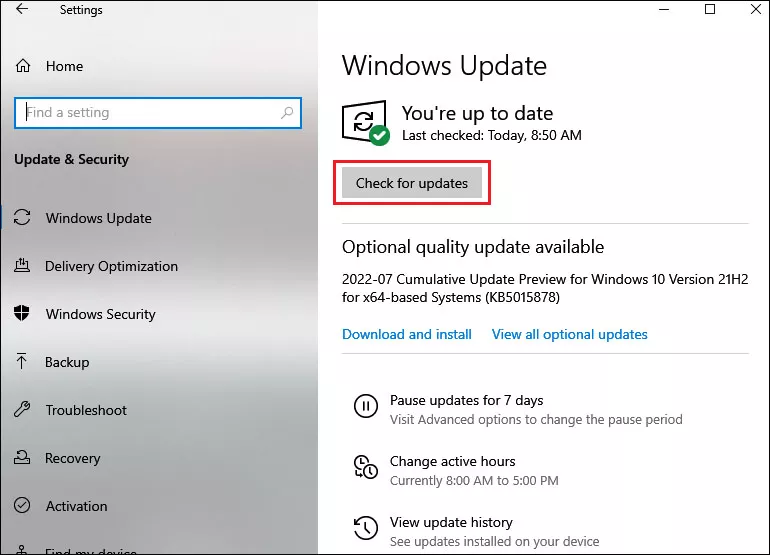
Step 1: Press Windows+I to open Settings and select Windows Update.

Step 2: Click on Check for updates and install the available update if your Windows is not up to date.
6. Update graphics driver
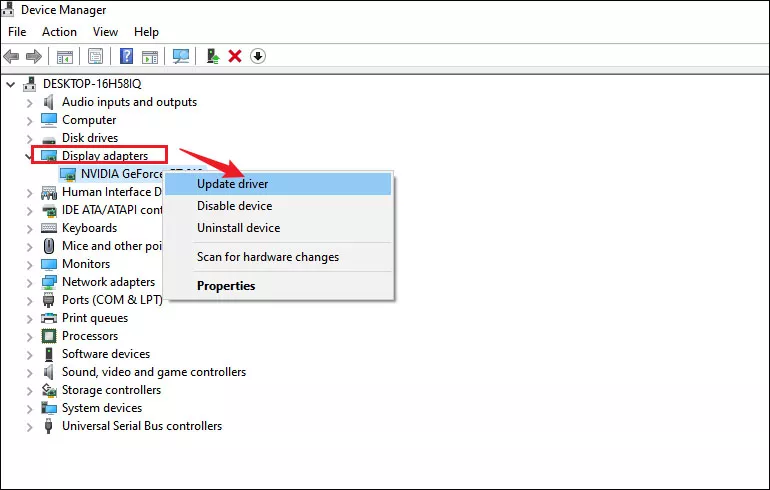
Step 1: Press Windows+X and select Device Manager from the context menu.

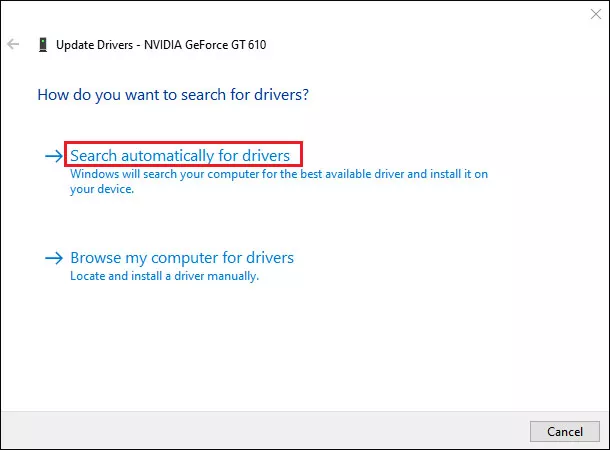
Step 2: Expand Display adapters, right-click on your graphics card and select Update driver.
Step 3: In the next window, click Search automatically for drivers.
Step 4: Reboot your device after finishing updating.