Totally Free File Data Recovery Tools in Windows 10/11

July 12, 2023

It can be very distressing to lose precious files, whether due to hardware or software failure, or accidental deletion. There are many free file data recovery software available on the internet and some are paid, this article lists three totally free file data recovery tools in Windows 10/11. These tools can help you recover file data for free in case of partial or total data loss.
Method 1: Use Ntfstool Program
Step 1: Click here to open the official website, click on the ntfstool.x64.exe link to download the program to your D drive, or you can download it to another drive.

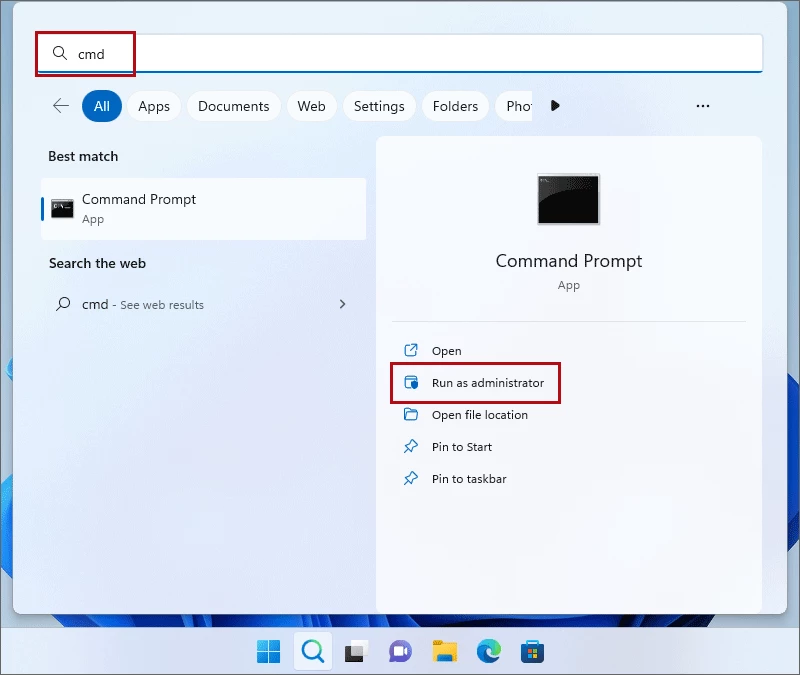
Step 2: Type cmd on the Windows search bar, then find the Command Prompt and run it as administrator.
Step 3: In the Command Prompt window, type the following command and press Enter: diskpart; list volume and select volume 2.

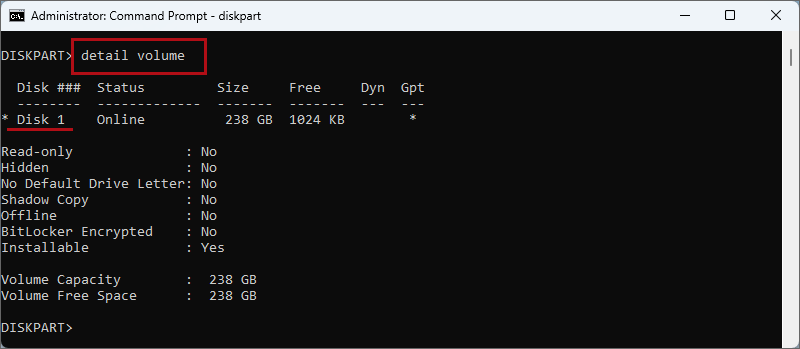
Step 4: Type the command detail volume and press Enter to check the property of the volume. See that the disk created by volume F is Disk 1.
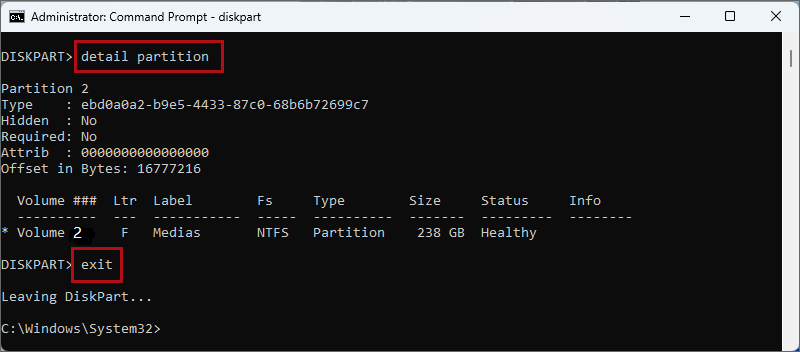
Step 5: Type the command detail partition and press Enter, check that the attribute of partition volume F is Partition 2. Then type exit to leave the diskpart.
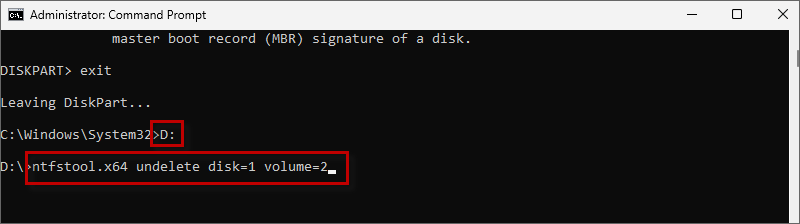
Step 6: Type the command D: to enter volume D. Then type the following command and press Enter: ntfstool.x64 undelete disk=1 volume=2.
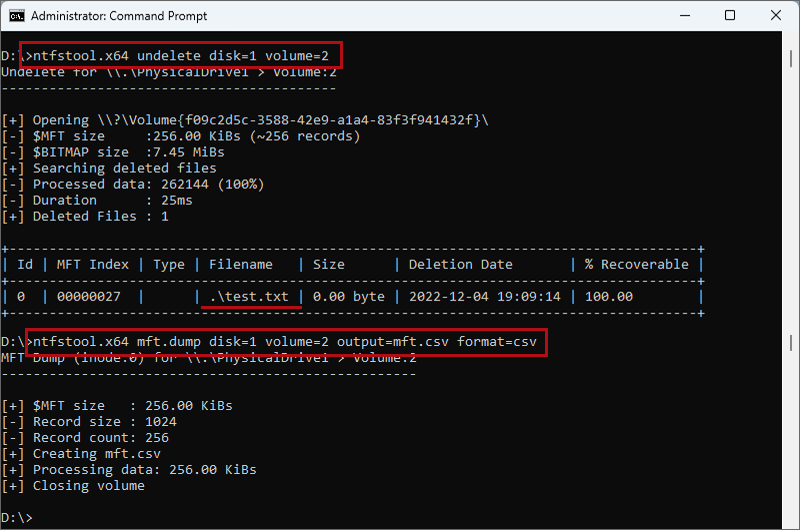
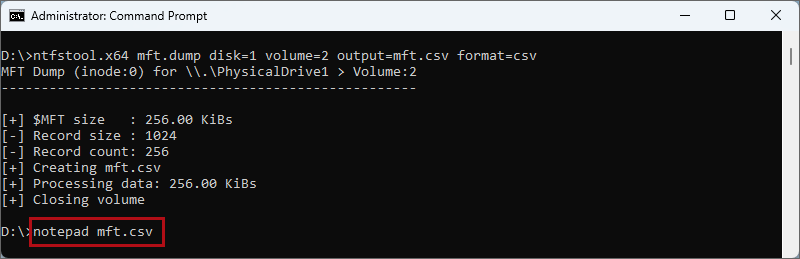
Step 7: You can see the deleted file on volume F after you use the ntfstool program command undelete. Then type the following command and press Enter: ntfstool.x64 mft.dump disk=1 volume=2 output=mft.csv format=csv.
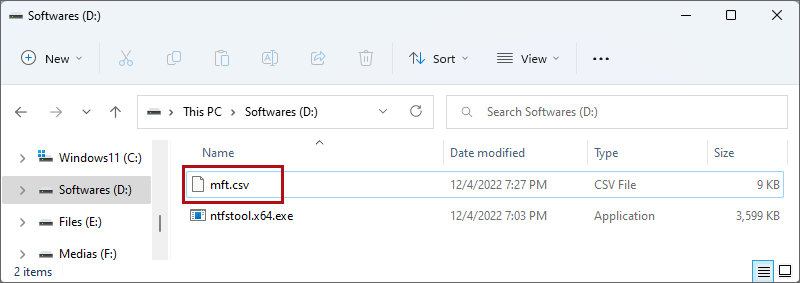
Step 8: Open the File Explorer and see that the mft.csv file has been stored under the D drive.
Step 9: Go back to the CMD window, type the command: notepad mft.csv then press Enter to open the notepad and view the inode number.
The inode of the file test.txt is 39. Note: If you can't find it at once, you can press Ctrl + F to search it.

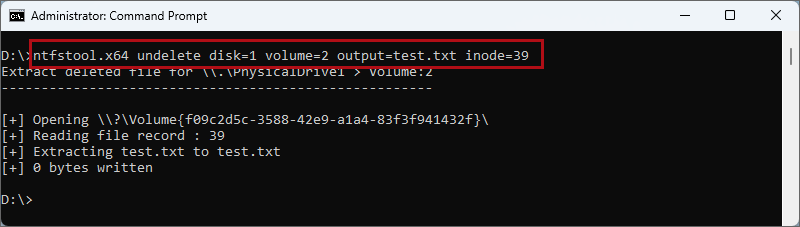
Step 10: Type the command and press Enter: ntfstool.x64 undelete disk=1 volume=2 output=test.txt inode=39.
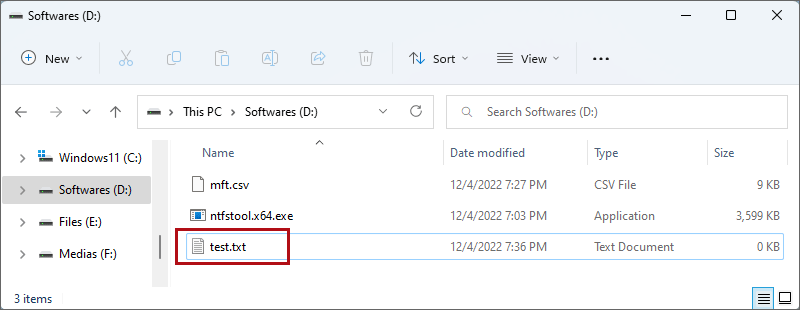
Step 11: Open the File Explorer and see that the test.txt document has been recovered and stored under the D drive.
Method 2: Use TestDisk Program
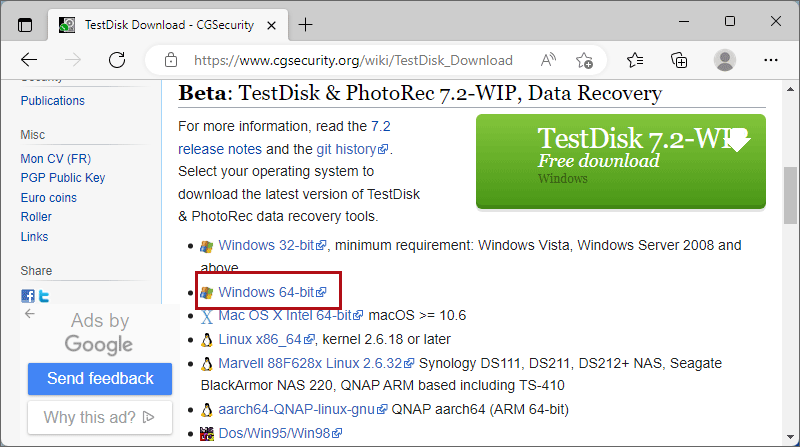
Step 1: Click Windows 64-bit on the official website. Download the TestDisk program zip to the Downloads folder in the File Explorer and extract it.
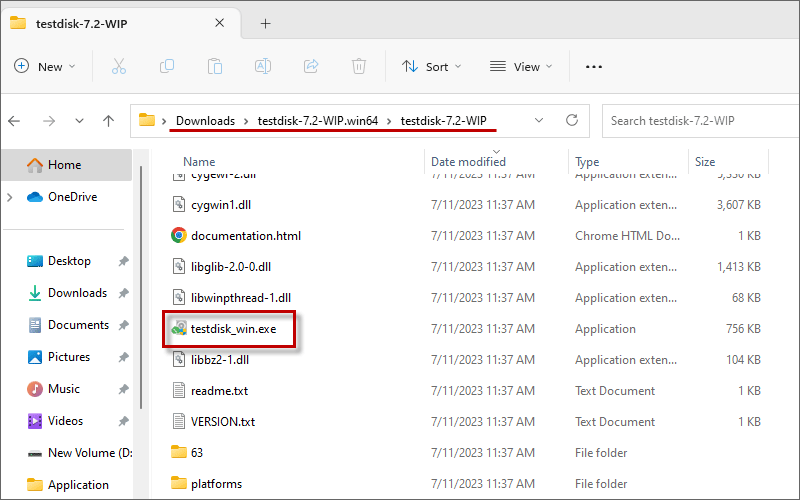
Step 2: Open the Downloads folder in the File Explorer, find the testdisk-7.2-WIP folder which you just extracted, and then run the testdisk_win.exe application.
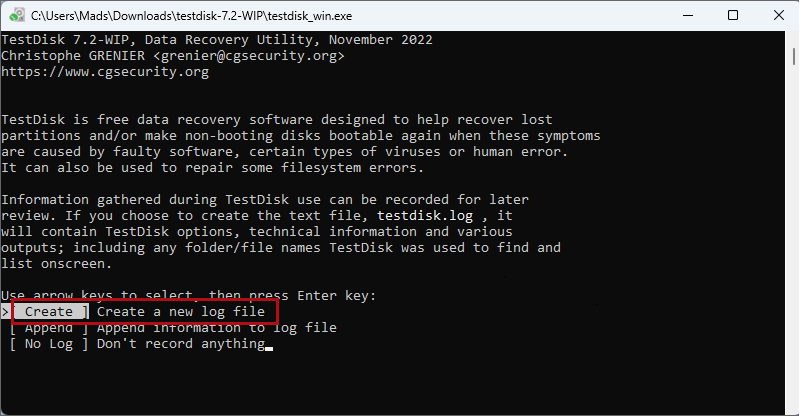
Step 3: To enter the program, use your keyboard arrow keys to select the Create item and press Enter to open it.
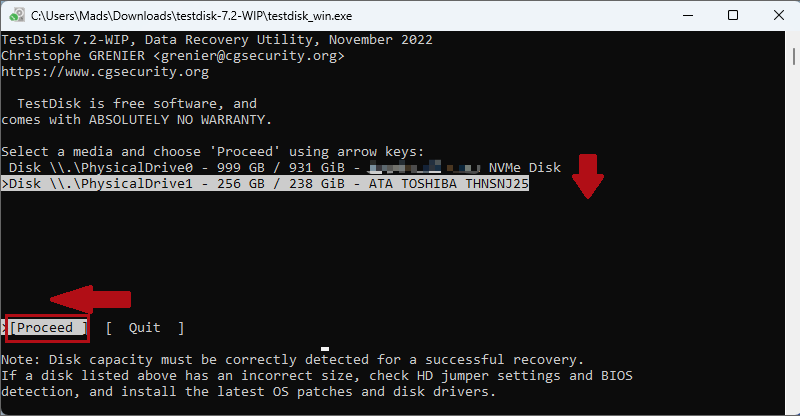
Step 4: Press the arrow keys to select the disk from which you need to recover file data. After selecting the disk, press the left and right arrow keys to select the Proceed item and press Enter.
Step 5: The program will automatically help you select the type of partition table for your hard disk, press the arrow keys to select [EFI GPT] and then press Enter.

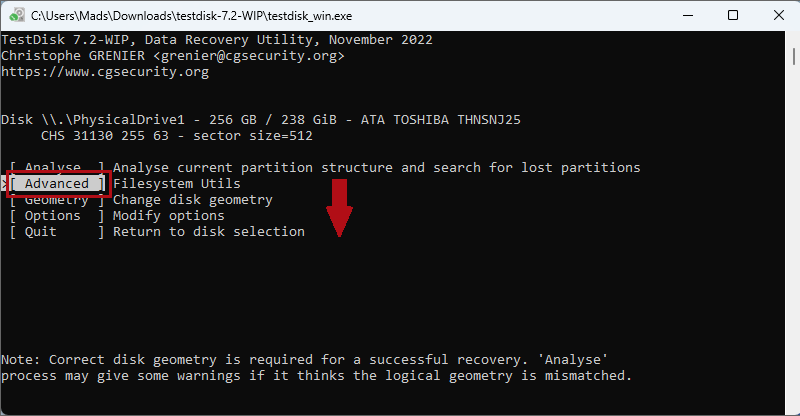
Step 6: Press the arrow keys to select the [Advanced] item and press Enter.
Step 7: Press the arrow keys to select the partition 2 P MS Data, then press the left and right keys to select the [Undelete] item and press Enter.

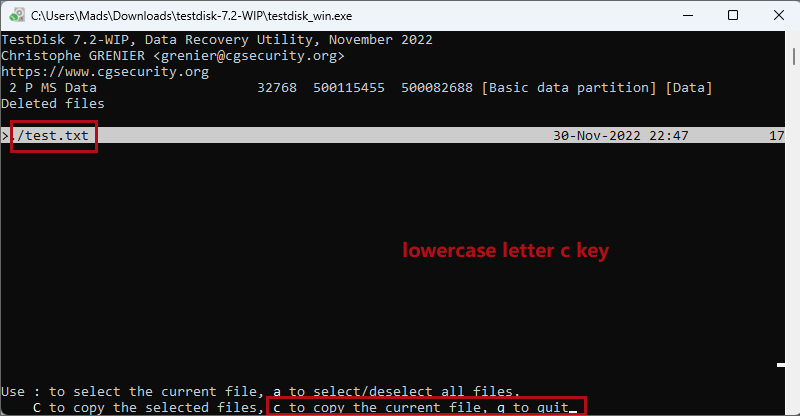
Step 8: Select the file to be recovered and press the c key (lowercase) on your keyboard to copy it.
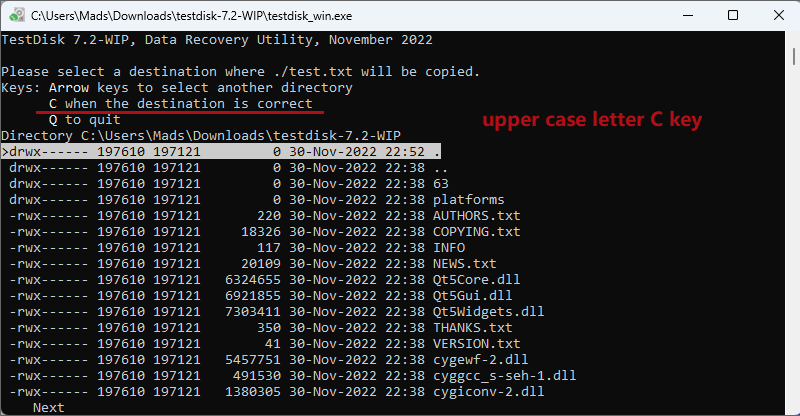
Step 9: Press the arrow keys to select the location where you want to save the recovered file. Then press the C key (upper case) to save the recovered file in the folder: C:\Users\Mads\Downloads\testdisk-7.2-WIP.
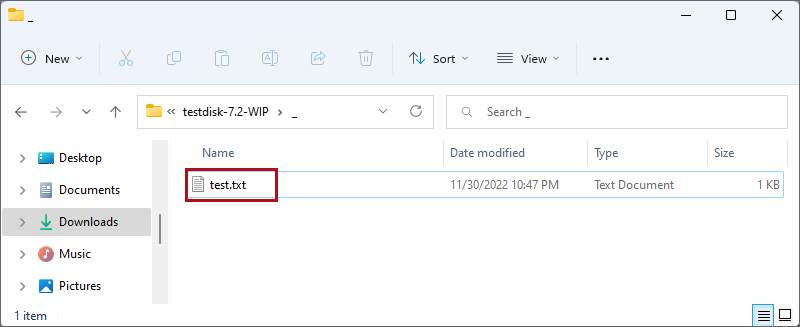
Step 10: After completing the operation, you can see that the previously lost file test.txt has been recovered and stored in the testdisk-7.2-WIP folder.
Method 3: Use ReFSUtil Program
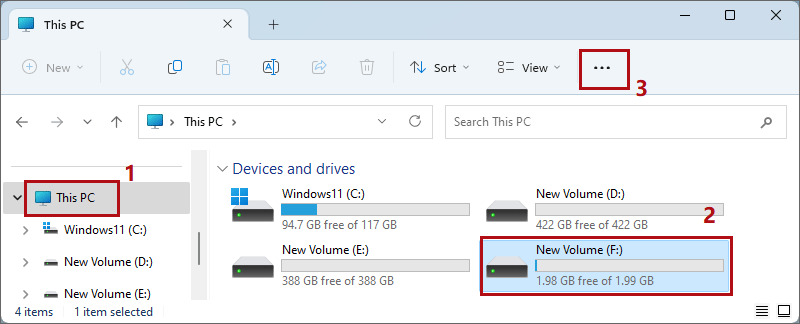
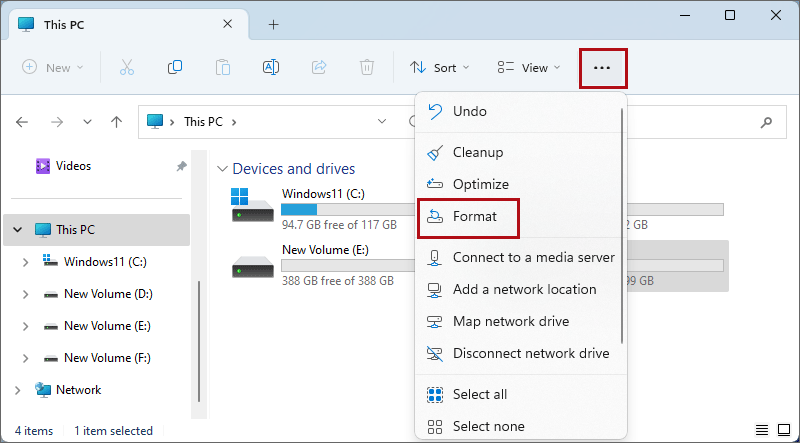
Step 1: Open This PC in File Explorer, select Volume F, then click the three-dot button on the top taskbar to open the drop-down menu.
Click the Format on the menu.
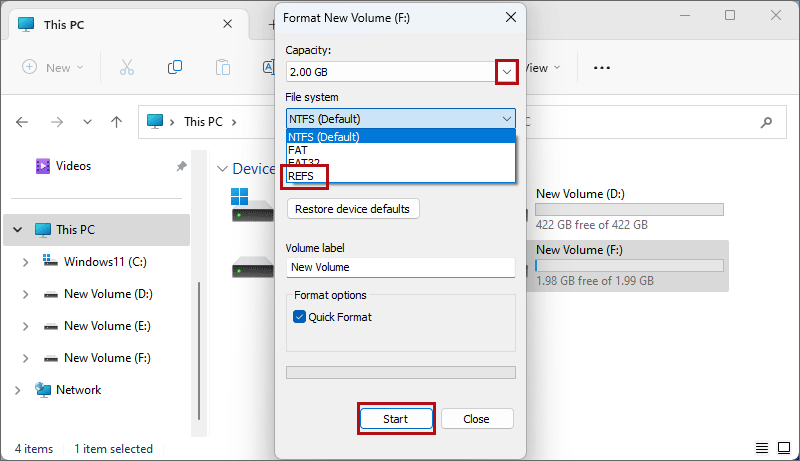
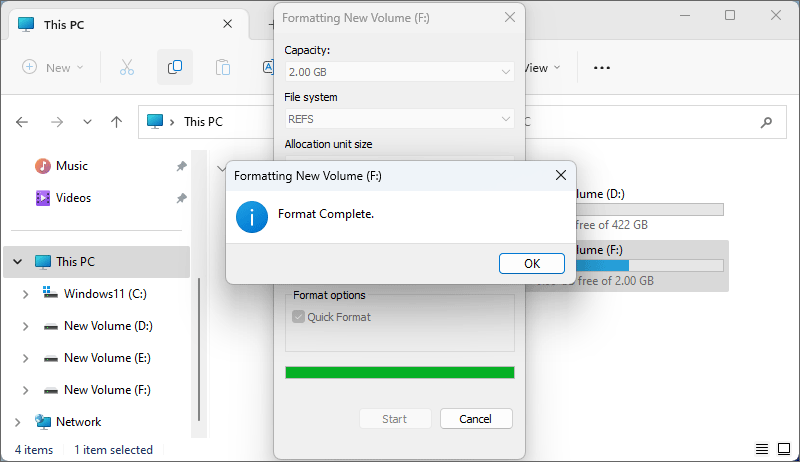
Step 2: Click to open the File system drop-down menu and select REFS. Then click Start.
Step 3: Click OK to format the file system of this disk as REFS.
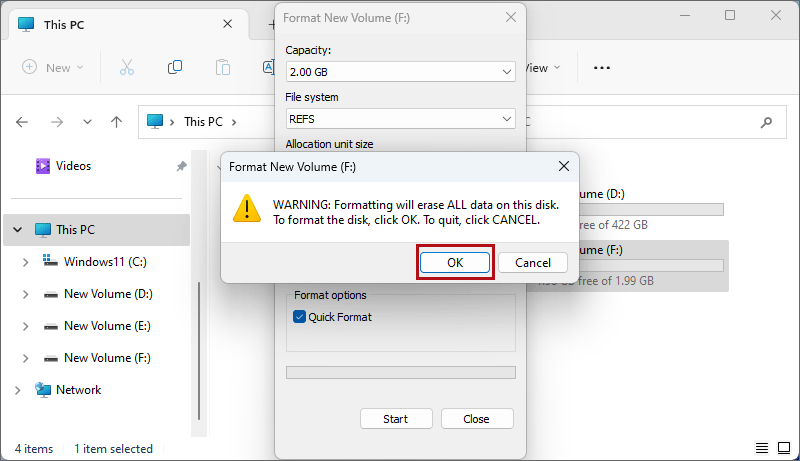
Once the format is complete, click on OK.
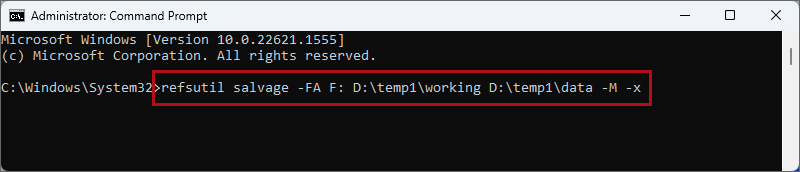
Step 4: Type cmd on the Windows search bar, and run the command prompt as administrator.
Step 5: In the CMD program window, type the command: refsutil salvage -FA F: D:\temp1\working D:\temp1\data -M -x, then press Enter.
Finish recovering the data of files that have been deleted from Volume F before.
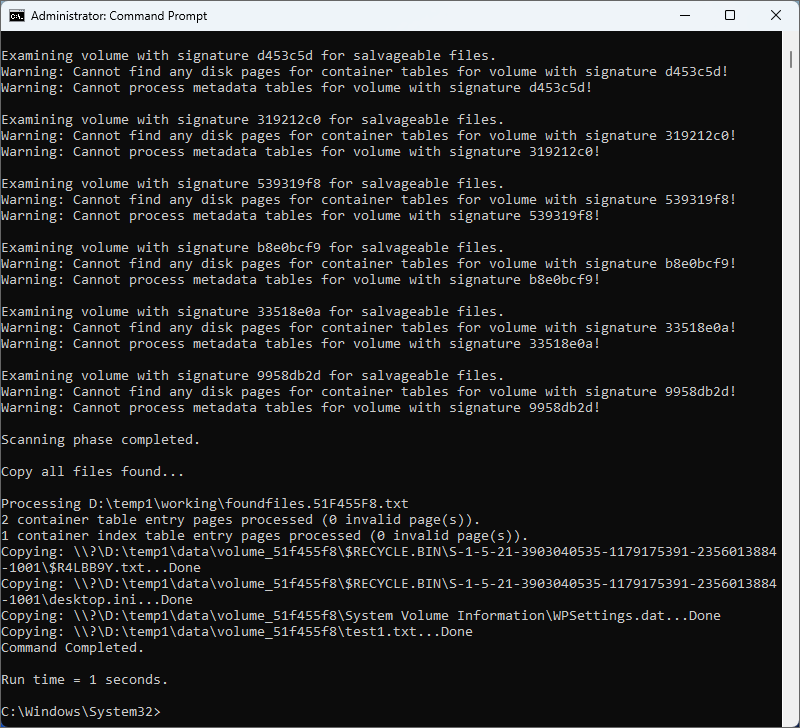
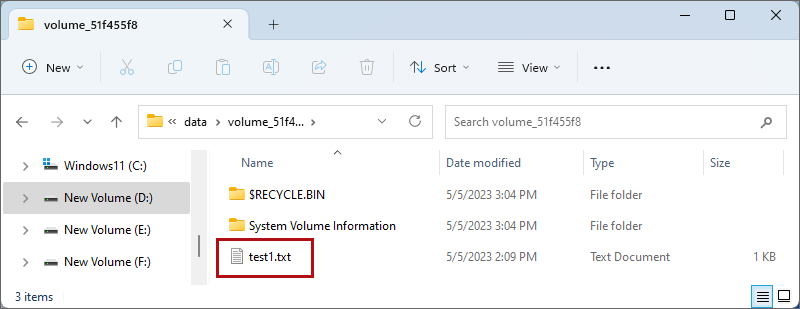
Step 6: Open File Explorer and see that the file test1.txt has been recovered and saved to the temp1>data> volume_51f455f8 folder on the D drive.