How to Speed up Slow File Explorer in Windows 10/11

July 13, 2022

File Explorer, a file management and navigation tool, is one of the most commonly used Windows applications for us. Generally speaking, a folder will open within seconds. But there is a possibility of the File Explorer slowing down, which manifests in several ways: file thumbnails taking a while to buffer before they are displayed; progress bar can take a particularly long time to complete filling, folder navigation may be slow and etc. So, what can I do to speed up a slow File Explorer? Here are some possible fixes you can perform to improve your computer experience.
1. Restart Windows Explorer
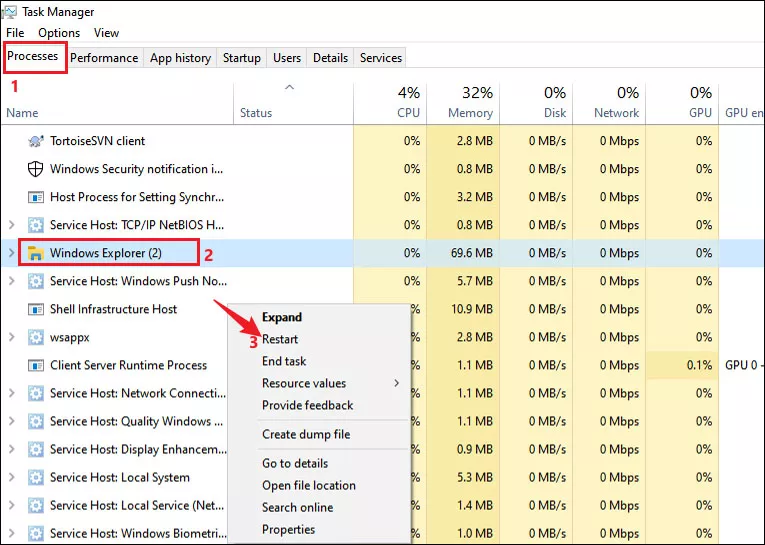
Step 1: Press Ctrl + Shift + Esc to open Task Manager.
Step 2: Select Processes tab. Then locate Windows Explorer, right-click on it and choose Restart.
2. Reset Winsock catalog
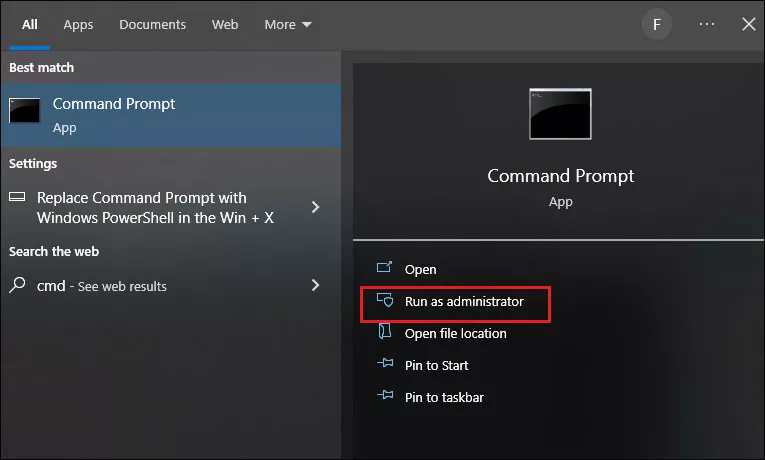
Step 1: Type and search cmd in the search bar and select Run as administrator.
Step 2: Enter the below command in Command Prompt and press Enter to run it.
netsh winsock resetStep 3: You will see Successfully reset the Winsock Catalog when the process finished. Then restart your computer.
3. Change folder optimization
If you only have a folder that takes a long time to open, you can optimize this folder to general items.
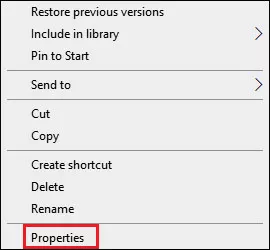
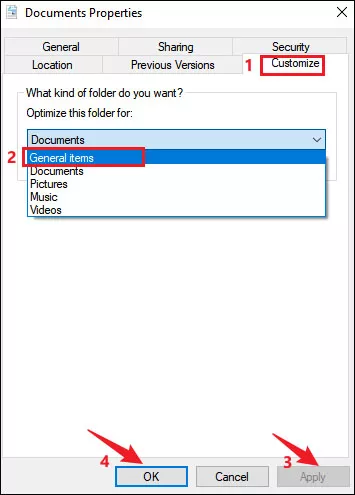
Step 1: Right-click on the problematic folder and choose Properties.
Step 2: Select Customize tab and choose General items from the drop-down menu in Optimize this folder for section.
Step 3: Click on Apply and then OK to close the window.
4. Change File Explorer to default view
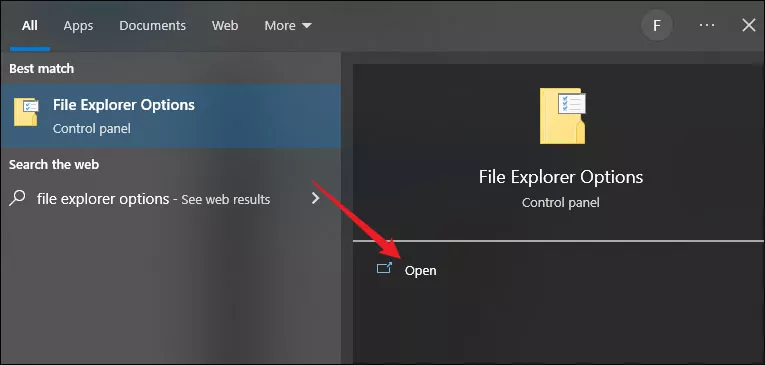
Step 1: Enter file explorer options in the search bar and open it.
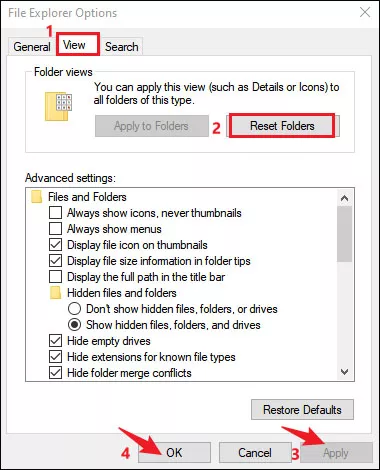
Step 2: Choose View tab and click on Reset Folders.
Step 3: If a confirmation window pops up, click Yes to continue. Then click Apply and OK.
5. Enable launch folder in a separate process
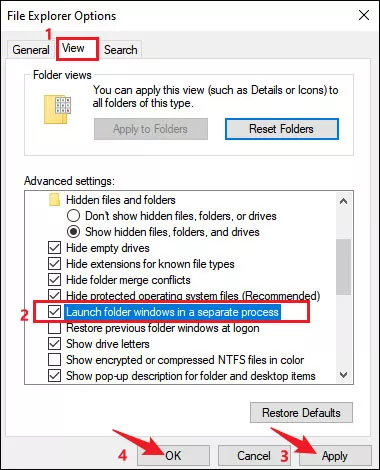
Step 1: Open File Explorer Options as what you do above and head to the View tab.
Step 2: In the Advanced settings section, tick the box of Launch folder windows in a separate process.
Step 3: Click Apply and OK to save the change.
6. Set open File Explorer to this PC
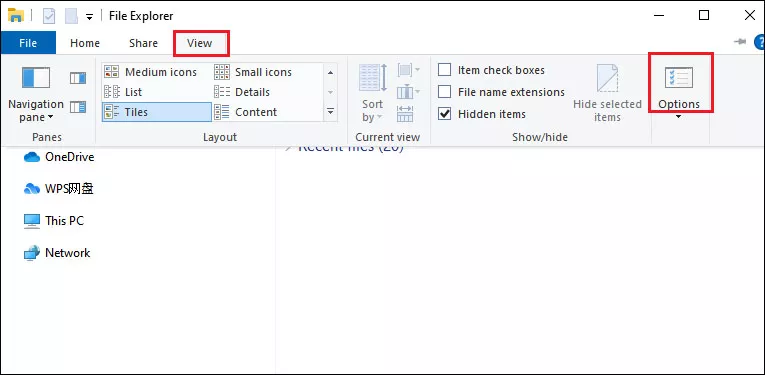
Step 1: Launch File Explorer and choose View tab. Then click on Options.
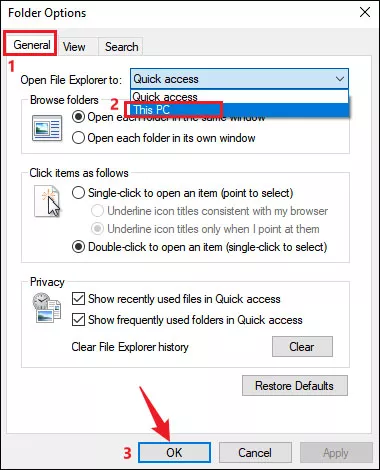
Step 2: Folder Options windows will open, choose General tab and select This PC from "Open File Explorer to" drop-down menu. Then click OK.
7. Rebuild search index
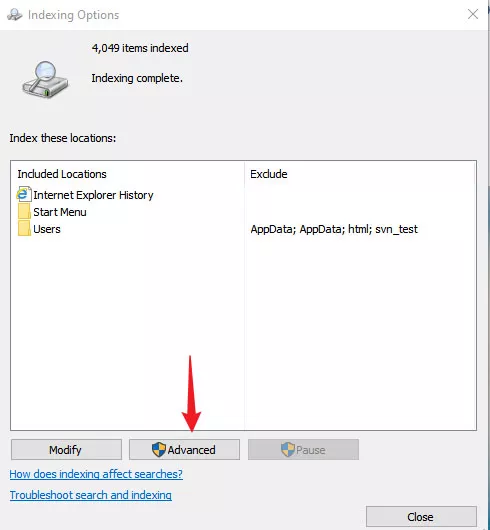
Step 1: Enter indexing options in the search bar and open it.

Step 2: In the Indexing Options window, click on Advanced.
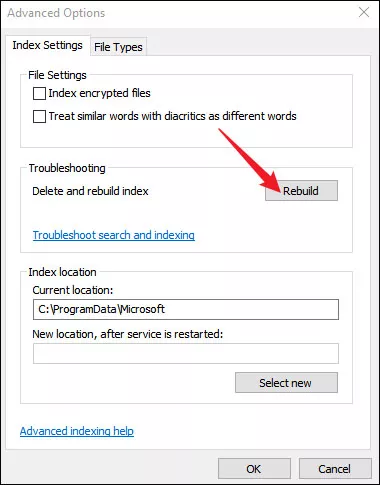
Step 3: In the Advanced Options window, click on Rebuild.
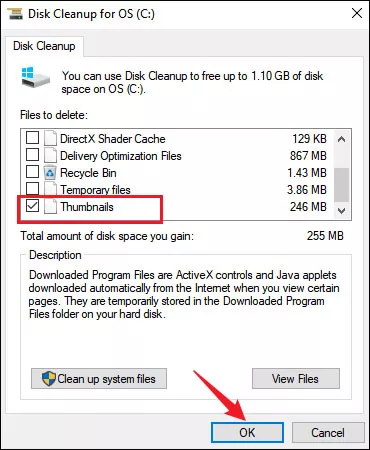
8. Rebuild thumbnail cache
Step 1: Open file Explorer and choose This PC.
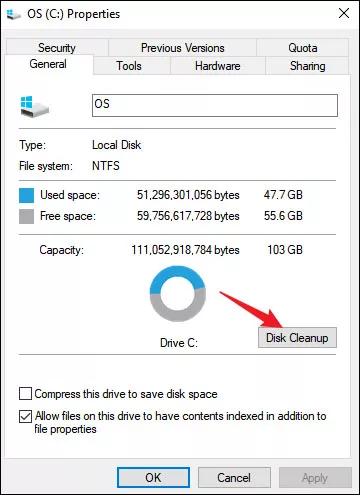
Step 2: Right-click on C drive and choose Properties.
Step 3: Under General tab, click Disk Cleanup.
Step 4: Check the Thumbnails and click OK.