How to Use Ethernet and WIFI at the Same Time in Windows 10/11

July 8, 2022

With a router or hub, you can connect your device via an Ethernet cable. Also, WIFI access is not a difficult task as long as your device has WIFI capability. But have you ever thought of using both Ethernet (wired) and WIFI (wireless) together especially when your internet speed is slow? There's no limitation for you to use only one type of network connection. In this post, we will discuss what will happen when using two different connections and give you a step-by-step guide on how to use Ethernet and WIFI simultaneously.
Part 1: Does using Ethernet and WIFI together speed up internet?
It is indeed possible to use Ethernet and WIFI at the same time. You may have imagined that using wired and wireless connections together will increase your internet speed, but the reality is that using both connections at the same time will instead result in slower internet speeds.
Though you are using two connections, the computer will only choose to use one of them. From the computer side, each connection on the computer is assigned an IP address and the IP addresses are different and unique. From the user side, the bandwidth is split and shared. Moreover, the data received and sent out by the router can be corrupted. Hence it becomes even more difficult for the computer to process the information coming from the router, and naturally, the internet speed becomes even slower than before.
How to connect WIFI and Ethernet together?
1. Via Registry Editor
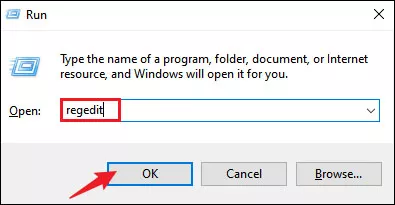
Step 1: Press Windows + R to launch the Run command, type regedit in the box and press OK to open Registry Editor.
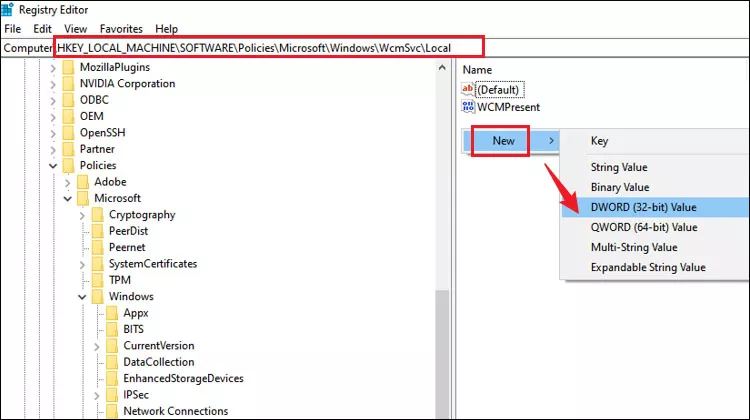
Step 2: Navigate to the following path:
HKEY_LOCAL_MACHINE\Software\Policies\Microsoft\Windows\WcmSvc\LocalStep 3: In the right pane, right-click on an empty area and select New > DWORD Value.
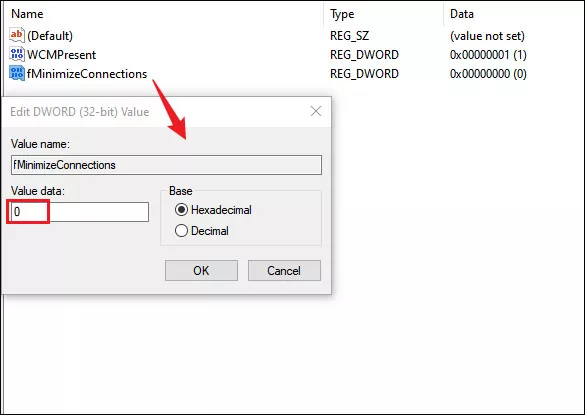
Step 4: Name the newly created key as fMinimizeConnections. Then double-click on it and make its Value data as 0.
2. Via Group Policy Editor
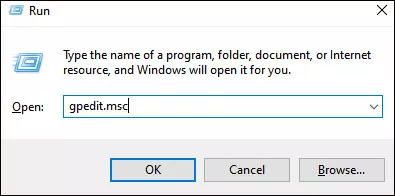
Step 1: Open run dialog, type gdedit.msc in the box and press OK to open the Group Policy Editor.
Step 2: Head to Computer Configuration > Administrative Templates > Network > Windows Connection Manager.
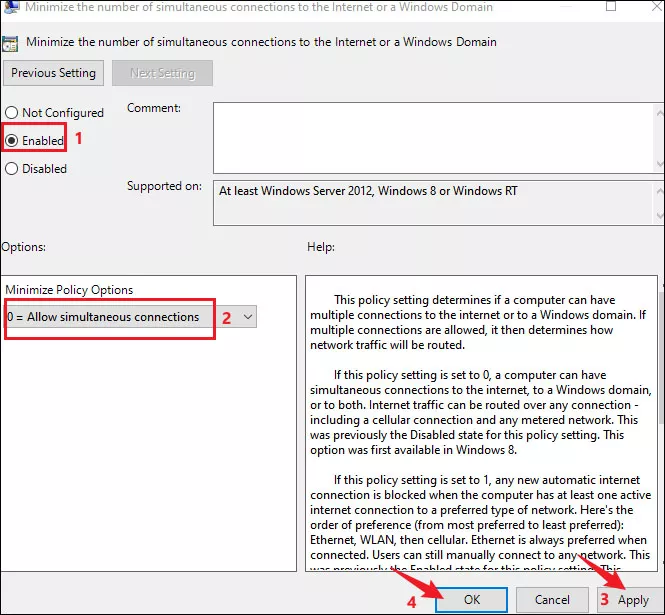
Step 3: Locate Minimize the number of simultaneous connections to the Internet or a Windows Domain and double-click on it.

Step 4: Choose Enabled option and select 0 = Allow simultaneous connections from the drop-down menu under Minimize Policy Options.
Step 5: Click Apply to save changes and OK to close the window.
3. Via changing Ethernet properties
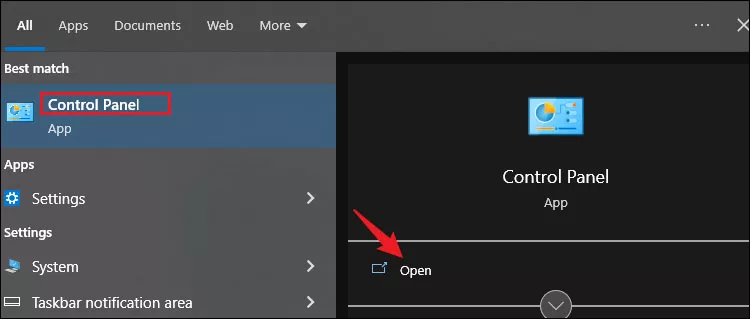
Step 1: Search Control Panel in the search bar and open it.
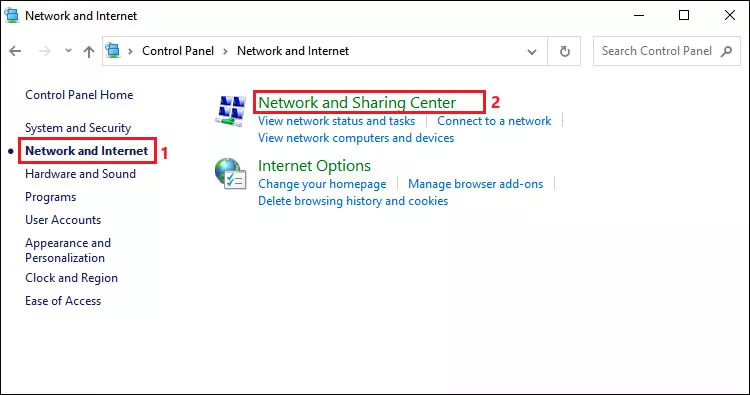
Step 2: Select Network and Internet > Network & Sharing Center.
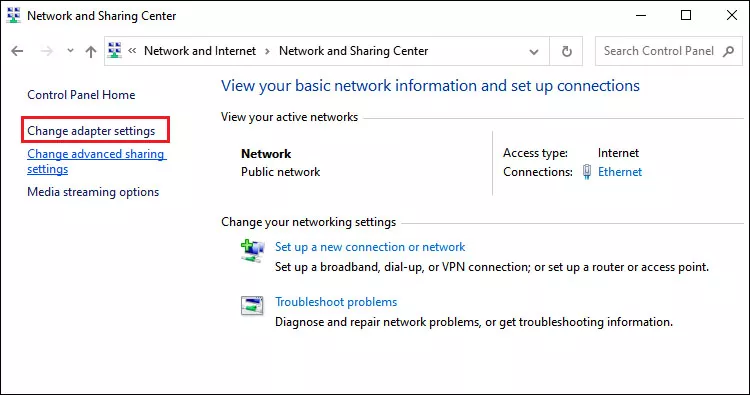
Step 3: Click Change adapter settings.
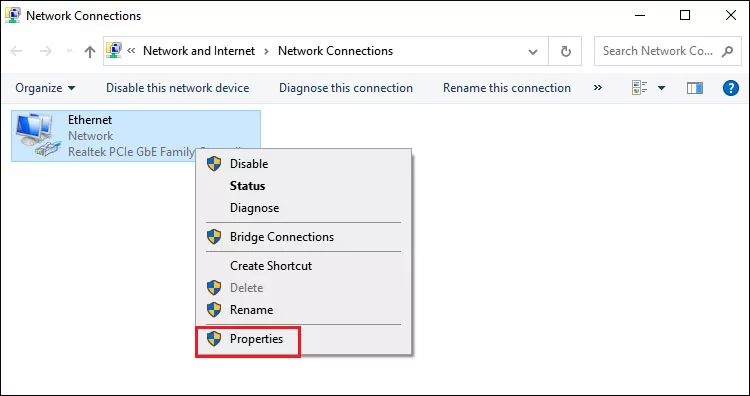
Step 4: Right-click on your Ethernet and choose Properties.
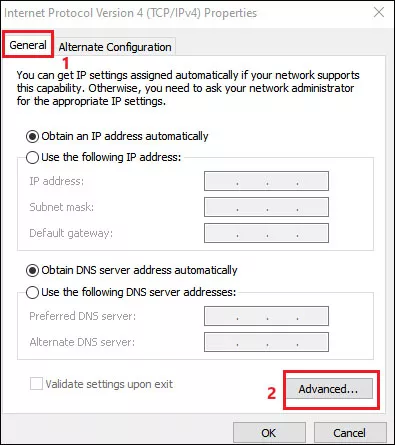
Step 5: Select Internet Protocol Version TCP/IP4 or IPv6 and click on Properties.

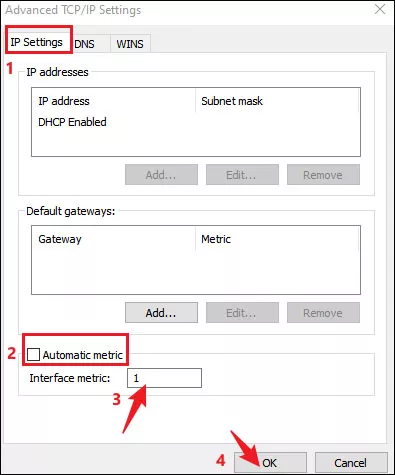
Step 6: Under General tab, click on Advanced option.
Step 7: In the next window, uncheck Automatic Metric under IP Settings tab.
Step 8: Type 1 or 2 in the box next to Interface metric. Then click OK to apply the change.