Fixed: Cannot Type in Windows 10/11 Search Bar

June 30, 2022
We are accustomed to search the needed applications or programs in the search bar for quick access. However, there can be incidents that the search bar become malfunctioned, making us unable to type and paste anything in it. As a result, it is more inconvenient when we want to launch a program in a hurry. If you are experiencing the same search bar issue, don't worry about it. In this post, we will share some easy fixes on how to fix Windows search bar not typing.
1. Run ctfmon.exe using run command
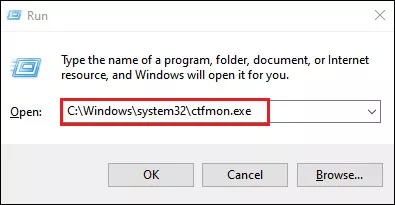
Step 1: Press Windows+R to open Run dialog.
Step 2: Copy and paste C:\Windows\system32\ctfmon.exe in the open box and press Enter to run ctfmon.exe back to the language bar.
After the above steps, type what you want to search in the search bar again and check if the problem is fixed. If the issue still exists, follow these instructions:
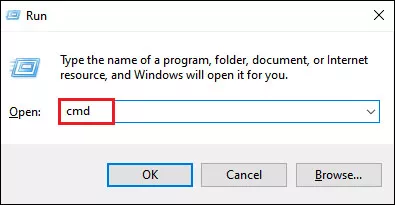
Step 1: Type cmd in the Run box and press Shift + Ctrl + Enter to open Command Prompt with administrative privileges.
Step 2: Copy-paste below command and press Enter to execute it.
REG ADD HKLM\SOFTWARE\Microsoft\Windows\CurrentVersion\Run /v ctfmon /t REG_SZ /d CTFMON.EXEStep 3: Reboot your system and see if the issue is solved.
2. Using PowerShell
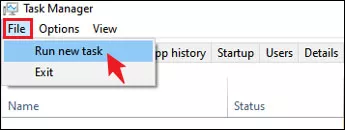
Step 1: Press Ctrl+Shift+Esc to open Task Manager.
Step 2: Choose File option and select Run new task.
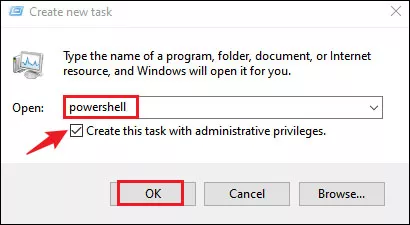
Step 3: Type powershell in the box and check Create this task with administrative privileges option. Then click OK.
Step 4: In the PowerShell window, type the following command and hit Enter to launch it.
Run as administrator# Check if running as Administrator
if (-not ([Security.Principal.WindowsPrincipal][Security.Principal.WindowsIdentity]::GetCurrent()).IsInRole([Security.Principal.WindowsBuiltInRole]::Administrator)) {
    Write-Host "This script requires Administrator privileges. Please run as Administrator."
    exit 1
}

# Function to detect Windows version
function Get-WindowsVersion {
    $os = Get-CimInstance -ClassName Win32_OperatingSystem
    $version = [Version]$os.Version
    return $version
}

# Function to find and stop search-related processes dynamically
function Stop-SearchProcesses {
    $searchProcesses = Get-Process | Where-Object { $_.Path -like "*Windows*search*" -or $_.Name -match "Search|StartMenu|Cortana" }
    if ($searchProcesses) {
        foreach ($proc in $searchProcesses) {
            Write-Host "Stopping process: $($proc.Name) (PID: $($proc.Id))"
            Stop-Process -Id $proc.Id -Force -ErrorAction SilentlyContinue
        }
    } else {
        Write-Host "No search-related processes found."
    }
    Start-Sleep -Seconds 3  # Increased wait time for process termination
}

# Main execution
Write-Host "Starting system app repair script..."

# Detect Windows version
$winVersion = Get-WindowsVersion
Write-Host "Detected Windows version: $($winVersion.Major).$($winVersion.Minor) (Build $($winVersion.Build))"

# Stop conflicting processes
Write-Host "Attempting to close conflicting processes..."
Stop-SearchProcesses

# Re-register system apps with broader compatibility
Write-Host "Re-registering system apps..."
$systemApps = Get-AppxPackage -AllUsers | Where-Object { $_.InstallLocation -like "*SystemApps*" -or $_.Name -match "Windows\.Search|StartMenu|Cortana" }
if ($systemApps) {
    foreach ($app in $systemApps) {
        $manifest = "$($app.InstallLocation)\AppXManifest.xml"
        if (Test-Path $manifest -ErrorAction SilentlyContinue) {
            try {
                Add-AppxPackage -DisableDevelopmentMode -Register $manifest -ErrorAction Stop
                Write-Host "Successfully registered: $($app.Name)"
            } catch {
                Write-Host "Failed to register $($app.Name): $($_.Exception.Message)"
            }
        } else {
            Write-Host "Manifest not found for $($app.Name): $manifest"
        }
    }
} else {
    Write-Host "No system apps found matching criteria."
}

# Restart Windows Search service if it exists
Write-Host "Checking and restarting Windows Search service..."
$searchService = Get-Service -Name "WSearch" -ErrorAction SilentlyContinue
if ($searchService) {
    Restart-Service -Name "WSearch" -Force -ErrorAction SilentlyContinue
    Write-Host "Windows Search service restarted."
} else {
    Write-Host "Windows Search service (WSearch) not found on this system."
}

# Final instructions
Write-Host "Script completed. Please restart your computer to apply changes."
Write-Host "If issues persist, run 'sfc /scannow' and 'DISM /Online /Cleanup-Image /RestoreHealth'."
Step 5: Close Powershell window and restart your PC.
3. Using Command Prompt
Step 1: Open Run dialog and type cmd in the text box. Then press Shift + Ctrl + Enter to open Command Prompt with administrative privileges.
Step 2: Enter the below code in Command Prompt and hit Enter.
PowerShell -ExecutionPolicy UnrestrictedStep 3: After the execution of the first code, copy and paste the following command and then press Enter.
Get-AppXPackage -AllUsers |Where-Object {$_.InstallLocation -like "*SystemApps*"} | Foreach {Add-AppxPackage -DisableDevelopmentMode -Register "$($_.InstallLocation)AppXManifest.xml"}Step 4: Reboot your PC.
4. Using Registry Editor
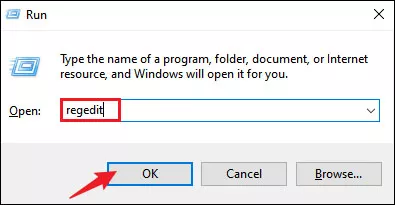
Step 1: Press Windows+R and type regedit in the open box. Then click OK to open Registry Editor.
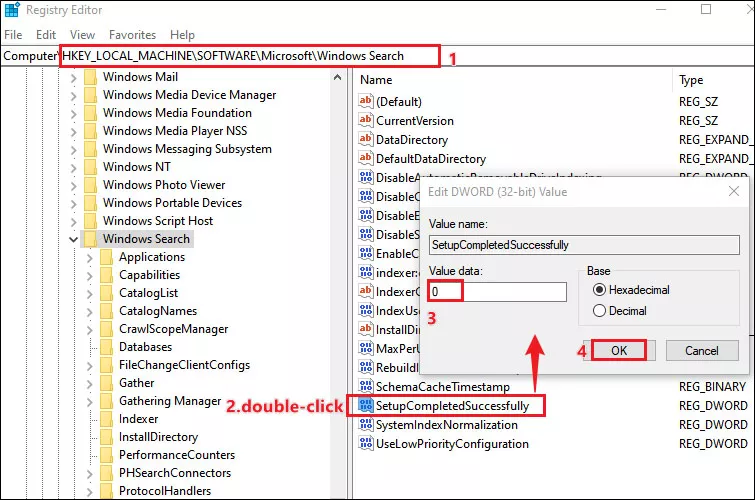
Step 2: Navigate to the given below path:
HKEY_LOCAL_MACHINE\SOFTWARE\Microsoft\Windows SearchStep 3: In the right pane, locate an entry named SetupCompletedSuccessfully and double-click on it. Then set its value data from 1 to 0.
Step 4: Restart your computer.
5. Restart Cortana
Step 1: Press Ctrl+Shift+Esc to open Task Manager.
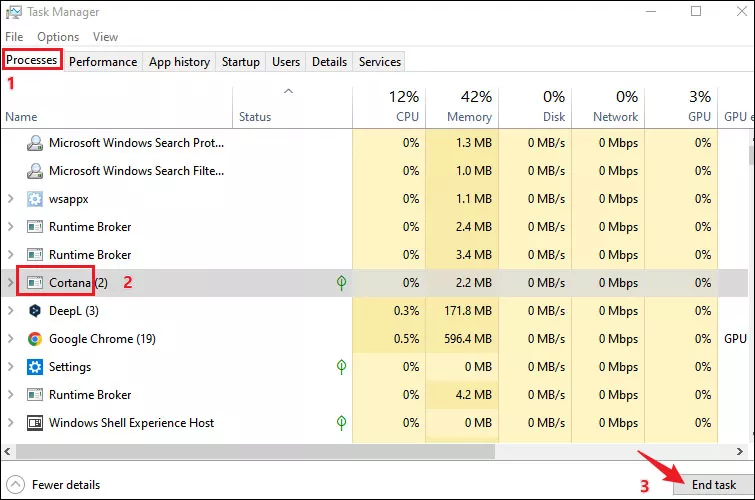
Step 2: Choose Processes tab and locate Cortana. Then click End task.
Step 3: Close Task Manger and click on the search bar to restart Cortana.